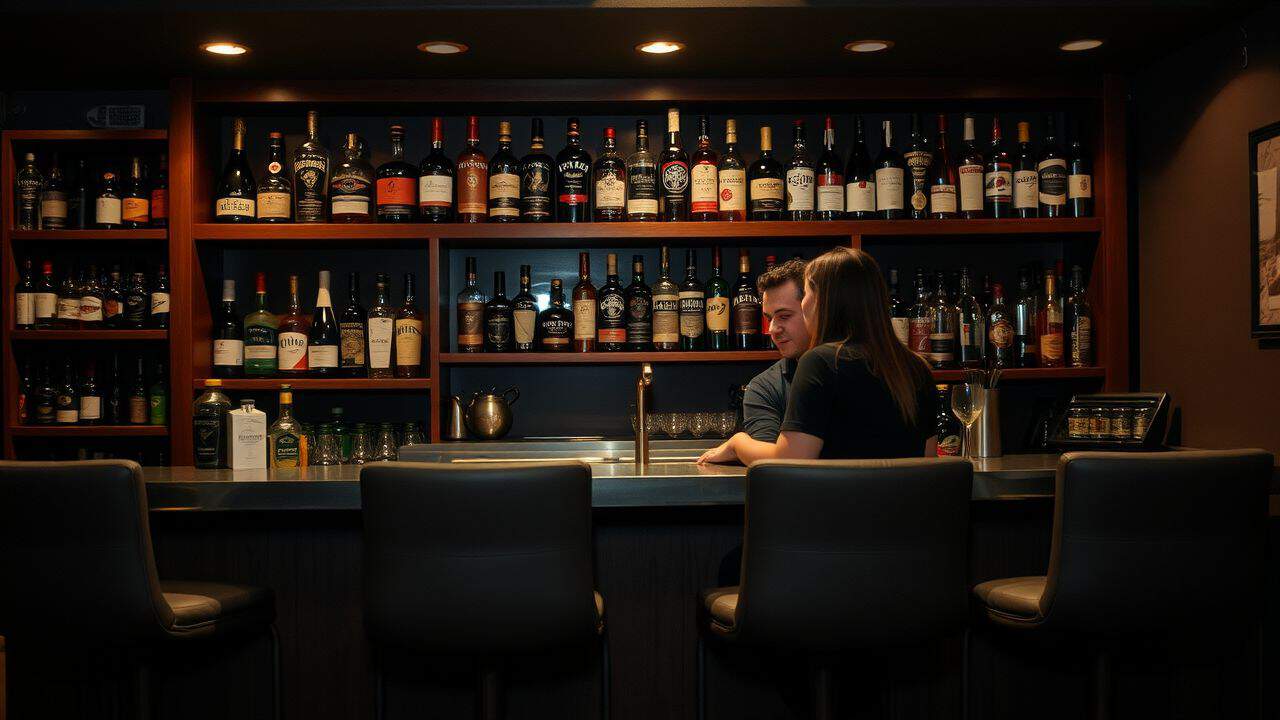
Tired of spending too much money at bars every weekend? A home bar can save you thousands of dollars each year while creating the perfect spot for fun gatherings. I’ll show you how to build a home bar with simple steps that work for both basements and spare rooms.
Get ready to become your neighborhood’s favorite host!
Key Takeaways
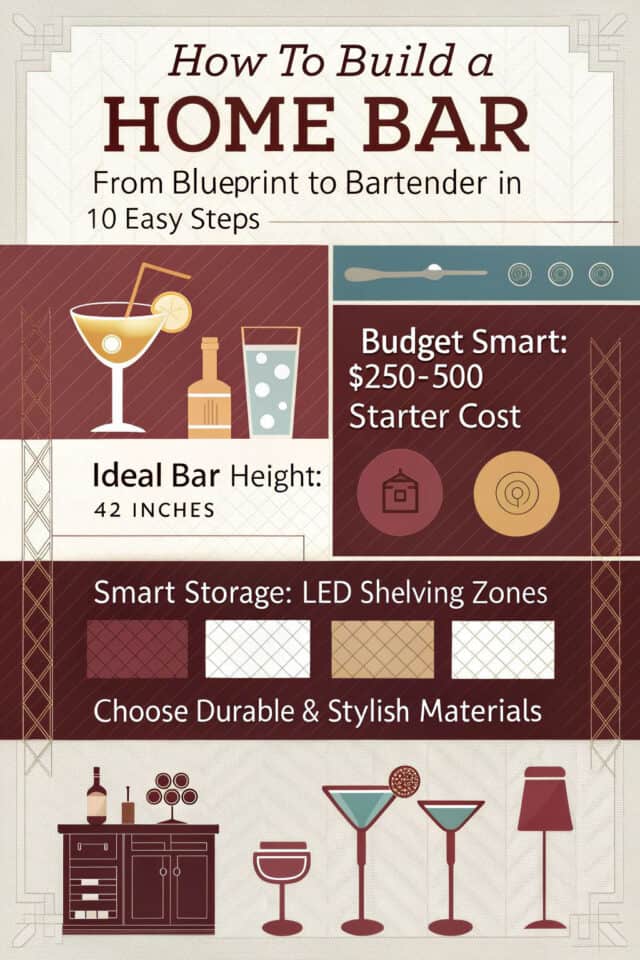
A basic DIY home bar costs between $800-$27,500, with most people spending $250-$500 on the setup before stocking drinks. Americans spent an average of $637 on alcohol in 2023.
Standard measurements are crucial: bar counter should be 42 inches high, 24 inches deep, with bar stools spaced 24–30 inches apart. Leave 12 inches of legroom under the counter and install footrails 7 inches from the floor.
Smart storage planning needs LED-lit shelves spaced 12 inches apart, proper zones for different spirits, and pegboards for tools. Proper drainage and GFCI outlets near water sources are essential for safety.
Material choices impact durability and style: granite resists heat and scratches, while wood adds warmth. Oak veneer MDF offers elegance at lower costs, and ceramic wood-look tiles work best for flooring.
Basic beer tap systems start at $172, while premium setups cost over $800. Ice makers should produce 50–80 pounds daily, and wine coolers need about 35x25x25 inches of space for proper storage.
Table of Contents
Planning Your Home Bar Setup
A home bar starts with smart planning and a clear vision of your dream setup. Your basement or spare room can transform into a cozy brewpub with the right mix of space planning, budget tracking, and style choices.
Assess Space for Your Home Bar
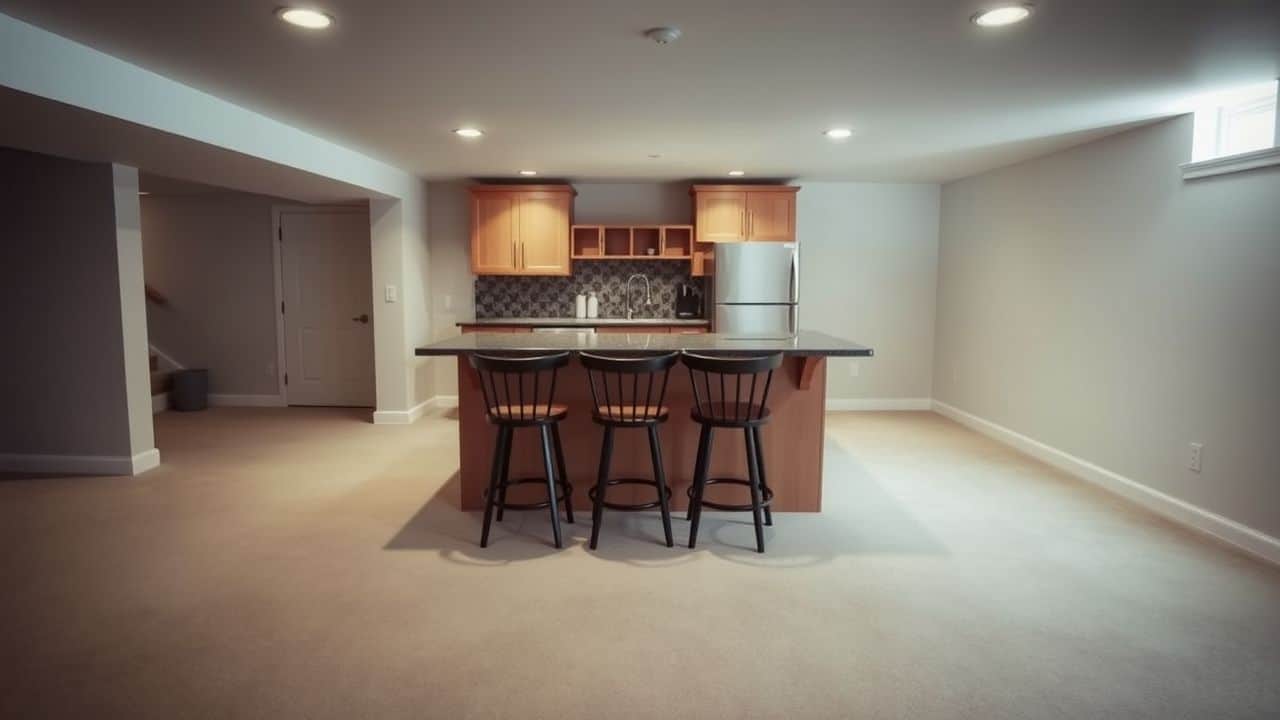
Finding the perfect spot for your home bar starts with measuring your available space. I learned through building my own basement bar that you need at least 6 feet of length to fit three bar stools comfortably.
Your guests will thank you for leaving 2 feet between each stool – nobody likes bumping elbows while sipping their favorite drink! The bar area should also include enough room behind the counter for easy movement and proper liquor and spirit storage.
Space planning goes beyond just the bar counter itself. You’ll need to think about contemporary bar cabinet space, shelving for glassware, and room for essential appliances. My wet bar setup includes a bar sink and small fridge, which required extra planning for plumbing and electrical work.
The standard height for barstools ranges from 28 to 32 inches, so factor in 12 inches of legroom beneath the counter. Smart space planning now means smoother entertaining later.
Establish Your Budget
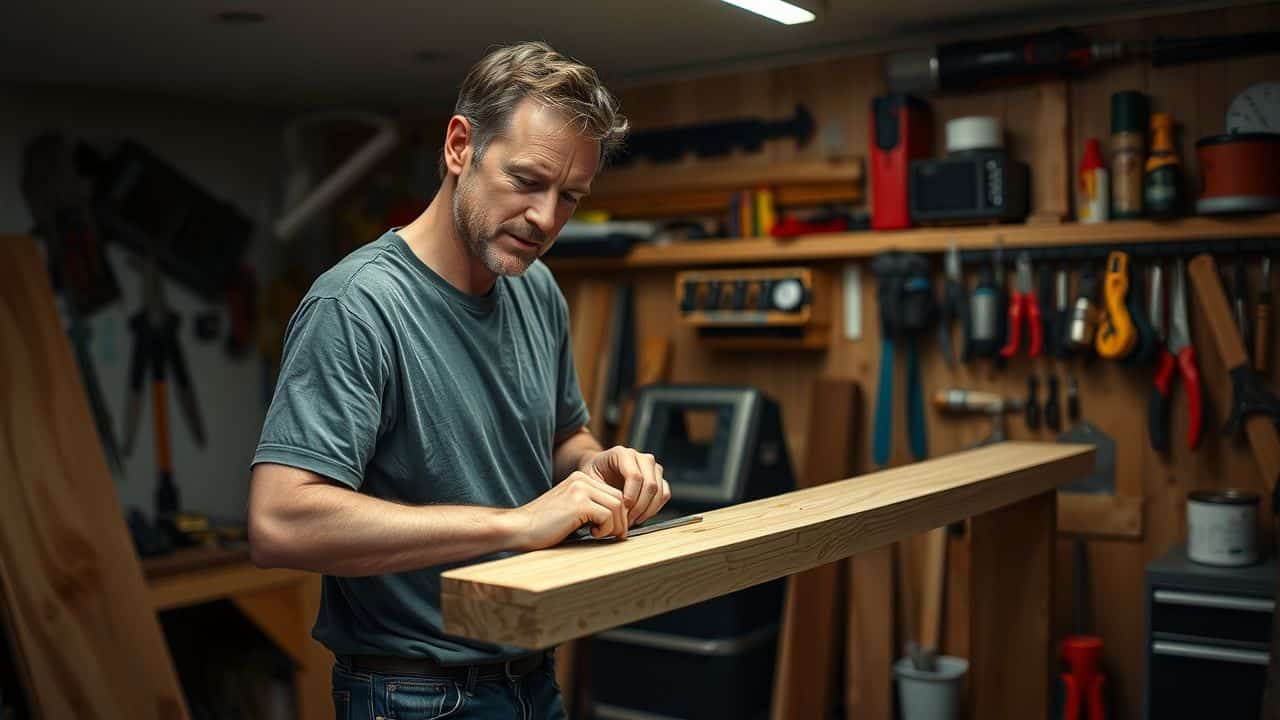
Money talks when building your home bar. A basic DIY setup costs around $800, while fancy custom bars can hit $27,500. Your budget needs to cover the basics like wood, cabinets, and pipe fittings.
Don’t forget the fun stuff – Americans spent $637 on alcohol in 2023, up from $583 in 2022. That’s a good starting point for stocking your bar.
Smart planning helps stretch your dollars further. A beer tap system starts at $172, while premium systems run over $800. Real DIY fans like Alvin Vega spent $900 on their projects, while Mark Dunlap kept costs at $700.
The sweet spot for most home bars falls between $250 to $500, not counting your favorite bottles. Plan to spend extra on solid surface countertops or granite if you want that upscale look.
Select Your Home Bar Design Theme
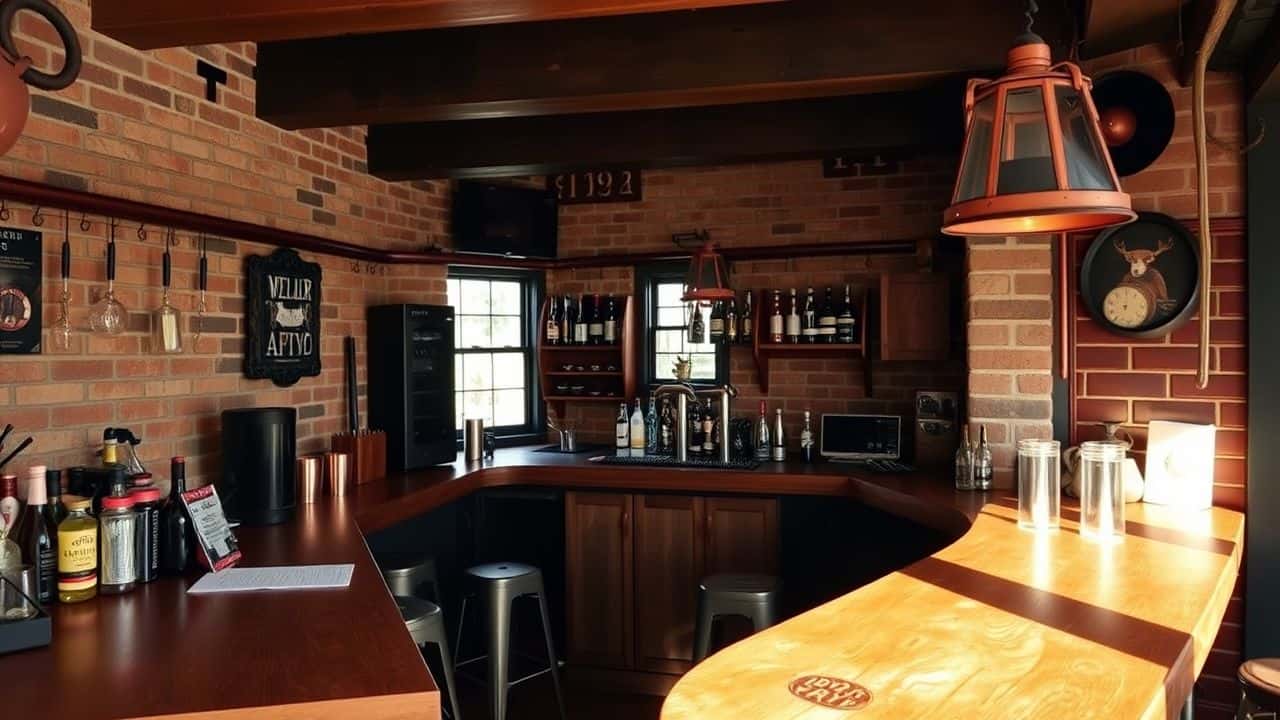
Your home bar’s theme sets the mood for every drink and chat. Pick a style that matches your home’s look and your taste. A rustic theme works great with reclaimed wood and exposed brick walls.
Modern designs shine with sleek granite countertops and cultured marble finishes. I built my own brew pub style bar using dark woods and copper accents, which got tons of praise from friends.
The right bar theme turns every night into an event worth celebrating.
The theme guides your choices for cabinetry, shelving, and bar tools. Take a tip from reader Adam Urbach who mixed industrial pipes with wooden shelves for his keg setup. Your bar can sport a beach vibe, speakeasy feel, or sports bar energy.
The key lies in matching materials and colors to your chosen style. Stick to three main colors and repeat them in your fixtures, floorboards, and wall decor.
Key Components of a Home Bar
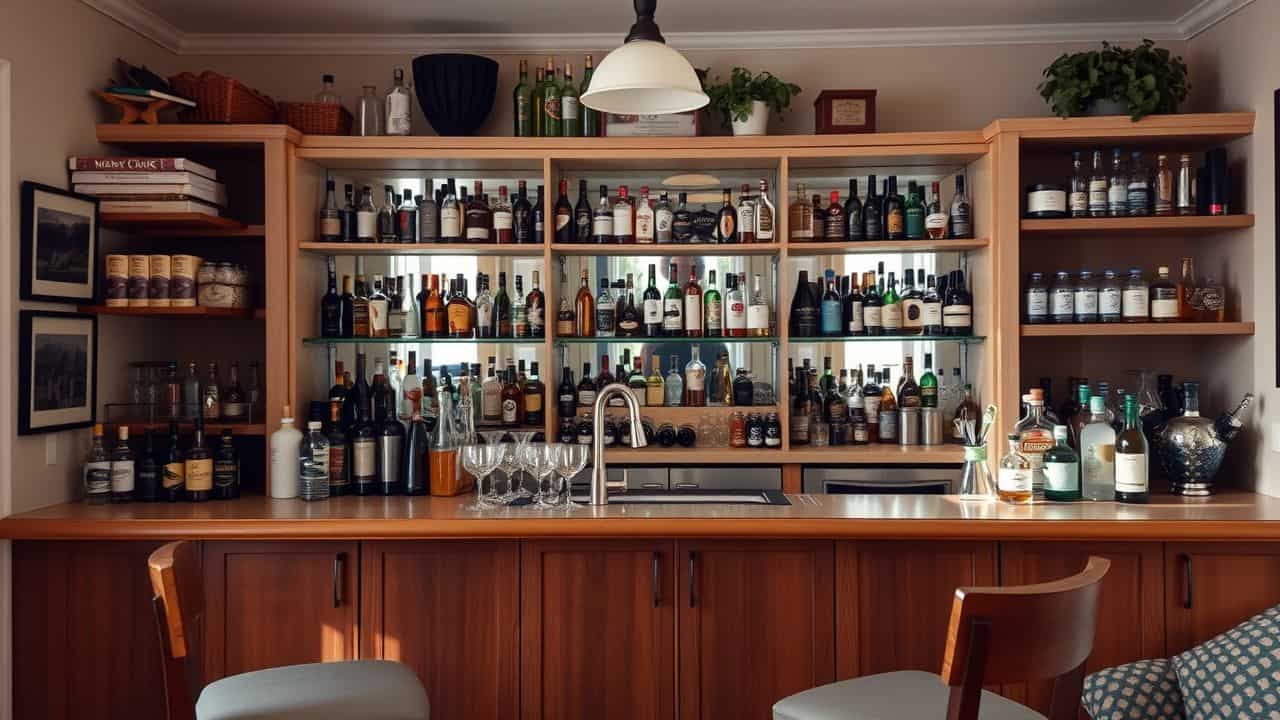
A well-built home bar needs more than just a counter and some bottles. You’ll need to plan your work areas, storage spaces, and comfort features like footrails that will make your bar both functional and fun to use.
Choosing Bar Counter and Seating
Setting up your bar counter and seating needs careful planning to create a comfy hangout spot. Your home bar should match standard measurements while giving everyone enough space to sit and chat.
- Bar counter height matters big time – stick to 42 inches high and 24 inches deep. This gives you plenty of room to mix drinks and serve your guests.
- Plan your counter width between 16–20 inches. This space lets you place drinks safely without making the bar feel cramped.
- Pick sturdy bar stools that sit 28–32 inches tall. Smart ladies like Kathy Martin saved money by building her own seating area in her $500 bar project.
- Space your bar stools 24–30 inches apart. This prevents the dreaded elbow bumping during girls’ night out.
- Leave 12 inches of legroom under the counter. Your guests need space to cross their legs comfortably.
- Install a footrail about 7 inches from the floor. This simple addition makes sitting at your bar much more comfortable.
- Choose materials that match your style and budget. Pine worked great for Chris Smith’s $350 bar project.
- Plan for 82 inches of bar length to seat 3–4 people comfortably. This size works well for most home spaces.
- Add bar molding to give your counter a finished look. The right trim can make a DIY project look professional.
- Pick seating that matches your bar’s theme. Metal stools work great for modern looks, while wooden ones suit rustic styles.
Setting Up Work Counter and Sink
A well-planned work counter and sink setup makes mixing drinks a breeze. Your home bar needs these key elements to function like a pro setup.
- Pick a spot for your sink that works best for your space. Many home bars place sinks under the front bar, but you can also put them in the back bar area for more privacy while washing glasses.
- Install a deep sink basin (at least 8 inches) to handle ice bins and tall glasses easily. The sink needs proper drainage and water supply lines, so grab those plumbing tools.
- Build your work counter at 42 inches high to match standard bar height. This height lets you mix drinks without hurting your back.
- Add a drip tray near your sink area to catch spills. The tray should slope toward the sink for easy cleanup.
- Create zones on your work counter – one for cutting garnishes, one for mixing drinks, and one for serving. Each zone needs about 24 inches of space.
- Put cement boards under any wet areas to protect the counter from water damage. This step saves you from future headaches.
- Install a pilot hole for a soap dispenser next to your sink. Your hands will thank you during busy parties.
- Add a shelf above the work area to keep frequently used items handy. Make sure to screw the shelf firmly into wall studs.
- Leave space for small appliances like blenders or ice makers. Plan for electrical outlets nearby – you’ll need them.
- Use waterproof sealant around all sink edges and joints. This step stops water from sneaking under your counters.
Organizing Storage for Glassware and Bottles
Smart storage keeps your home bar running smoothly. Your bottles and glasses need proper spots to stay safe and look great.
- Build sturdy shelves using oak veneer MDF, just like David Batty did, to hold your glassware. Space each shelf 12 inches apart for tall glasses and bottles.
- Install LED strip lights under each shelf. This helps you spot the right glass quickly and adds a cool glow to your bar setup.
- Group bottles by type in zones: clear spirits, dark spirits (including Japanese whiskey, and mixers. Place frequent-use bottles at arm’s length.
- Use a drill bit to mount glass racks under upper cabinets. These save counter space and show off your stemware nicely.
- Create a special display area using reclaimed wooden pallets. Paint or stain them to match your bar’s style.
- Put daily-use items like bottle openers and measuring cups in small drawers near your work area.
- Store backup bottles and special occasion drinks in lower cabinets. Label shelves clearly to find things fast.
- Mount a pegboard on one wall for hanging tools. Paint it to match your bar’s colors.
- Use clear plastic bins in cabinets to sort smaller items like cocktail picks and straws.
- Keep a step stool nearby to reach high shelves safely. Store it in a nearby closet or under the counter.
Material Selection for Your Home Bar
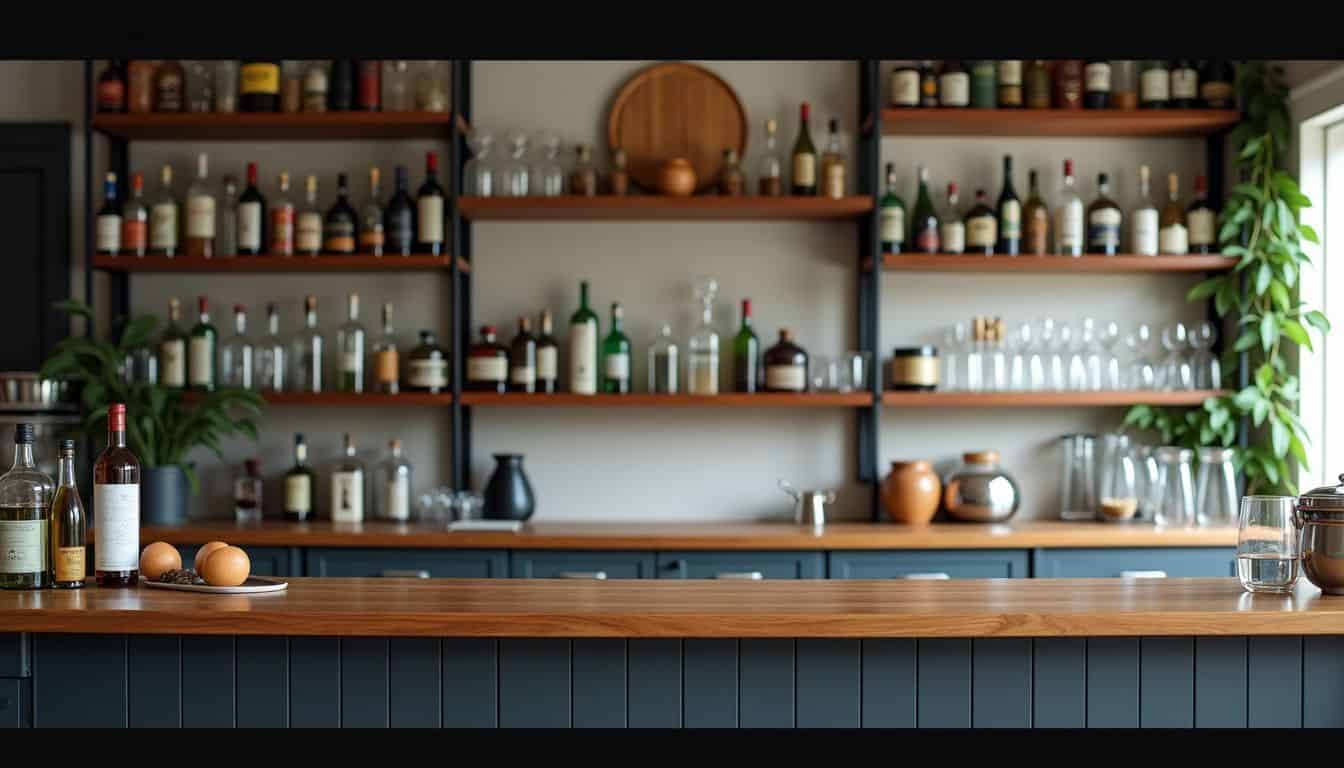
Your home bar’s materials set the tone for its overall look and feel. Pick sturdy countertops and bar frames that match your style, while keeping your budget in mind.
Options for Countertop Materials
Building a stunning bar starts with picking the right countertop. Let’s explore some fantastic materials that will make your home bar shine while keeping it practical.
- Granite countertops bring natural beauty and strength to any bar setup. These stone slabs need sealing but resist heat and scratches, making them perfect for busy bartending sessions.
- Marble delivers classic elegance with its unique patterns and cool surface. This material works great for rolling dough if you serve bar snacks, but watch out for acidic drink spills that might stain.
- Quartz offers the best of both worlds with its man-made durability and natural look. The non-porous surface stops stains from setting in, though you’ll need to use trivets for hot items.
- Wood adds warmth and charm to your bar space. Oak veneer plywood costs about $93 at Lowes (2022), making it a budget-friendly choice that still looks great.
- Laminate gives you lots of style options at a lower price point. This material handles daily use well but can get damaged if water sits on it too long.
- Onyx creates a show-stopping effect, especially with lighting behind it. This stone makes your bar look high-end but needs extra care to stay beautiful.
- Slate brings rustic charm with its dark, natural finish. This material hides watermarks well and gives your bar a cozy pub feel.
Materials for Bar Frame and Structure
A solid bar frame serves as the backbone of your home bar project. Good materials make the difference between a wobbly setup and a bar that lasts for years.
- Standard 2x4s work great for basic framing, but 2x6s offer extra stability for larger bars. David Batty found success using 2x2s with veneer plywood for a sleek look.
- Veneer plywood stands out as a cost-smart choice for the outer walls. You’ll need 1.5-inch screws to attach it firmly to your frame.
- Oak veneer MDF brings elegance without breaking the bank. Many DIYers love this option because it looks fancy but costs less than solid wood.
- Reclaimed wooden pallets add character and save money. Dan Stocker built his entire island bar using salvaged wood for under $25.
- Stud walls provide perfect support for mounting shelves and cabinets. Space studs 16 inches apart for maximum strength.
- Adhesives and wood glue create strong bonds between materials. Apply primer before gluing for better stick power.
- Metal footrails add both style and function. Steel or brass options last longest and handle frequent use.
- Bar molding hides rough edges and adds polish. Pick a style that matches your home’s look.
- Sanding each piece before assembly creates smooth surfaces. Start with rough grit, then move to finer grits for best results.
Choices for Flooring and Wall Finishes
Moving from your bar’s frame to its surfaces requires smart choices. Your flooring and wall finishes set the mood and handle daily wear in your home bar space.
- Ceramic wood-look tiles stand as the top flooring pick. These tiles mix beauty with brains – they look like real wood but clean up fast after spilled beverages. Plus, they won’t get screwed up from heavy foot traffic.
- Dark paint colors work magic on back bar walls. Black paint, like shown in our key design, makes bottles and glassware pop while hiding small marks and stains.
- Light-colored walls open up tight spaces. Soft creams or warm grays bounce light around and make your bar feel bigger.
- Textured wallpaper adds depth without fuss. Pick water-resistant options that can handle steam from hot drinks and cleaning.
- Bar front surfaces need extra tough finishes. Recycled pallet wood brings rustic charm while standing up to kicks and bumps from bar stools.
- Polyurethane coating protects counter surfaces. This clear coat keeps your neutral-colored countertops safe from rings and spills.
- Non-slip floor treatments boost safety. These clear coatings help prevent slips near ice makers and taps where water might splash.
- Moisture-resistant baseboards guard against spills. Metal or vinyl options work better than wood in wet bar areas.
- Sound-dampening wall panels cut noise. Fabric-covered foam panels help control the volume without looking like a recording studio.
- Easy-clean backsplashes protect wall areas. Glass or ceramic tiles behind sinks and taps make cleanup simple.
Setting Up Plumbing and Electrical Systems
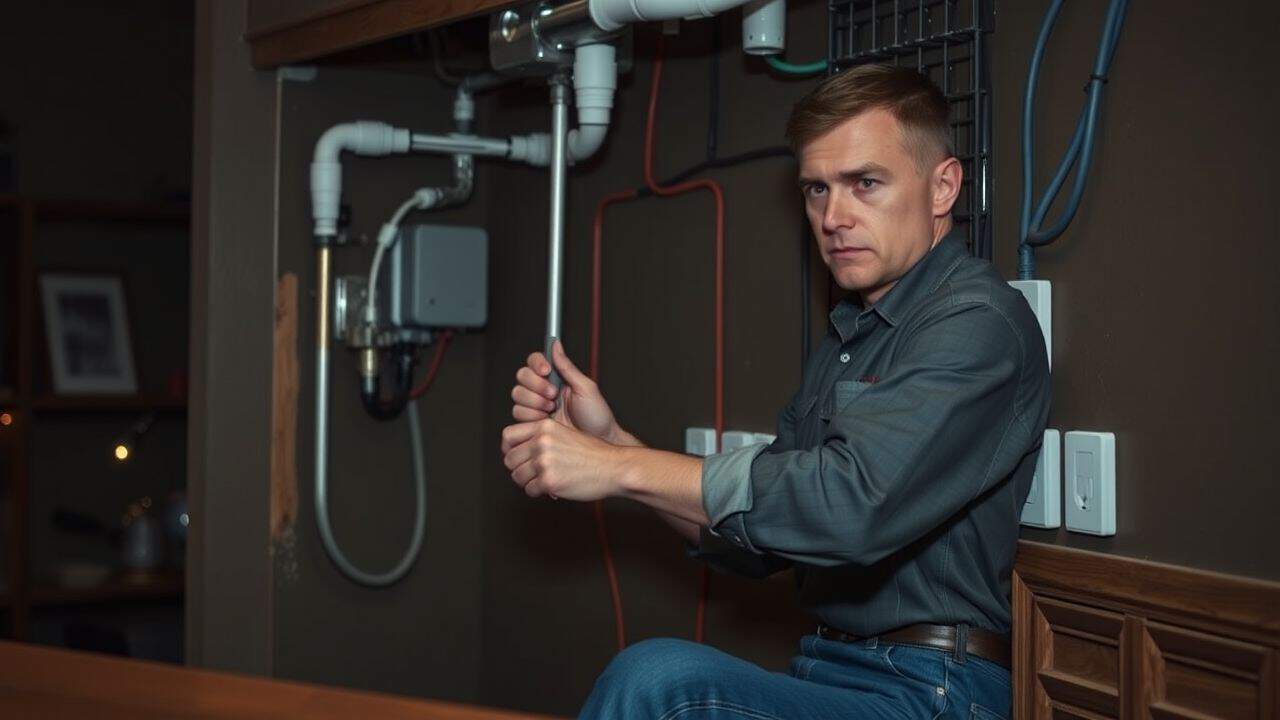
Setting up your home bar’s plumbing and electrical systems needs careful planning with licensed electricians. Your bar’s success depends on proper water lines and power outlets, which will keep your drinks flowing and your space well-lit.
Install Water Supply and Drainage
Proper plumbing makes or breaks a wet bar’s success. Your sink placement needs smart planning based on your existing water lines. Most homeowners put their sinks under the front bar, but back bar placement works too.
You’ll need to run water supply lines and install a drain pipe that connects to your home’s main plumbing system. A licensed plumber can help map out the best route for these connections.
The drainage system must follow local building codes to work right. Your sink needs both hot and cold water lines, plus a P-trap under it to stop bad smells. Small bar sinks work great for washing glasses and mixing drinks.
The water pressure should match what you have in your kitchen sink. Good drainage stops water from pooling and keeps your bar area dry. A proper setup lets you focus on mixing drinks instead of dealing with plumbing problems.
Choosing Lighting for Atmosphere
Now that your water lines run smoothly, let’s brighten up your bar space. Good lighting makes or breaks the mood in your home bar. I learned this trick while screwing in different bulbs at my own bar setup last summer.
Your bar needs three types of lights to shine: ambient, accent, and task lighting.
The magic happens in the details of your light setup. Warm-toned bulbs at 2700K create a cozy vibe, perfect for those girls’ nights in. Place task lights above your mixing station to see exactly what you’re pouring.
Small accent lights behind bottles or under the bar top add drama. My favorite trick? I installed dimmer switches on my ambient lights. This lets me adjust the brightness from bright afternoon gatherings to intimate evening hangouts.
The right mix of these three lighting types stops accidents and makes your home bar look like it’s straight out of a magazine.
Adding Power Outlets for Bar Appliances
Your home bar needs plenty of power outlets for all your cool gadgets. Smart planning starts with placing outlets every four feet along the counter space. Wi-Fi outlets offer remote control of your bar appliances through your phone.
You’ll need spots to plug in your blender, mini-fridge, and ice maker.
The right setup keeps your bar running smoothly without any tangled cords. Place GFCI outlets near water sources to stay safe. Cable TV hookups and strong Wi-Fi signals add fun entertainment options to your bar space.
Most bars need at least six outlets to handle all the basic appliances. Split them into different circuits to avoid overloading your electrical system.
Equipping Your Home Bar With Appliances
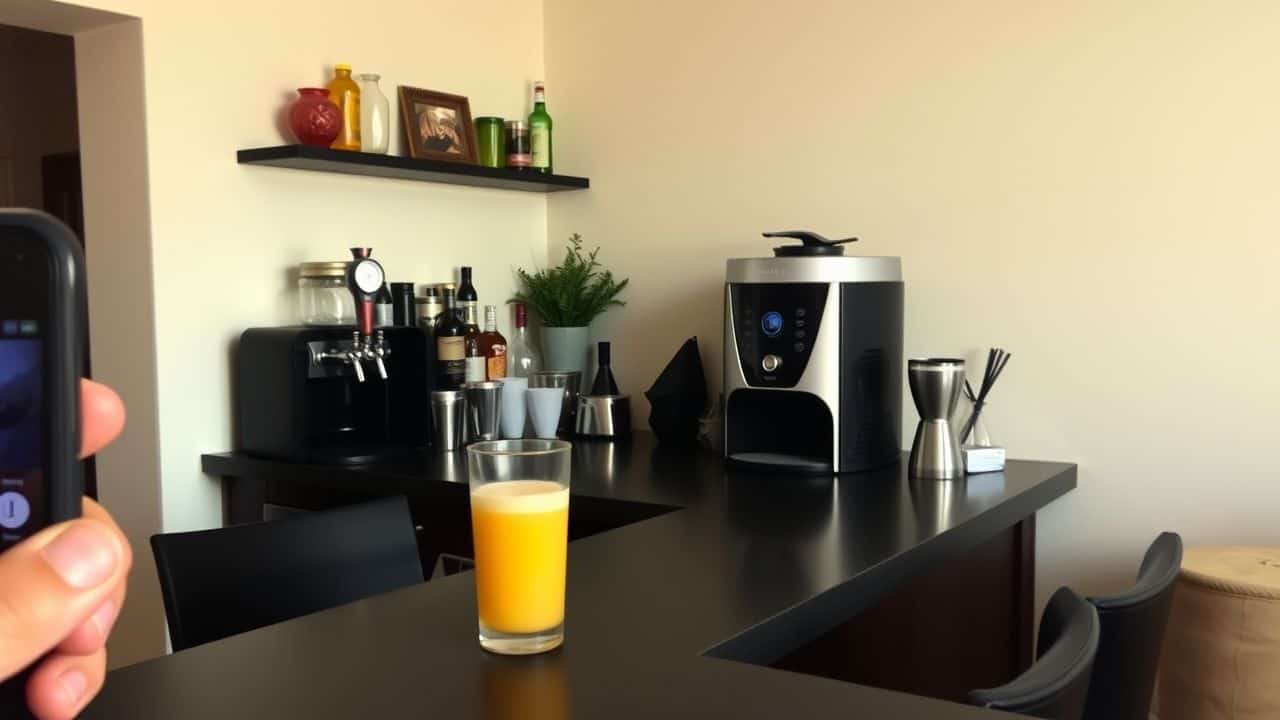
A well-stocked home bar needs top-notch appliances, from sleek beer taps that’ll make you feel like a pro brewery owner to compact ice makers that keep your drinks frosty – stay tuned to learn which gadgets will turn your space into the coolest spot in town!
Installing Refrigeration Units
Your home bar needs proper cooling systems to keep drinks at perfect temps. Smart choices include wine coolers, beverage centers, and kegerators for draft beer lovers. Jeff Witte’s setup shows how far you can go – he built a killer 10-tap system with glycol cooling and a huge 30-foot trunk line.
His setup keeps beer icy cold from keg to glass.
Looking for budget-friendly ideas? Take a page from Dan Stocker’s playbook. He created an island bar with draft equipment using reclaimed wood for under $25. Adam Urbach got creative too, building his kegerator right into custom shelving.
This smart design saves space while keeping those kegs on tap and ready to pour. The key is picking cooling units that match your drinking style and available space.
Setting Up Beer Tap Systems
Beer tap systems bring the magic of draft beer right to your home bar. Basic systems start at $172, while fancy setups can run over $800. The key piece is a kegerator – a special fridge that keeps your beer cold and fresh.
I learned the hard way that trying to DIY a regular mini-fridge into a kegerator leads to disaster. According to the men’s lifestyle experts at Unfinished Man, a proper draft system takes your home bar from basic to brilliant.
Smart planning makes installation smooth as silk. Place the kegerator where you can reach its back for maintenance. Put it near an electrical outlet – a Wi-Fi smart plug lets you control power from your phone.
The john everson offset tower drain plate works better than standard ones for catching drips. Next up, we’ll explore the perfect wine storage solutions for your bar setup.
Choosing Wine Coolers
A good wine cooler keeps your favorite bottles at the perfect temperature. Wine Enthusiast and Frigidaire offer excellent options that fit most home bars. Your wine cooler should measure about 35 inches high, 25 inches wide, and 25 inches deep to store a decent collection.
I picked a dual-zone cooler for my home bar, which lets me keep reds and whites at different temperatures.
Smart storage makes a huge difference in how your wines taste. Single-zone coolers work great if you drink mainly one type of wine. For mixed collections, dual-zone coolers give you more control.
My friends love browsing through my well-organized wine display while we chat at the bar. The internet explorer comes in handy to compare prices and features before making your final pick.
Adding Ice Makers
Ice makers stand as the backbone of any serious home bar setup. ENERGY STAR certified models save money while cranking out perfect cubes for your cocktails. My experience shows that built-in ice makers produce between 50–80 pounds of ice daily, plenty for your weekend gatherings.
The latest models offer different ice shapes – from classic cubes to crushed ice – to match your drink menu.
Your guests’ drink preferences should guide your ice maker choice. Clear ice cubes melt slower and won’t water down premium spirits. Smart ice makers now connect to your phone, alerting you when ice runs low or needs maintenance.
The next step focuses on bringing entertainment options to complete your home bar experience.
Enhancing Your Home Bar With Entertainment

A home bar needs more than just drinks to keep the party going. Add some sparkle with good music from quality speakers, plus a TV for game nights and movie marathons with your friends.
Install Sound Systems
Great sound makes or breaks a home bar’s vibe. Your guests will stay longer and feel more relaxed with the right music playing through quality speakers. I learned this firsthand after setting up systems in dozens of home bars.
Start with two to four wall-mounted speakers spaced evenly around your bar area. This setup creates balanced sound distribution without any dead spots.
Your sound system needs three basic parts: speakers, an amplifier, and a music source. Mount your speakers at ear level for the best sound quality. I suggest installing volume controls in different zones, so you can adjust music levels for different areas.
This helps create the perfect atmosphere whether you’re mixing drinks or hosting a party. Pro tip: Run speaker wires through the walls before finishing your bar construction – it looks cleaner and prevents tripping hazards.
Setting Up TV or Projector
A smart TV or projector turns your home bar into a sports-watching paradise. I installed a 65-inch smart TV in my bar area last month, and it lets me stream any game or show with just a few clicks.
Voice commands through digital assistants make it super easy to change channels or adjust settings while mixing drinks. The latest LED strip lights around the screen create an awesome glow that matches the mood of whatever’s playing.
Your viewing setup needs the right spot to shine. Mount your TV or screen at eye level from the main seating area – about 42 inches from the floor works great. The projector needs a clear path to a blank wall or screen, plus enough distance to create a big picture.
My pro tip: test different spots before making permanent holes in your walls. The perfect angle makes all the difference for everyone to see clearly while enjoying their drinks.
Adding Decorative Lighting
Your TV setup leads perfectly into the next exciting part – decorative lighting! Smart lighting transforms your bar from basic to brilliant. Warm-toned LEDs at 2700K create a cozy vibe that makes guests feel right at home.
I installed strip lights under my bar counter last month, and they’ve become total conversation starters.
Mix up your lighting layers for the best results. Ambient lights give overall brightness to prevent spills. Task lights help you mix drinks safely. Accent lights make bottles and glassware sparkle.
My favorite trick? I put small spotlights behind special bottles to create dramatic shadows on the wall. The right lighting combo turns your home bar into a magazine-worthy space that friends won’t want to leave.
Deciding Between DIY vs. Hiring Professionals
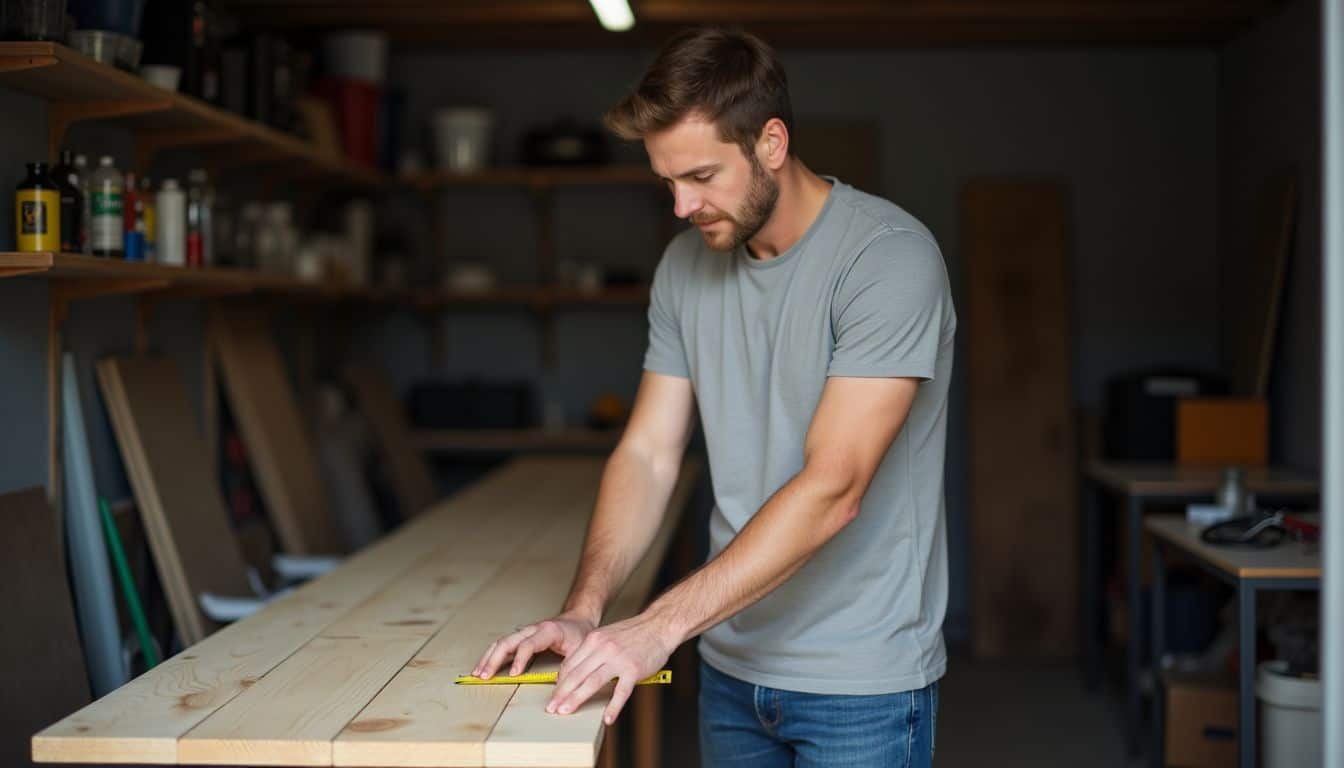
While building a home bar needs basic carpentry skills and power tools, you’ll need to weigh your DIY abilities against the cost of hiring a pro – stay tuned to learn which path fits your project best!
Tools and Skills Required for DIY
Building a home bar needs basic tools and skills to get started. You’ll need an air compressor, air hose, brad nail gun, and a caulk gun for the framework. A cordless drill, framing square, and jigsaw help cut and shape your materials.
For safety, always wear protective glasses during construction.
Your DIY bar project requires simple woodworking skills to handle 2x4s and 2x6s for framing. I learned that medium-grit sandpaper works best for smooth finishes, just like Dan Stocker used in his island bar build.
The hvlp sprayer gives a professional finish to your woodwork. Most home bar builders spend about $25 on reclaimed wood, making this project budget-friendly and creative.
Knowing When to Hire a Professional
Skilled pros can tackle complex bar projects three times faster than DIY attempts. Licensed contractors bring the right tools and expertise for tricky jobs like plumbing hookups and electrical wiring.
Your safety matters most, so leave these technical tasks to the experts who know local building codes inside and out.
Smart planning starts with getting multiple quotes from licensed contractors. Make a detailed wishlist of your must-have features before meeting them. Professional help costs more upfront but saves money by avoiding costly mistakes and repairs later.
The perfect home bar needs proper installation of water lines, power outlets, and ventilation systems – all areas where pros excel.
Personalizing Your Home Bar
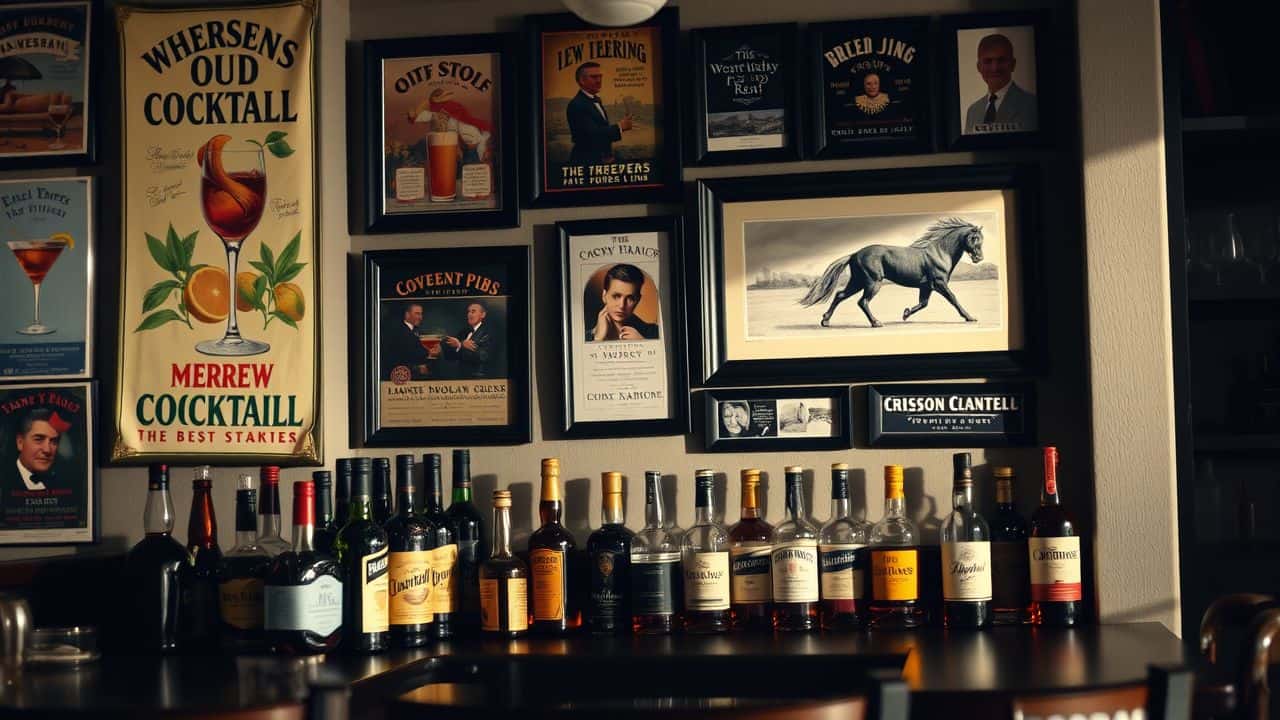
Make your home bar shine with your own flair – add vintage cocktail posters, display your prized bourbon collection, or create a wall of memories with photos from your favorite pubs…
Want to learn more cool ways to jazz up your home bar? Keep reading!
Design Custom Shelving and Displays
Custom shelving brings life to your home bar space. Jake’s bar showcases this perfectly with his smart under-bar lighting setup that makes bottles glow like jewels. I’ve found that mixing open and closed shelving creates visual interest while keeping essential items within reach.
Glass-front cabinets work great to show off special bottles and fancy glassware, just like Adam Urbach did with his clever keggerator integration.
Your shelving layout needs to match your style and space needs. Cy Kollar nailed this concept by creating different zones for mixing, storing, and displaying drinks. You can copy this idea using floating shelves for a modern look or built-in cabinets for a classic feel.
David Batty proved you don’t need deep pockets – he built stunning shelves using oak veneer MDF and old wooden pallets. The result? A bar that looks high-end without the matching price tag.
Choose Themed Décor and Accessories
Your bar’s style speaks volumes about your personality. Jake’s clever use of under-bar lighting created a warm, inviting glow that made his shelving pop. I’ve found that mixing metallic accents with soft textiles adds depth to any bar space.
Wooden elements, like David Batty’s reclaimed pallets, bring rustic charm while saving money.
Small touches make big impacts in home bars. Think vintage cocktail posters, LED strip lights behind bottles, or antique barware displays. My favorite trick involves placing mirrors strategically to make the space feel larger and brighter.
The right décor transforms your bar from basic to brilliant. Let’s explore how regular maintenance keeps your bar looking fresh and inviting.
Add Personal Touches
Personal touches make a home bar feel like your own special hangout spot. Take inspiration from Jake’s clever under-bar lighting setup, which creates a warm glow perfect for evening drinks.
Mike Grady’s exposed brick walls add character and charm, while David Batty saved money by mixing oak veneer MDF with reclaimed wooden pallets for a rustic look.
Small details pack a big punch in home bar design. Display family photos or vintage cocktail posters on the walls. Place meaningful trinkets on floating shelves, like Cy Kollar did with his custom-built display areas.
Matt Hines carved out a brewing corner in his bar space, showing how personal hobbies can blend right into the design. Stick to items that spark joy and tell your story.
Maintaining Your Home Bar
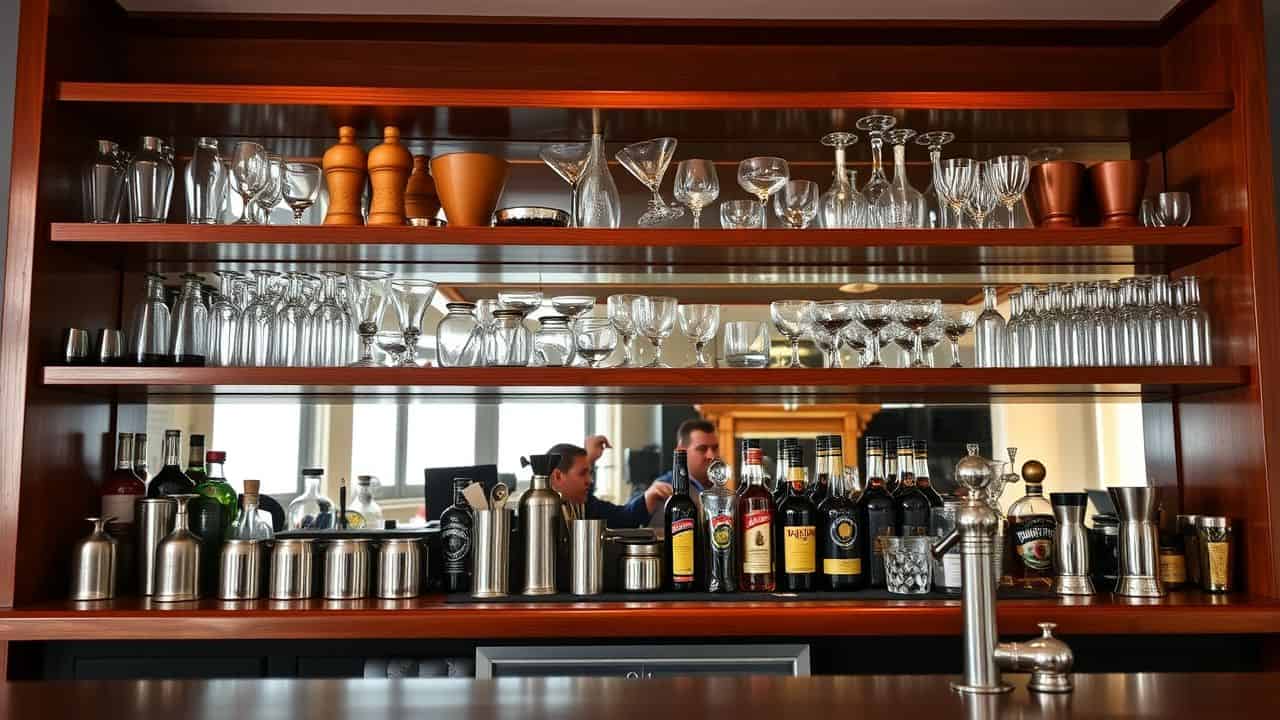
A well-kept home bar stays fresh and inviting for years to come. Regular wipe-downs and equipment checks will save you from costly repairs and keep your drinks tasting great.
Clean and Organize Regularly
Keeping your home bar spotless takes more than just a quick wipe-down. I learned this lesson after hosting countless gatherings at my place. Start with daily tasks like wiping counters and washing used glassware right after each use.
Make a simple checklist for weekly deep cleaning – dust those fancy bottles, polish the counter surfaces, and reorganize your tools. Regular cleaning prevents sticky messes and keeps everything fresh for your next cocktail session.
Smart organization makes bartending at home pure joy. Group your spirits by type, line up mixers within easy reach, and keep garnish tools in dedicated spots. I’ve found that weekly inventory checks help track what needs restocking.
Toss out expired mixers, wilted garnishes, and any questionable items. Your cleaning routine should flow naturally into checking your bar equipment’s condition. Let’s look at how to maintain your bar equipment properly.
Check Equipment Regularly
Regular cleaning sets the stage for equipment checks at your home bar. Smart bar owners test their gear weekly to catch problems early. Jake’s under-bar lighting system needs monthly bulb checks to keep the ambiance perfect.
A quick test of beer taps, ice makers, and wine coolers saves money on repairs down the road.
Bar equipment works hard, just like you do. Adam Urbach’s keggerator stays in top shape with monthly seal checks and temperature monitoring. Look for leaks in beer lines, test refrigerator temperatures, and make sure ice makers produce clean cubes.
Cy Kollar suggests checking shelf supports every few months to prevent bottles from taking an unwanted dive. Your home bar deserves this care to keep the good times rolling.
People Also Ask
What tools do I need to build a home bar?
You’ll need basic tools like a drill, level, measuring tape, and screwdriver. For the bar itself, grab some wood, brackets, and screws. Don’t forget a mini fridge and storage shelves for your bottles.
How much space should I set aside for my home bar?
A cozy home bar needs at least 30 square feet. You’ll want room for a counter (about 2 feet deep), storage space, and enough area to move around. Think about where you’ll keep your glasses and mixers, too.
What’s the best layout for a home bar?
The classic L-shape works great for most spaces. Put your sink and prep area on one side, storage on the other. Keep your most-used items within arm’s reach. Remember to leave room for bar stools if you want seating.
How much should I budget for building a home bar?
A basic home bar starts around $500 for materials. If you want fancy countertops, premium cabinets, or built-in appliances, you might spend $2,000 or more. Start small – you can always add cool stuff later.
References
https://www.kegworks.com/blog/planning-your-home-bar?srsltid=AfmBOoqyWsP7bxx2PnLdmYTueWZDexFQ4jk_CapDEWUeBcrYf4oqd226 (2021-01-20)
https://www.thepennyhoarder.com/save-money/how-to-stock-a-home-bar/
https://www.kegworks.com/blog/planning-your-home-bar?srsltid=AfmBOopRPOkM7wKuP4s47O2yvqA_RqlbG6RNvmRhr1Hokk2eT59nvRqW (2021-01-20)
https://www.kegworks.com/blog/planning-your-home-bar?srsltid=AfmBOopSZ4Vgfm2yAUOphq-wKSFMZkNZJkH3lCWxZXTr9gm60sgYBRhJ (2021-01-20)
https://www.kegworks.com/blog/planning-your-home-bar?srsltid=AfmBOooN5pVhdXXqPcEZpGPPTHFL_iYtb8VOXRkf9KlJNUf_KCzBVkDX (2021-01-20)
https://www.kegworks.com/blog/planning-your-home-bar?srsltid=AfmBOooJPuo4Y_zKPaC3XzYbDfC6ZNPArVh5H2oJxZF9pCthi-BBf_e7 (2021-01-20)
https://content.kegworks.com/blog/adding-and-installing-bar-rails (2024-08-27)
https://www.maxspacestoneworks.com/7-best-popular-materials-for-bar-countertops-making/ (2022-09-27)
https://www.drinkbrood.com/blog/bar-design-plans (2023-08-15)
https://myfixituplife.com/how-to-build-a-bar-to-make-your-home-more-awesome/
https://talesofthecocktail.org/bartenders-advice-building-your-home-bar/ (2016-06-28)
https://www.mlsu.ac.in/econtents/1186_e-book%20of%20Hotel_management_and_operations.pdf
https://rclite.com/blog/lighting-for-a-bar/ (2023-09-26)
https://www.kegworks.com/blog/planning-your-home-bar?srsltid=AfmBOoqsCicAmiRGf8nn8txQ12Zjd1vt7U6RfmsHExJFk0y1nxgydCx3 (2021-01-20)
https://www.build.com/building-a-custom-home-bar/a21706
https://www.youtube.com/playlist?list=PLEm-C3SAn-r76bTedaozC9bpfCiSApsjW
https://www.bourboneur.com/post/kegerator-fundamentals-setting-up-a-home-bar-kegerator
https://woodnluxury.com/guide-to-home-bar-appliances-mini-fridges-wine-coolers-more/ (2022-08-12)
https://www.summitappliance.com/building-your-home-bar
https://miraudiovideo.com/how-to-install-a-sound-system-for-restaurant-or-bar/ (2024-08-20)
https://www.behindthebarwithcaradevine.com/barandbooze/how-to-set-up-your-home-bar (2024-05-12)
https://www.spoken.io/blog/how-to-build-a-basic-home-bar (2024-10-15)
https://www.sprezza.xyz/p/the-complete-guide-to-building-your (2020-11-12)
https://www.kegworks.com/blog/planning-your-home-bar?srsltid=AfmBOorEKWiYrUnjrUFrNUHGw9W9A4q5FRmRSEZiKL43BDx8P0ZlY4FY (2021-01-20)
https://www.kegworks.com/blog/planning-your-home-bar?srsltid=AfmBOoqucx7lAJbtfIz8OEnm9nDzWz5IBYR8Ot3kCxHS4UuCn5sL-ZPn (2021-01-20)
