Are you tired of working on DIY projects in a messy, cramped garage? A well-planned workshop garage can boost your project success rate by 40%. Learning how to build a workshop garage will turn your space into a DIY paradise with smart storage, proper lighting, and all the right tools at your fingertips.
Ready to create your dream workshop?
Key Takeaways
A well-planned workshop garage can boost project success rates by 40% through smart storage, proper lighting, and organized tool placement.
Essential safety features include GFCI outlets every 6 feet, proper ventilation systems, fire extinguishers, and dedicated 220V circuits for heavy tools like air compressors.
The ideal workbench should be 38 inches tall and 24 inches deep, with a weight capacity of 500 pounds for handling various DIY projects.
Wall-mounted storage solutions, including pegboards and Closet Maid’s Max Load shelving, keep tools visible while saving floor space. Overhead platforms near the ceiling store bulky materials.
Epoxy flooring creates a durable, slip-resistant surface that resists oil stains and chemical spills, while rubber fatigue mats provide comfort during long projects.
Table of Contents
Plan Your Workshop Garage Layout
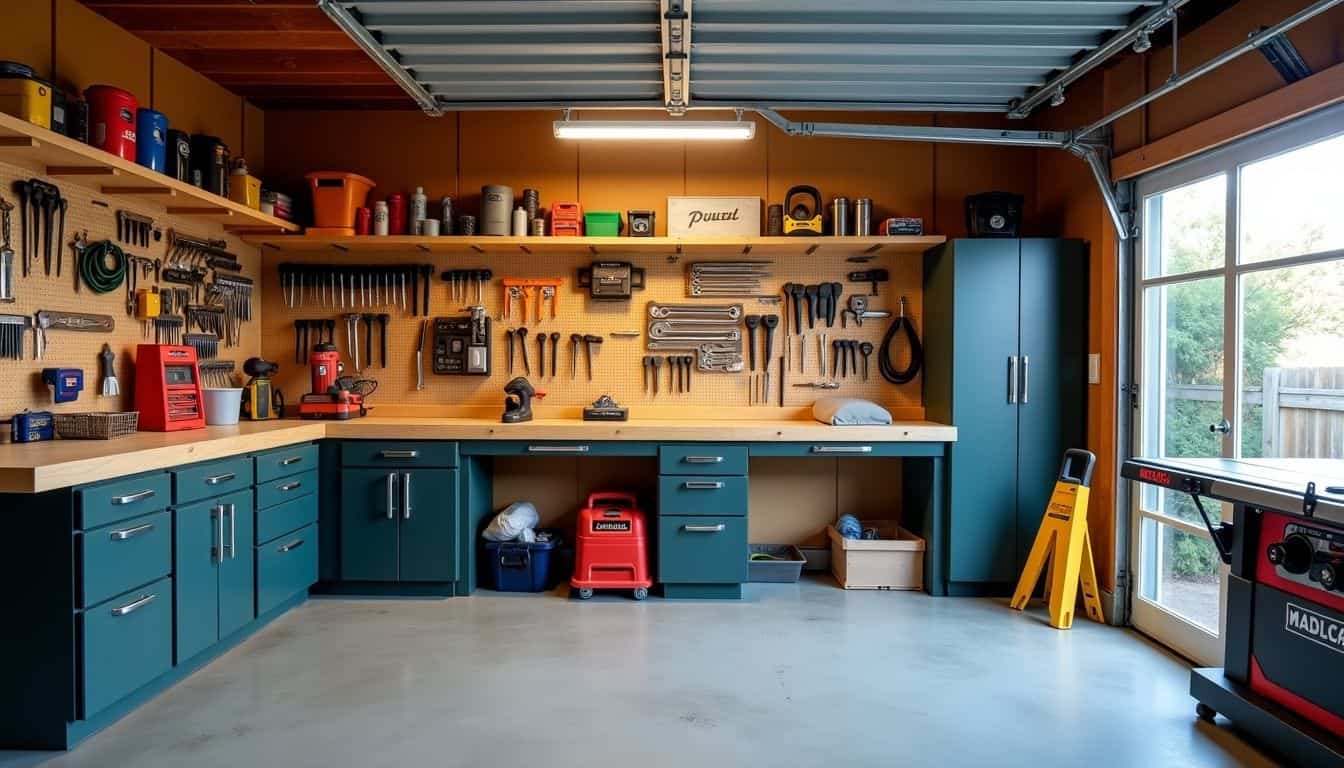
A well-planned garage layout makes all the difference between a cluttered mess and a DIY paradise. Start by mapping out zones for your power tools, hand tools, and workbench on paper, then add storage spots for your socket wrench sets and larger equipment like a table saw or miter saw.
Define your workspace needs

Your garage workshop starts with a clear picture of how you’ll use the space. List every project you plan to tackle – from basic repairs to woodworking or metalworking. Think about the tools you’ll need and the space they’ll take up.
A power drill needs less room than a table saw, but both need proper storage spots.
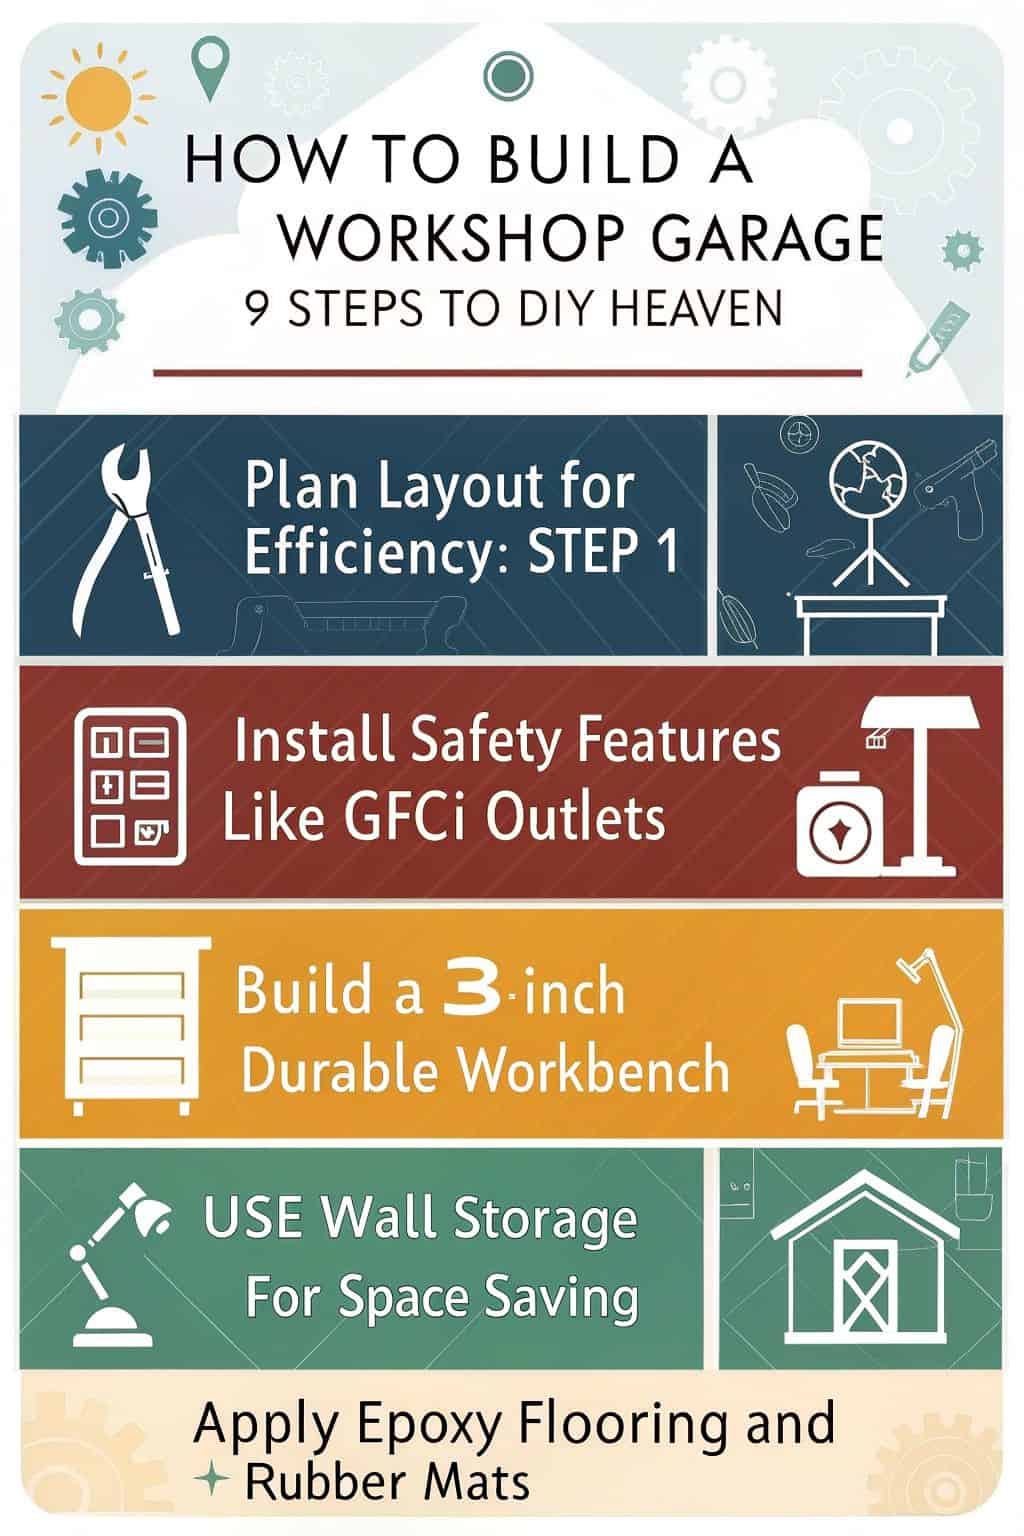
Map out zones for different tasks in your workspace. You might need a welding corner with proper ventilation, or a painting area away from sawdust. Don’t forget about storage space for hand tools, power tools, and materials.
The perfect workshop isn’t about size – it’s about smart space planning for your exact needs.
Your workbench should fit your height for comfort during long projects. Good lighting, especially natural light through windows or fluorescent lights, helps prevent strain and mistakes.
Sketch a layout for optimal organization

A well-planned garage workshop layout makes all the difference in creating a smooth workflow. Smart organization starts with putting your ideas on paper, so grab that pencil and let’s get started.
- Draw your garage’s exact measurements on graph paper, marking doors, windows, and power outlets for a clear starting point
- Map out zones for different activities – woodworking near natural light, metalworking away from flammable materials, and storage along walls
- Place your workbench where you’ll have at least 4 feet of space on all sides for easy movement with tools and materials
- Create a dedicated space for your tool chest and storage cabinets within arm’s reach of your main work area
- Mark spots for wall-mounted pegboards and utility boards to keep frequently used tools visible and handy
- Plan overhead storage areas for seasonal items and less-used equipment, using the ceiling space
- Leave clear paths at least 3 feet wide between work zones for safe movement with large materials
- Note spots for task lighting above each work area, focusing on where you’ll need detailed visibility
- Include space for a portable air conditioner or heater to keep your workspace comfortable year-round
- Mark areas for electrical upgrades like extra outlets and lighting fixtures based on your power tool needs
- Consider ventilation needs – plot spots for fans or vents to keep air flowing while working with paint or chemicals
Prepare the Garage Space
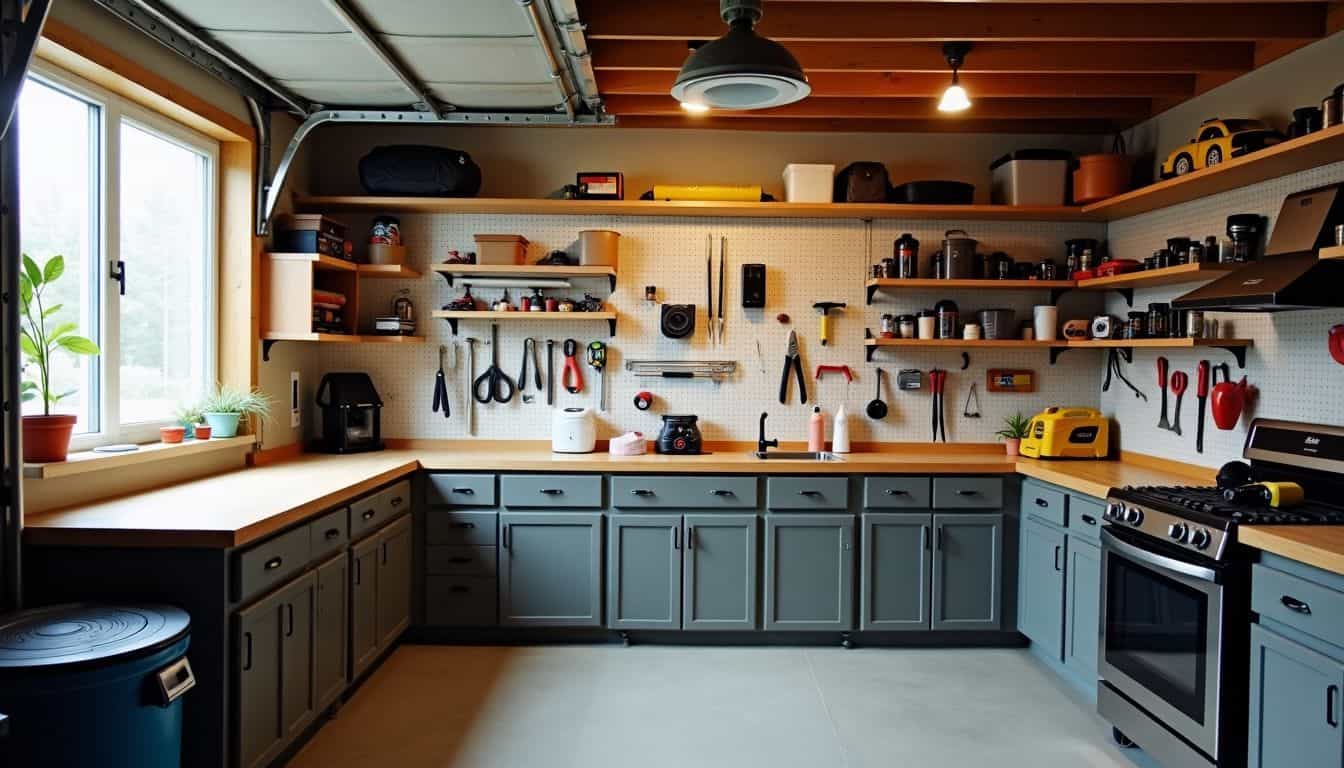
A clean garage space creates the perfect canvas for your DIY dreams. Start by removing old boxes, broken tools, and dusty equipment to make room for proper ventilation systems and insulation materials that will keep you comfortable year-round.
Clean and declutter the area
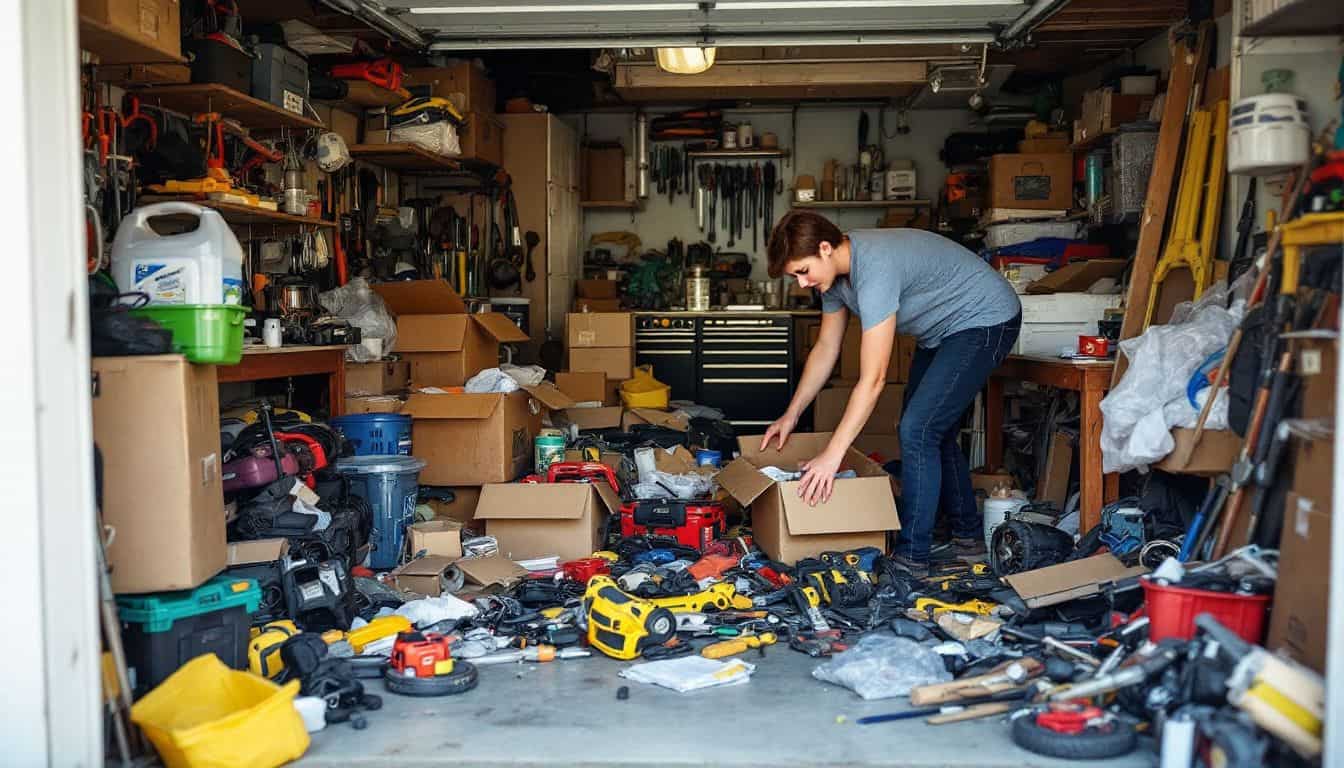
The first step to garage greatness starts with a clean slate. Grab those utility knives and screwdrivers – it’s time to tackle the clutter that’s been living rent-free in your space.
Start by sorting items into three piles: keep, donate, and toss. Clear pathways matter most for safety, so you’ll want to open your garage door wide and move everything onto the driveway for sorting.
Your garage needs breathing room to become a functional workspace. Remove seasonal decorations, old paint cans, and those mystery boxes that haven’t been opened since 2010. Focus on maintaining clean pathways to prevent trips and falls while working with tools.
A place for everything, and everything in its place – this old saying rings especially true for workshop spaces.
Store essential items like your cordless drill and garden tools in designated spots using wall-mounted storage solutions. This setup keeps your floor space open and your workspace ready for action.
Ensure proper ventilation and insulation

Good airflow keeps your workshop garage healthy and safe. A central vacuum system pulls out sawdust and fumes while you work on projects. You’ll want to install exhaust fans near your workbench to remove harmful particles from the air.
Fresh air makes a huge difference in your comfort level while working.
Your workshop needs proper insulation to stay cozy in any weather. Space heaters or radiant heaters warm up cold corners during winter months. For summer comfort, a ductless air conditioner works great.
Solid insulation in your walls and ceiling helps control temperature swings and cuts down on energy costs. Just make sure to seal any gaps around pipes or electrical boxes to stop drafts.
Install Adequate Lighting

Good lighting makes or breaks a workshop garage. You’ll need bright overhead LEDs or fluorescent tubes for general tasks, plus focused task lights near your workbench where you’ll handle detailed projects.
Overhead lighting
Bright overhead lighting forms the backbone of any workshop garage. Track lighting offers the most bang for your buck, with LED bulbs that slash energy costs. You’ll need a mix of halogens and fluorescent tubes to light up every corner of your workspace.
These lights mount directly to your ceiling joists, creating an even spread of illumination across your entire garage.
Your garage needs separate circuits for lights and power tools to avoid blown fuses. Install high-intensity LEDs on one circuit for general lighting. Place adjustable lamps near your workbench for detail work.
Light is the first tool in any DIY workshop.
The right mix of overhead lights will turn your dark garage into a bright, safe space for all your projects.
Task-specific lighting options
Beyond basic overhead lights, your workshop needs focused lighting for detailed tasks. I installed work lights at my workbench for precise cuts and measurements.
Compact fluorescent bulbs offer bright, energy-efficient illumination for detailed projects. My favorite setup includes adjustable dimmer switches that let me control light levels for different jobs.
Task lighting makes a huge difference in your workshop safety and accuracy. I mounted LED strips under my cabinets to light up my tool storage area. Small incandescent bulbs near my vise help me see tiny details while working with metal or wood.
The right mix of lighting helps prevent eye strain and makes every project easier to complete. Smart placement of task lights creates shadow-free work zones where you need them most.
Choose the Right Garage Flooring
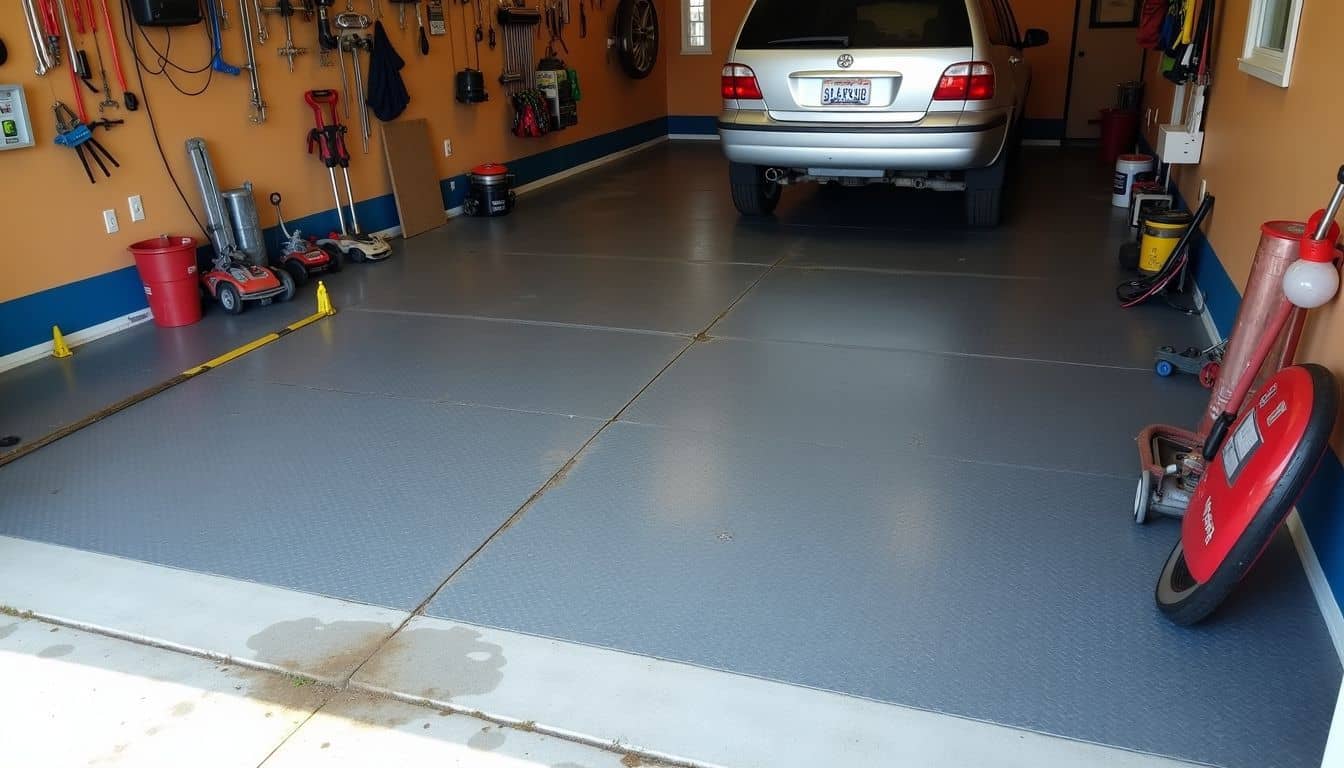
Your garage floor takes a beating from heavy tools, oil spills, and constant foot traffic. Pick epoxy coating or heavy-duty rubber tiles to create a safe, slip-free surface that laughs in the face of dropped wrenches and chemical spills.
Durable flooring materials
Concrete floors stand as the backbone of any workshop garage, but plain concrete won’t cut it. Epoxy finishes create a tough shield that fights oil stains and resists slips. The coating bonds deep into the concrete, making it last for years without cracking or peeling.
Smart garage owners pick epoxy in light colors to brighten up the space and spot dropped screws faster.
Rubber mats or commercial fatigue mats make standing at your workbench easier on your feet and back. These mats protect the floor from heavy tool drops and give you a softer surface for long projects.
Place them in spots where you’ll spend lots of time, like near your vise or saw station. The right mix of epoxy flooring and cushioned mats turns your garage into a space where you can work comfortably for hours.
Anti-slip and easy-to-clean options
Epoxy finishes offer the perfect mix of safety and style for your garage floor. My favorite part about epoxy is how it turns a plain concrete floor into a smooth, glossy surface that fights off oil stains and tire marks.
The finish creates tiny grip points that stop slips, even with wet shoes. You’ll love how a quick mop keeps it looking fresh, unlike raw concrete that soaks up every spill.
Rubber mats and commercial fatigue mats add extra comfort to your workspace. I placed these mats near my workbench, and they’ve saved my feet during long projects. The textured surface grips your boots, while the cushioning reduces leg strain.
These mats snap together like puzzle pieces, making them easy to move or replace. Let’s check out some smart storage ideas to keep your tools within arm’s reach.
Build Storage Solutions
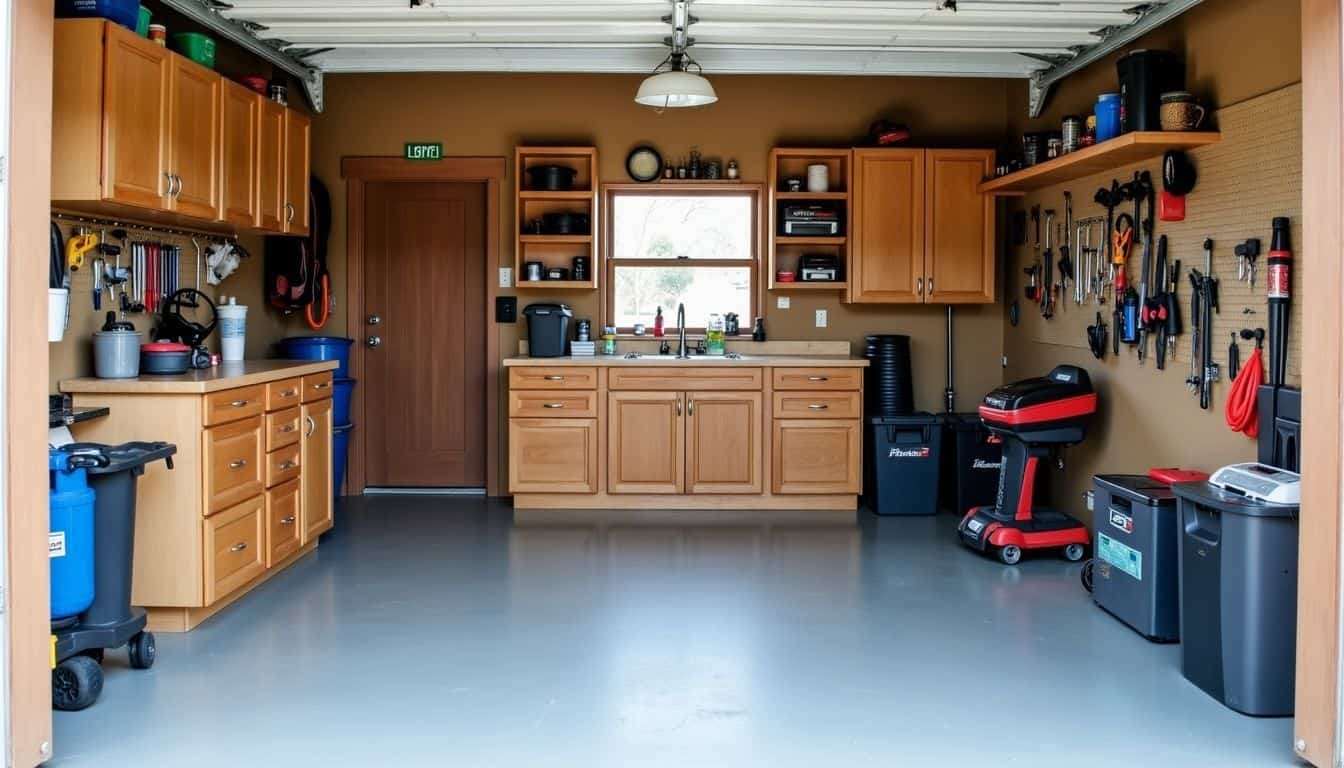
Smart storage solutions turn a messy garage into a DIY paradise. Wall-mounted cabinets and pegboards keep your tools within arm’s reach, while overhead storage racks make use of that often-forgotten ceiling space.
Wall-mounted cabinets and shelves
Wall storage makes or breaks a workshop garage. A mix of wall cabinets and sturdy shelves keeps your tools within arm’s reach. Old kitchen cabinets work great here – they’re tough and perfect for storing smaller items like utility knives and tin snips.
The 1.5-inch thick hardwood countertop below these cabinets creates a solid work surface that’ll last for years.
Your walls can hold more than you think, according to the garage experts at men’s lifestyle site Unfinished Man. Closet Maid’s Max Load shelving system offers serious storage muscle for heavier tools like nail guns and air compressors.
Mount pegboards between cabinets to hang frequently used tools. This setup keeps your garage floor clear while putting everything you need right where you can grab it.
Pegboards for tools and supplies
Pegboards serve as a smart storage solution for any workshop garage. I mounted a large pegboard above my workbench last summer, and it improved my DIY projects significantly. The board holds my chisels, utility knife, and stapler right at eye level.
My tools stay neat and easy to grab, which saves tons of time during projects. The best part? You can move the hooks around to fit different tools as your collection grows.
A pegboard system organizes your workshop space effectively. The holes in the board accept standard hooks and holders, making it ideal for hanging everything from sockets to saw blades.
I painted my pegboard white to make tools pop against the background – this simple addition helps me spot what I need in seconds. The setup keeps the countertop clear and creates more room for actual work.
Here’s how to maximize overhead storage for those bulky items that don’t belong on your pegboard.
Overhead storage for larger items
Overhead storage units give your garage workshop a major space boost. You can mount sturdy platform units near the ceiling to store bulky seasonal items, camping gear, and extra building materials.
These storage platforms keep your valuable floor space clear while putting those rarely-used items within reach when needed.
Smart overhead storage helps you make the most of your garage’s vertical space. Install heavy-duty platform units that can handle big loads – they’re perfect for stashing oriented strand board, shingles, and other construction supplies.
The key is picking units that bolt securely into the roof framing and studs. This setup gives you tons of extra storage without eating up your precious workspace below.
Set Up Your Workbench

A solid workbench forms the heart of your DIY garage, and you’ll want to pick one that can take a beating from your vises and nailers. Your perfect workbench needs built-in storage spots for glue, measuring tools, and those must-have items you’ll grab a hundred times during your projects.
Choose a sturdy and spacious workbench
Your workbench serves as command central for all your DIY projects. I picked a solid maple top bench that stands 38 inches tall and runs 24 inches deep – perfect for most tasks without straining my back.
The counter top needs to handle heavy tools, frequent hammering, and the occasional dropped wrench without showing wear. My vises grip firmly to one corner, giving me extra stability for sawing and drilling tasks.
The right workbench makes or breaks your workshop experience. Storage drawers under mine keep tools within arm’s reach while saving precious floor space. Built-in power strips eliminate tangled extension cords, and a pegboard backdrop holds frequently used items at eye level.
The sturdy frame supports up to 500 pounds, so I can tackle anything from basic repairs to building garden sheds without worrying about stability.
Add built-in storage or tool racks
Built-in storage transforms a basic workbench into a powerhouse of organization. I installed pegboards above my workbench last summer, and it changed my DIY game forever. My tools now hang neatly on hooks, making them easy to grab and put back.
The wall-mounted storage keeps my crosscuts and countersink bits within arm’s reach while freeing up valuable bench space.
Tool racks come in many shapes and sizes to match your needs. A magnetic strip holds small metal tools like screwdrivers and wrenches. Wooden racks with custom-sized slots protect power tool batteries and chargers.
My favorite addition was adding pull-out drawers under the workbench top – they’re perfect for storing smaller items like latches and hurricane straps that would otherwise get lost in the shuffle.
Next up, we’ll look at the essential tools and equipment needed to stock your workshop properly.
Stock Essential Tools and Equipment

Your workshop needs solid tools that match your skills and projects. Start with basic hand tools and safety gear, then grow your collection as you tackle bigger jobs with power tools and specialty equipment.
Power tools and hand tools
Every workshop needs basic power tools and hand tools to tackle DIY projects. I keep my power drill close by – it’s perfect for quick fixes and big builds alike. My trusty 16-ounce curved claw hammer sits right next to it on my workbench.
The circular saw makes straight cuts through lumber like butter, while my hand saw gives me more control for detailed work.
I’ve learned that good tools make projects faster and safer. My air compressor helps clean sawdust off surfaces in seconds. The right tools also save money – I fixed my own siding last summer instead of hiring someone.
Each tool has its spot on my pegboard wall, making them easy to grab. A clean, organized space with proper ventilation keeps my workshop running smoothly. Safety gear stays within arm’s reach because protection matters more than speed.
Safety gear and cleaning supplies
Your power tools need proper safety gear to match. Safety glasses, gloves, and respirators form your basic protection kit. A sturdy pair of work gloves keeps your hands safe from cuts and splinters.
Clear safety glasses shield your eyes from flying debris. Respirators protect your lungs from harmful dust while you work with wood or chemicals.
Keep your workshop clean with the right supplies. Stock up on heavy-duty brooms, dust pans, and shop vacuums. A fire extinguisher sits ready for emergencies, while a first aid kit handles minor cuts and scrapes.
Smart storage solutions, like wall-mounted cabinets, keep these items close but out of your way. Air conditioning units help control dust and keep your workspace comfortable during long projects.
Add Electrical and Utility Features
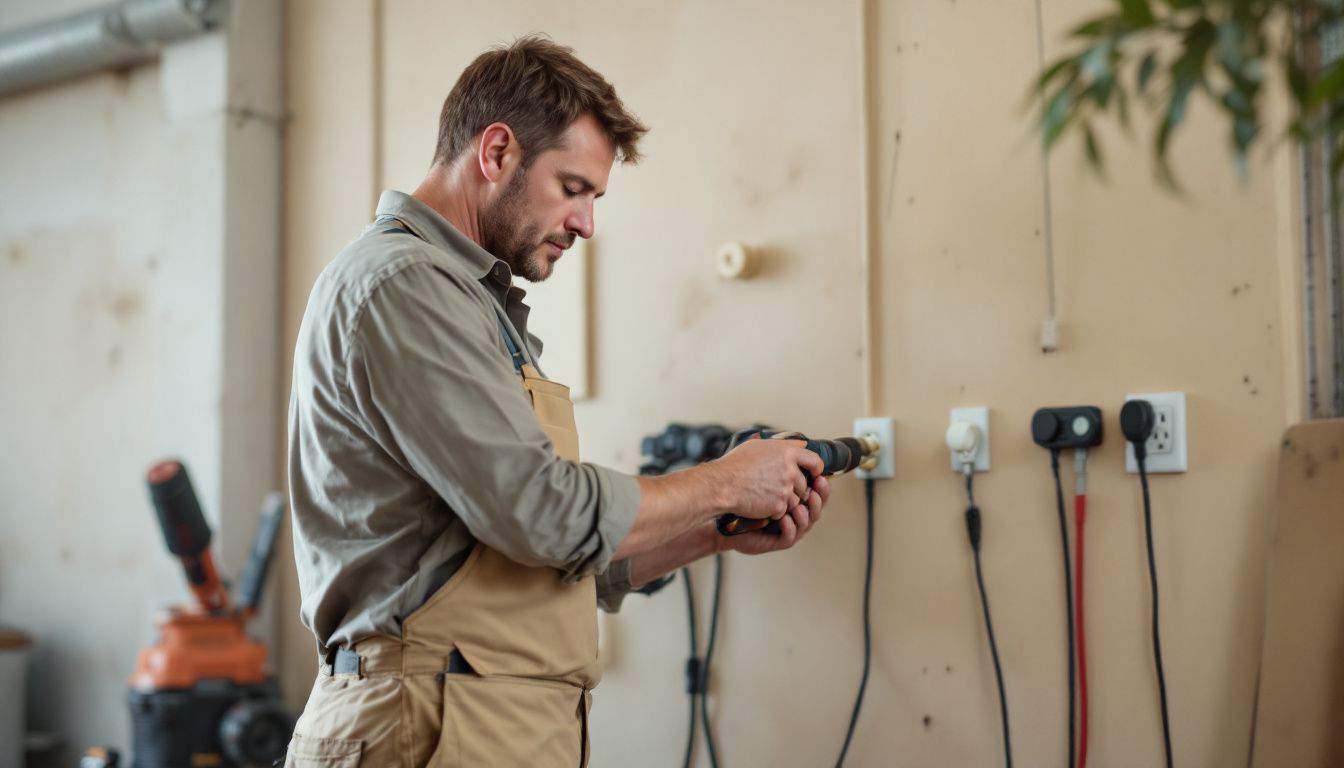
Your workshop needs proper power to run all your tools. A good setup includes multiple outlets on each wall, plus a dedicated 220V circuit for heavy-duty tools like air compressors and washers.
Install additional outlets
Power tools need lots of juice to run smoothly. Most older garages lack enough outlets, which leads to dangerous daisy-chaining of extension cords. I suggest adding at least one outlet every 6 feet along the walls.
This setup creates separate circuits for lighting and power tools, stopping those annoying power outages mid-project.
A smart garage needs proper electrical planning. Mount outlets about 48 inches high on the walls to save your back from constant bending. Put GFCI outlets near any water sources for safety.
The Better Business Bureau recommends hiring a licensed electrician to install new circuits and outlets. This keeps your workspace safe and up to code while protecting your tools from power surges.
Consider air compressors or other utilities
Air compressors bring life to your workshop garage. I installed a 20-gallon model last month, and it’s perfect for running nail guns, inflating tires, and cleaning dusty surfaces. The key sits in mounting it near your main power source and ventilating system.
This setup helps manage noise levels while keeping the workspace cool during those busy project days.
Your garage needs more than basic power outlets to shine. My workspace sports a mix of 110V and 220V outlets for different tools, plus a central vacuum system that makes cleanup a breeze.
A water line comes in handy for mixing concrete or washing up after messy tasks. These utilities turn a basic garage into a real DIY paradise where you can tackle any project with ease.
People Also Ask
What’s the first step to building a workshop garage?
Start with a proper survey of your land. This helps you pick the perfect spot and follow local building rules. Think of it as mapping your DIY heaven!
How do I handle the roof and shingling process?
First, put up the sheathing as your base. Then add flashing around edges to keep water out. Finally, get your roof shingled by laying them bottom to top, like building a cozy blanket for your garage.
What’s the best way to set up tools storage in my workshop garage?
Plan your tools storage early. Add infrared heating to keep your workspace comfy year-round. Think about wall space, pegboards, and cabinets. Your tools should feel right at home!
How do I make sure the frame is sturdy?
Each beam needs to be toenailed properly into place. It’s like putting together a giant puzzle – every piece matters! Double-check your measurements and connections. A solid frame means a safe workshop for years to come.
