Are you tired of messy paper scraps and glue sticks taking over your craft room? Digital scrapbooking has changed the way we save our precious memories, making it easier than ever to create beautiful photo albums.
I’ll show you how to digital scrapbook in six simple steps using tools like Photoleap or Affinity Photo. Ready to turn your photos into stunning digital masterpieces?
Key Takeaways
Digital scrapbooking needs basic tools like photo editing software (Adobe Photoshop Elements, GIMP, or Affinity Photo) and digital elements like PNG files and backgrounds.
The standard canvas size for digital scrapbook pages is 12×12 inches (3000×3000 pixels), though 8.5×11 inches works well too.
Keep designs clean by using only 2–3 photos per page and 3-5 decorative items, with drop shadows to create depth and realism.
Mix different textures and layers to create visual interest, but stick to 2-3 font styles per page to maintain a neat look.
You can share digital scrapbooks through email or social media, or print them through services like Shutterfly in various sizes like 12×12, 8×8, or 8.5×11 inches.
Table of Contents
What is Digital Scrapbooking?
Digital scrapbooking brings traditional scrapbooking into the computer age. Instead of paper, scissors, and glue, you’ll use photo editing software and digital tools to create stunning memory books.
This modern craft lets you mix photos, text, and clip art to make layouts for photo books, cards, and even party decorations. Photo editing apps like https://www.photoleapapp.com/ let us transform ordinary family snapshots into eye-catching scrapbook pages in minutes.
Your computer becomes your crafting table with digital scrapbooking. You can scan old photos, import new ones from your camera, and add graphics with just a few clicks. The best part? No mess to clean up, and you can save multiple copies of your work as PDFs or high-resolution images to share on the web or print into beautiful keepsakes.
Digital scrapbooking is where creativity meets technology to preserve your precious memories.
Tools You Need to Start Digital Scrapbooking
You’ll need basic tools to start your digital scrapbook magic. A good photo editing program and digital elements will set you up for success.
Software options
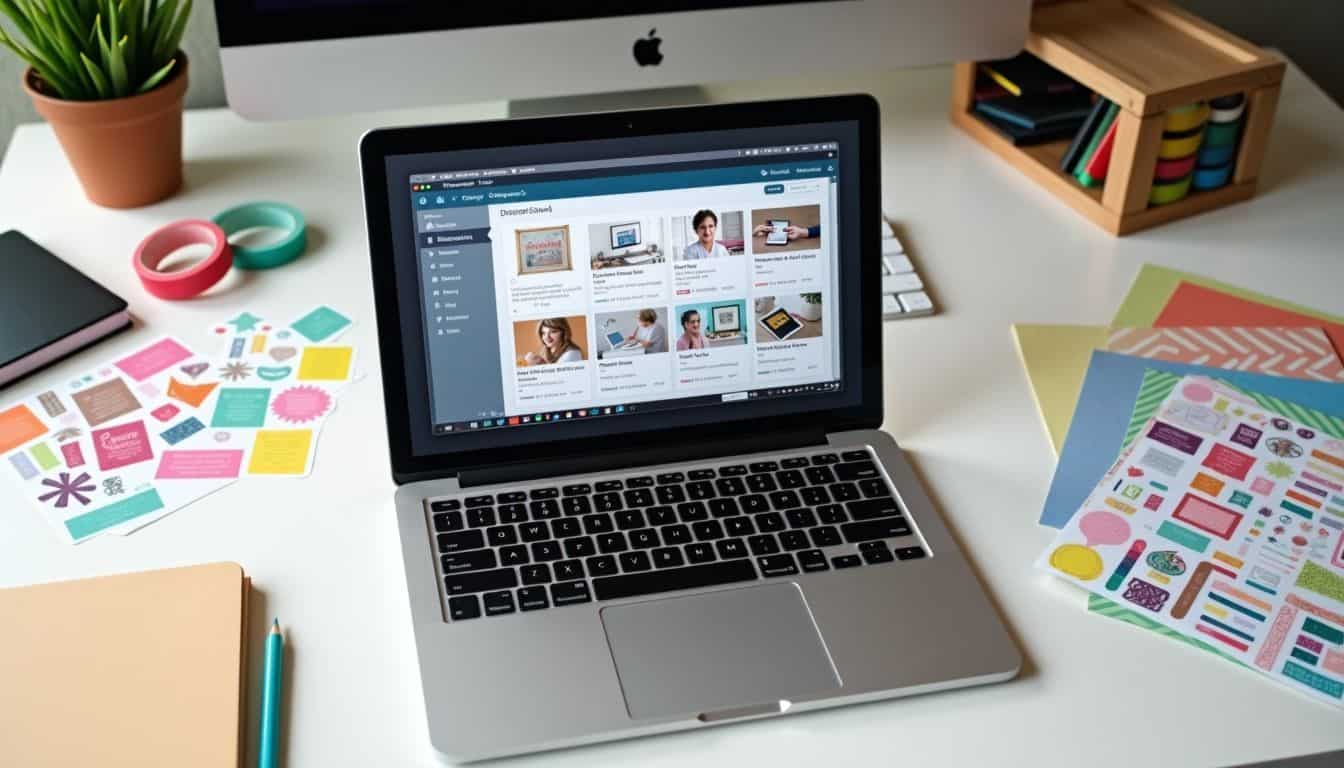
Digital scrapbook software makes memory keeping fun and simple. Many great options exist for both beginners and pros who want to create stunning layouts.
- Adobe Photoshop Elements stands out as a perfect starter choice. This budget-friendly program costs less than the full Photoshop CC and packs all the basic tools needed for scrapbooking.
- GIMP offers a free way to start digital scrapbooking. The software includes basic image editing tools and works well for simple layouts with photos and text.
- Adobe Photoshop CC serves as the top pick for serious crafters. The monthly subscription gives access to pro-level tools for advanced image editing and complex scrapbook designs.
- Forever Artisan focuses purely on digital scrapbooking. The program comes loaded with templates, backgrounds, and stickers made just for memory books.
- My Memories Suite makes scrapbooking easy with drag-and-drop features. The software includes ready-made layouts and decorative elements for quick page creation.
- Project Life App turns your phone into a mobile scrapbook studio. The app lets you edit photos and create pages right from your device, perfect for on-the-go memory keeping.
- Affinity Photo App brings pro-level editing to iPads. The one-time purchase gives you powerful tools to craft beautiful scrapbook pages on your tablet.
Graphics and embellishments

Now that you’ve picked your software, let’s talk about the fun stuff – decorating your pages! Pretty graphics and decorations bring life to your scrapbook pages, just like sprinkles on a cake from your favorite bakery.
- PNG files are your best friends for decorations. These files have clear backgrounds, so they blend perfectly with other elements on your page. I love using them for flowers, ribbons, and cute little icons.
- Background papers set the mood for your whole page. The standard size is 12×12 inches, perfect for most scrapbook layouts. My go-to choices are soft patterns or vintage scrapbook textures.
- Digital stamps add a hand-drawn feel to your pages. They work great as frames around your photos or as cute doodles in empty spaces.
- Journal cards come in handy sizes like 3×4 and 4×6 inches. They’re perfect spots for writing down your precious memories next to your photos.
- Drop shadows make everything pop off the page. They create a real-life scrapbook look by adding depth to your elements.
- Templates save tons of time. Think of them as ready-made layouts where you just drop in your photos and text. They come in PSD, TIFF, or PNG formats.
- Doodles and clip art add personality to your pages. I scatter them around my photographing memories to create fun visual stories.
- Text elements help tell your story. Mix different fonts and sizes to make important words stand out on your finder panels.
- Realistic shadow styles from top designers make your elements look natural. One Little Bird and Sahlin Studio offer amazing shadow collections.
- Website elements like buttons and frames give your pages a modern touch. They work great for tech-themed layouts or current event memories.
How to Create a Digital Scrapbook

Creating a digital scrapbook brings your memories to life with just a few clicks. I’ll show you six clear steps to build your own stunning memory book, from picking the perfect canvas size to adding those final sparkly touches.
Step 1: Set up your canvas

Start your digital scrapbook by picking the right canvas size. Most pros use a 12 x 12 inch canvas or 3000 x 3000 pixels for square layouts. The 8.5 x 11 inch size works great too, just like a standard piece of paper.
Your scanner will help capture old photos at these sizes perfectly.
A blank canvas is your gateway to endless creative possibilities.
Open your software and click “CREATE YOUR OWN” under the Layouts tab to begin. This gives you total control over your personalized scrapbook design. The empty canvas might look scary at first, but think of it as your fresh start to tell amazing stories through pictures and memories.
Step 2: Choose a background

Your background sets the mood for your scrapbook pages. The Patterns tab offers tons of ready-made designs that match any theme you want. You can pick florals for spring memories, stripes for graduation photos, or polka dots for birthday parties.
The best part? These backgrounds come in different colors so you can match them to your photos.
Got a special image in mind? Upload your own background to make your scrapbook pages stand out. Maybe you want to use a photo of sand for your beach vacation pages, or textured paper for your holiday memories.
The background you pick will make your scrapbooks pop with personality. Just drag and drop your chosen design onto your canvas, and resize it to fit perfectly.
Step 3: Add photos and images

Now that you have a perfect background, it’s time to bring your memories to life. Pick 2-3 photos that tell a story on each page. I like to drag my photos straight from my computer or Google Drive into the Image Manager.
This saves me lots of time!
Photos need to pop against your background, so try adding borders or drop shadows. These small touches make a big difference. Place your main photo in the center to grab attention, then arrange smaller photos around it.
Think of it like setting up a beautiful dinner table – the main dish goes in the middle, with side dishes arranged neatly around it. Move photos around until they feel balanced and tell your story just right.
Step 4: Write captions and text

Text brings your photos to life in digital scrapbooks. Pick fonts that match your style – handwritten fonts add a personal touch to your pages. Your captions can be short date markers or longer stories about the memories.
I love using the Background tool to make text pop against busy photos.
Words tell the story your photos can’t capture alone.
Make your text easy to read by using the Outline or Highlight tools. Place text boxes next to photos to explain the who, what, and where of each moment. Mix up your fonts, but stick to two or three styles per page to keep things neat.
I’ve found that black text with a white outline works great on almost any background.
Step 5: Add embellishments and decorations

Decorations bring your digital scrapbook pages to life. Clipart adds a personal touch to each page, making your memories pop with style. Small details like ribbons, buttons, or flower designs create depth and charm.
I love adding sparkles to wedding photos and cute stickers next to baby pictures.
Your pages need breathing room, so space out your decorations wisely. Too many embellishments can make your page look messy. Pick three to five decorative items per page for the best results.
The right mix of photos, text, and pretty extras will make your scrapbook shine. Now, let’s talk about sharing your finished digital scrapbook with friends and family.
Tips for Enhancing Your Digital Scrapbook
Your digital scrapbook needs a few special touches to make it pop off the screen. I’ll share some clever tricks to make your pages look like real scrapbooks, complete with depth and texture that’ll wow your family and friends.
Use shadow effects for a realistic look
Shadows make your digital scrapbook pages pop off the screen. Each element needs its own shadow style to look real, just like paper scrapbooks. Start with the bottom layers and work your way up, giving each piece the right amount of shadow.
Photos need subtle shadows, while paper elements need deeper ones.
Making shadows look natural takes a bit of practice, but it’s worth the effort. A stay-at-home-mom can master this skill during naptime or quiet moments.
The secret is in adjusting two main settings: Distance and Size. Paper items need bigger shadows than flat stickers or photos. Now we’ll show you how to mix textures to add even more depth to your pages.
Experiment with layering and textures
Layering adds dimension to your digital pages, similar to creating a sandwich with delicious layers. I start with a solid background, then stack photos, papers, and decorative elements on top.
The visual impact comes from combining different textures – placing a silk ribbon next to rough burlap, or matching smooth paper with glittery elements. These contrasts create dynamic pages that stand out.
Working with layers requires practice and patience. I enjoy adjusting elements up and down, testing their visual harmony. Sometimes I position flowers behind a photo, other times I arrange them to peek from the edges.
Each layer benefits from a drop shadow to create depth – this technique makes everything appear real and tangible. Here’s how to share your finished masterpiece with family and friends.
How to Share or Print Your Digital Scrapbook
Digital scrapbooks offer many ways to share your precious memories. You can sync your pages with iPhoto to display them on all your Apple devices. This makes it easy to show off your creations to friends and family on iPads, iPhones, or Mac computers.
The digital format lets you email your scrapbook pages or post them on social media with just a few clicks.
Printing your digital scrapbook gives you a physical keepsake to hold and display. Shutterfly stands out as a top choice for turning digital pages into beautiful printed albums. They offer popular sizes like 12×12, 8×8, and 8.5×11 inches.
Photo books save space with their slim design and come in different cover styles. You’ll get crisp, clear images that look just as good as traditional scrapbooks.
People Also Ask
What tools do I need to start digital scrapbooking?
You’ll need a computer, photo editing software, and digital photos to begin. Think of your computer as your crafting table, and the software as your scissors and glue. Many folks start with free tools like Canva or Google Photos before moving to fancier options.
How do I organize my digital photos for scrapbooking?
First, sort your photos by date or event. Create folders on your computer to keep things tidy. It’s like setting up little boxes for your memories. Pick your best shots and keep them in a special folder for your current project.
Can I add text and decorations to my digital scrapbook?
Yes! Digital scrapbooks let you add captions, stickers, and pretty backgrounds. You can type stories next to photos or drop in cute digital elements. Think of it as having an endless supply of craft supplies at your fingertips.
How do I share my digital scrapbook with family?
You can save your creation as a PDF file, print it as a photo book, or share it online. Some people post their books on social media, while others email them to loved ones. You could even burn them to a DVD for grandma’s coffee table.
References
https://katehadfielddesigns.com/what-is-digital-scrapbooking/
https://www.simplescrapper.com/2017/04/start-digital-scrapbooking/
https://annaaspnesdesigns.com/a-beginners-guide-to-digital-scrapbooking/
https://www.befunky.com/learn/how-to-make-a-digital-scrapbook/
https://www.lemon8-app.com/wishiwasavirgo/7217987592871920134?region=us
https://meminto.com/how-to-make-a-digital-scrapbook/
https://ams-collage.com/how-to-make-a-digital-scrapbook.php
https://www.flexclip.com/learn/how-to-create-a-digital-scrapbook.html
https://blog.digitalscrapbookingstudio.com/2023/07/tutorial-realistic-shadowing/
https://www.thirdstopontheright.com/learn-to-make-layered-digital-scrapbook-pages/ (2015-06-21)
