Are you staring at bare concrete walls, wishing you could hang up your favorite art? You’re not alone. Many folks struggle with this common home decor challenge. But don’t worry – hanging art on concrete walls isn’t as tough as it seems.
This guide will show you three easy ways to get your art up without damaging your walls. Ready to transform your space? Let’s get started!
Key Takeaways
Three main methods for hanging art on concrete walls are drilling with threaded anchors, using adhesive strips, and employing hardwall hangers.
Adhesive strips work well for lightweight art up to 8 pounds, while hardwall hangers can hold medium-weight pieces up to 30 pounds.
When drilling, use a hammer drill with a carbide-tipped masonry bit and wear safety goggles to protect your eyes from concrete dust.
Clean the wall with rubbing alcohol before applying adhesive strips to ensure they stick properly.
Check your hung artwork regularly by gently wiggling the frame to make sure it’s still secure on the concrete wall.
Table of Contents
Preparing to Hang Art on Concrete Walls
Before you grab your hammer, take a breath. Picking the right spot and knowing your art’s weight are key. These steps set you up for success — no crumbling walls or fallen frames!
Choosing the right location
Picking the perfect spot for your art on concrete walls is key. You want a place that shows off your piece and fits your room’s vibe. Think about lighting – natural or artificial.
Good light can make your art pop! Also, consider the wall’s condition. Is it smooth or bumpy? According to Wallism, a purveyor of high-quality wall murals and wallpaper, smooth surfaces are best for hanging art.
Don’t forget about eye level. Most folks hang art too high. The center of your piece should be about 57 inches from the floor. This height works for most people. But feel free to adjust based on your room’s setup.
Just make sure you can see and enjoy your art easily!
Selecting appropriate art and frame weight
Now that you’ve chosen the perfect spot, let’s chat about selecting art that won’t leave your wall looking like a slice of Swiss cheese. Size is key, folks! Larger, heavier pieces need more support to stay in place.
Think about it – a small nail won’t keep your grandma’s oil painting secure. But don’t worry! There’s an ideal solution for every artwork.
For concrete walls, lighter options often work better. Adhesive strips can support up to 6 pounds when you use two. That’s great for those cute family photos or small prints. Got something weightier? No worries! Brick clips can support up to 25 pounds, but they’re particular about where they’ll attach.
For the really heavy pieces, you’ll need some sturdy hardware. Sleeve anchors or drop-in anchors are your go-to options here. They’ll keep even the bulkiest art pieces secure. Just remember – pair your hanging method with your art’s weight, and you’ll be all set!
Methods of Hanging Art on Concrete Walls

Hanging art on concrete walls isn’t as tough as it seems. You’ve got options – from drilling to sticking. Let’s dive into three ways that’ll keep your art up and your walls intact.
Drilling and Using a Threaded Anchor for Heavy Pictures
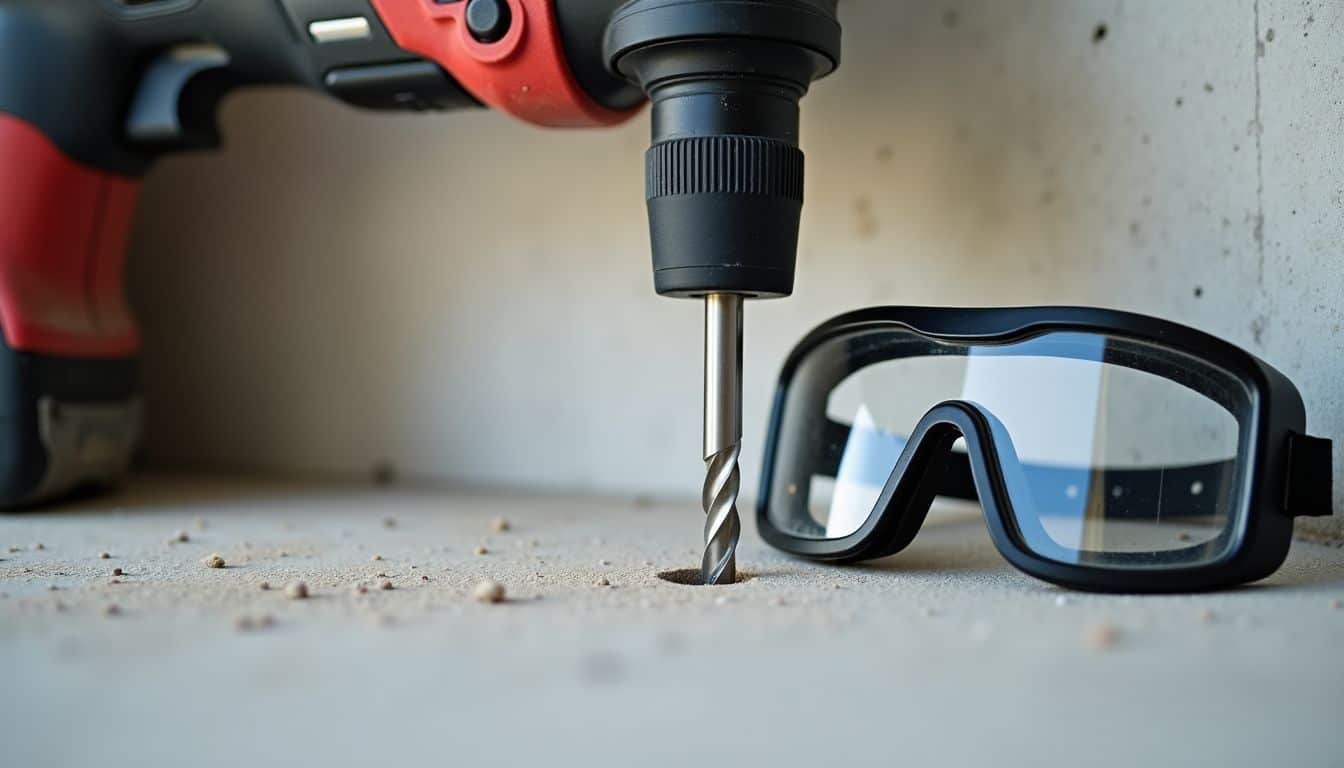
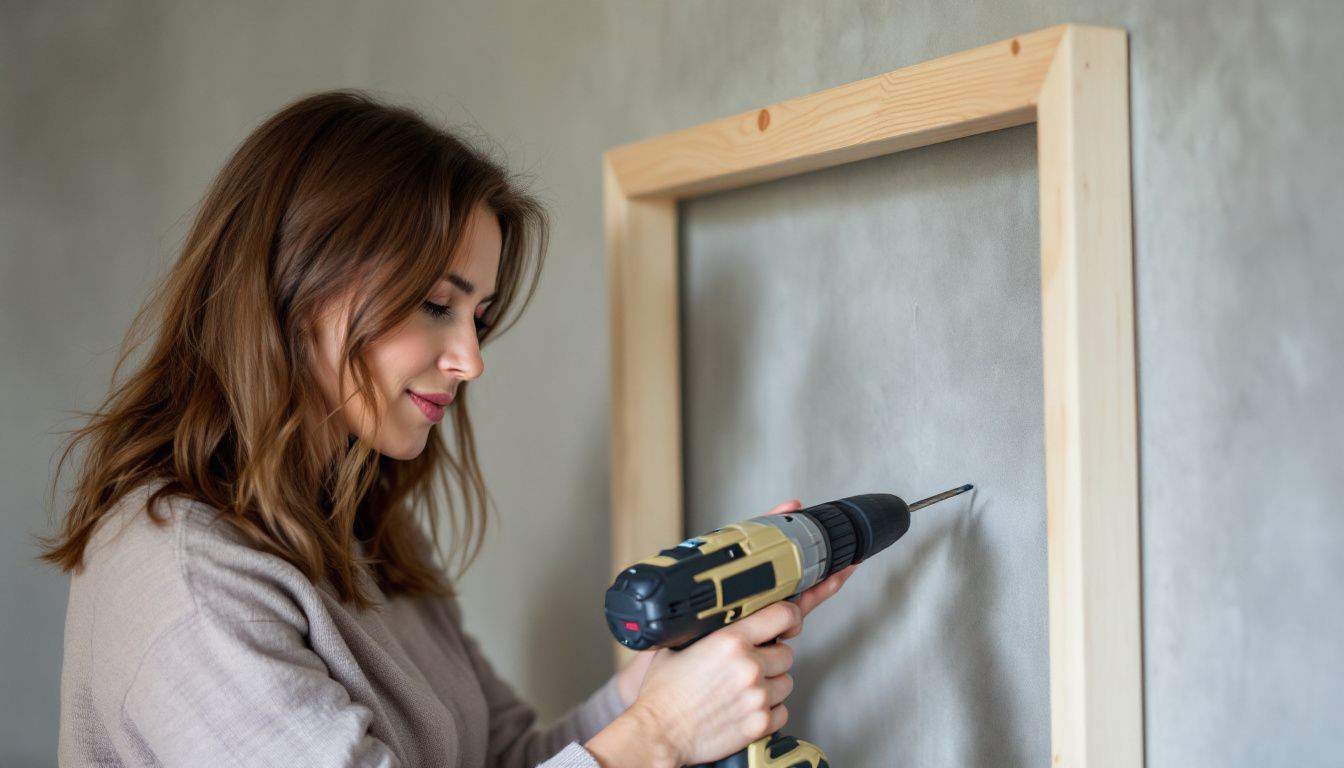
Got a heavy picture to hang on your concrete wall? No sweat! Grab your hammer drill and tungsten carbide masonry bit. These tools are your best friends for this job. First, mark your spot and put on those safety goggles.
Trust me, you don’t want concrete bits flying into your eyes!
Start with a guide hole at low speed. It’ll give you more control, especially on older walls. Once you’ve drilled, blow out the dust. Now, pop in your threaded anchor. You might need to tap it gently with a hammer to seat it properly.
I learned this the hard way when my first attempt left a wobbly frame!
A well-hung picture is worth a thousand words… and a lot less headache!
Using Adhesive Strips for Lightweight Pictures

Moving from heavy-duty drilling, let’s explore a gentler approach for your lighter art pieces. Adhesive strips offer a fuss-free solution for hanging lightweight pictures on concrete walls.
These nifty little helpers can hold up to 8 pounds when you pick the right ones. I’ve used them countless times in my own home to create an inviting home without damaging the walls.
Here’s the scoop: clean your wall with rubbing alcohol first. It helps the strips stick better. The strips come in two parts – one for your frame, one for the wall. Press them together for half a minute to make sure they’re really stuck.
The best part? If you change your mind, just pull the tab and your art comes off without a trace. It’s like magic for your walls!
Employing Hardwall Hangers for Medium-weight Art

Hardwall hangers are a game-changer for hanging medium-weight art on concrete walls. These nifty gadgets come in two sizes: small ones that hold up to 20 pounds and large ones that can handle 30 pounds.
They’re perfect for those pieces that are too heavy for adhesive strips, but not quite hefty enough to warrant drilling and anchors.
Using hardwall hangers is pretty straightforward. You’ll need a rotary drill with a masonry bit to make a guide hole in the concrete. Then, you simply tap the hanger into the hole with a hammer.
The cool thing about these hangers is that they have tiny teeth that grip the concrete, keeping your art secure. Just make sure you pick the right size for your artwork’s weight… nobody wants their favorite piece crashing to the floor! With hardwall hangers, you can deck out your concrete walls without the stress of complex installation methods.
Step-by-Step Guide for Each Method
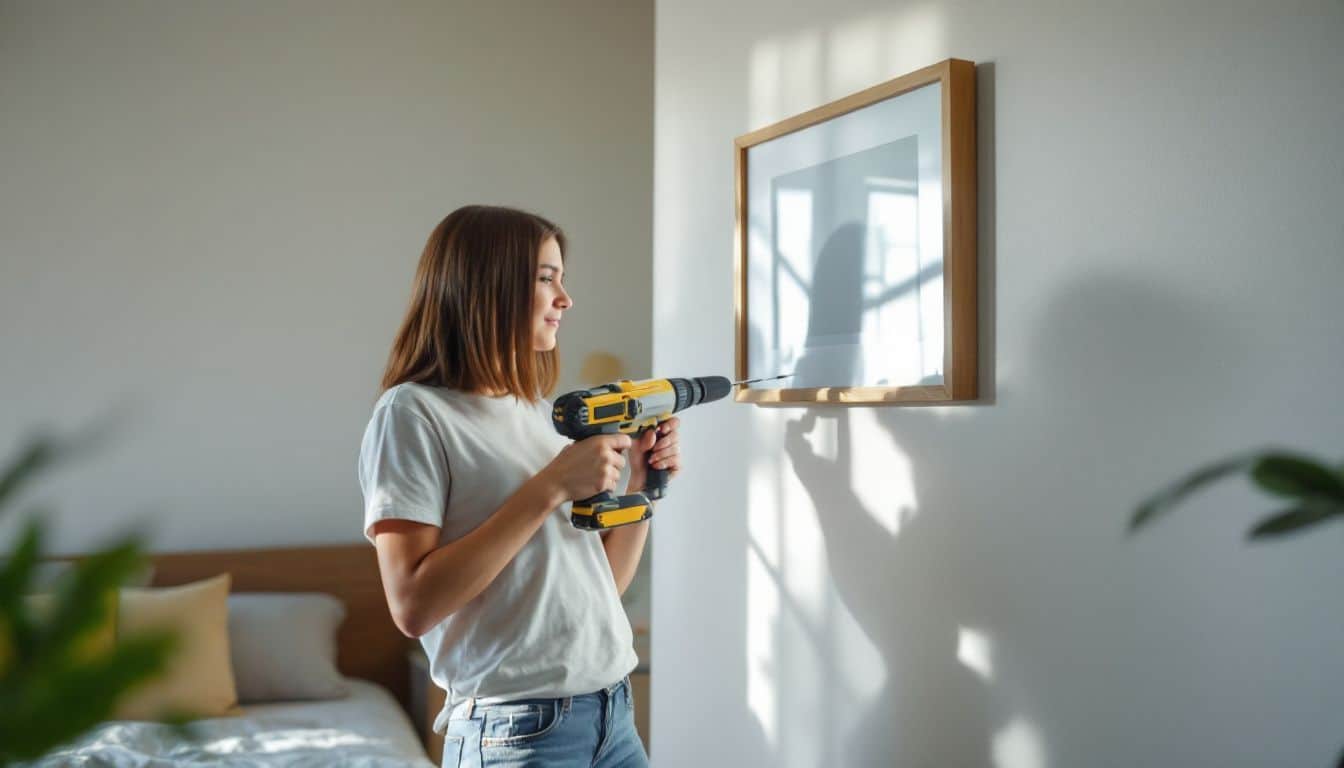
Ready to dive in? Let’s break down each method step-by-step. You’ll find clear instructions for drilling, sticking, and hanging – no guesswork needed!
Setting up for drilling: Tools and safety tips
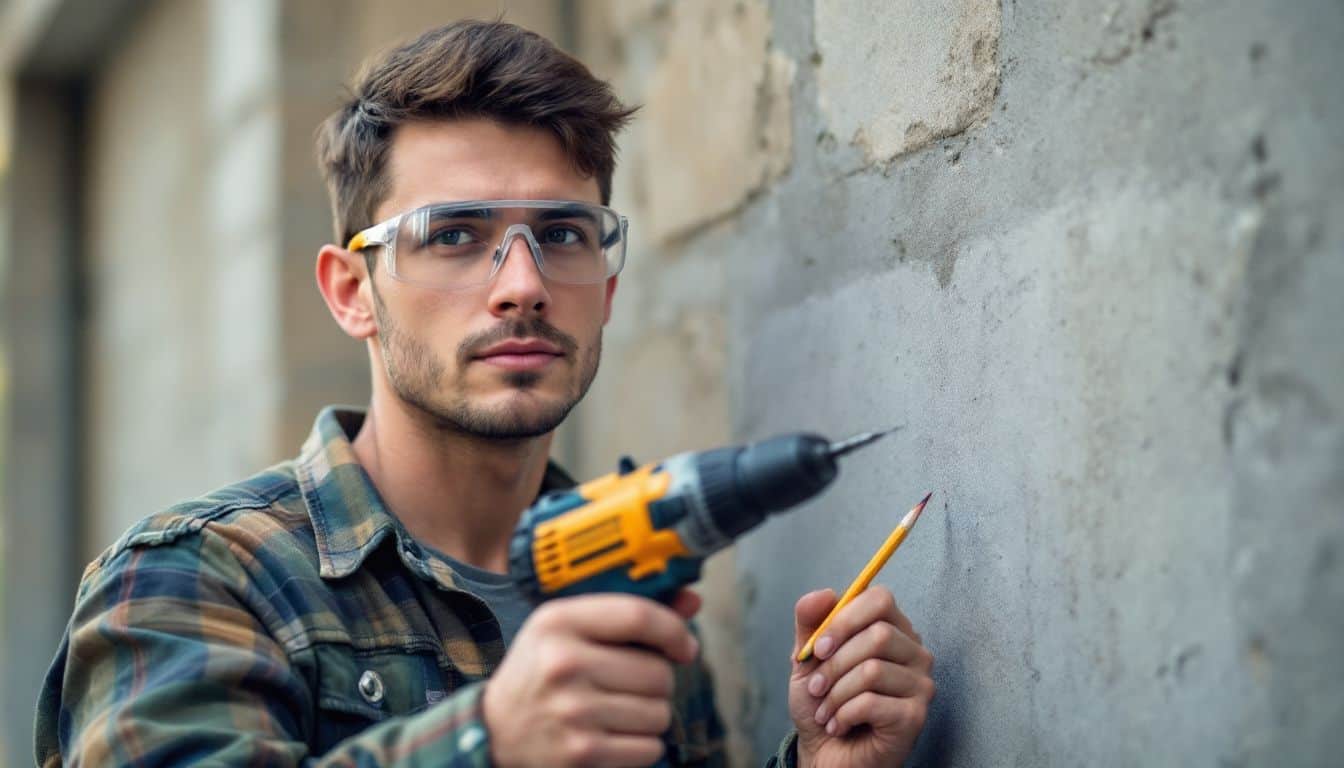
Let’s get ready to drill! Safety comes first, so we’ll start with the right gear and tips.
- Grab your hammer drill: This power tool is a must for concrete walls. It’s like a regular drill on steroids!
- Choose a carbide-tipped drill bit: These tough bits can handle concrete like a hot knife through butter.
- Don protective eyewear: Shield those peepers from flying bits of concrete. Trust me, you don’t want that stuff in your eyes!
- Mark your spot: Use a pencil to pinpoint where you’ll drill. It’s like X marks the treasure spot!
- Start slow and steady: Begin drilling with light pressure. No need to go full Hulk mode right away.
- Keep it cool: Pause every 15 seconds to let the bit cool down. Hot bits are cranky bits!
- Drill to the right depth: Stop when you hit your depth mark. It’s like playing ‘Operation’ but with walls!
- Clean out the hole: Blow out dust with a can of compressed air. It’s oddly satisfying, like cleaning your ears!
- Insert wall anchors: These little guys will hold your screws tight. They’re the unsung heroes of wall hanging!
- Rent if needed: Don’t own a hammer drill? No sweat! Tool rental shops have got your back.
Now that we’re set up for drilling, let’s move on to using those adhesive strips for lighter art pieces.
Applying adhesive strips correctly

Now that we’ve covered drilling, let’s move on to a gentler method. Adhesive strips offer a no-fuss way to hang lighter pieces without damaging your concrete walls.
- Clean the wall and frame: Wipe the wall with rubbing alcohol. Do the same for the back edges of your frame.
- Choose the right strips: Pick adhesive strips made for hanging pictures. They come in different weight limits.
- Apply strips to frame: Stick strips to each corner on the back of your frame. Press firmly.
- Remove backing: Peel off the protective layer from the other side of the strips.
- Position and press: Hold your art where you want it. Push it against the wall for 30 seconds.
- Wait it out: Give the adhesive an hour to set before letting go. This helps it stick better.
- Check stability: After an hour, gently tug the bottom of the frame. If it feels secure, you’re all set!
- Remove carefully: To take down, stretch the strips downward. Don’t pull straight out – that could harm your wall.
Installing hardwall hangers
Moving from adhesive strips, let’s talk about a stronger option. Hardwall hangers work well for medium-weight art on concrete walls. Here’s how to put them up:
- Get your stuff: You’ll need a hammer, safety glasses, and the hardwall hanger kit.
- Make a mark: Use a pencil to lightly show where you want your art.
- Place the hanger: Hold it against the wall at your mark.
- Start hammering: With your safety glasses on, hammer all pins into the wall at the same time. This helps it hold better.
- Make sure it’s tight: Gently pull on the hanger to check if it’s in place.
- Put up your art: Carefully set your artwork on the hanger. Take a step back and enjoy your work!
- Check now and then: Every few months, take a look at your art to make sure it’s still hanging well.
These hangers are great for concrete, cement, and cinder block walls. They’re tough – perfect for those hard surfaces that give other hanging methods trouble.
Tips for Successful Installation
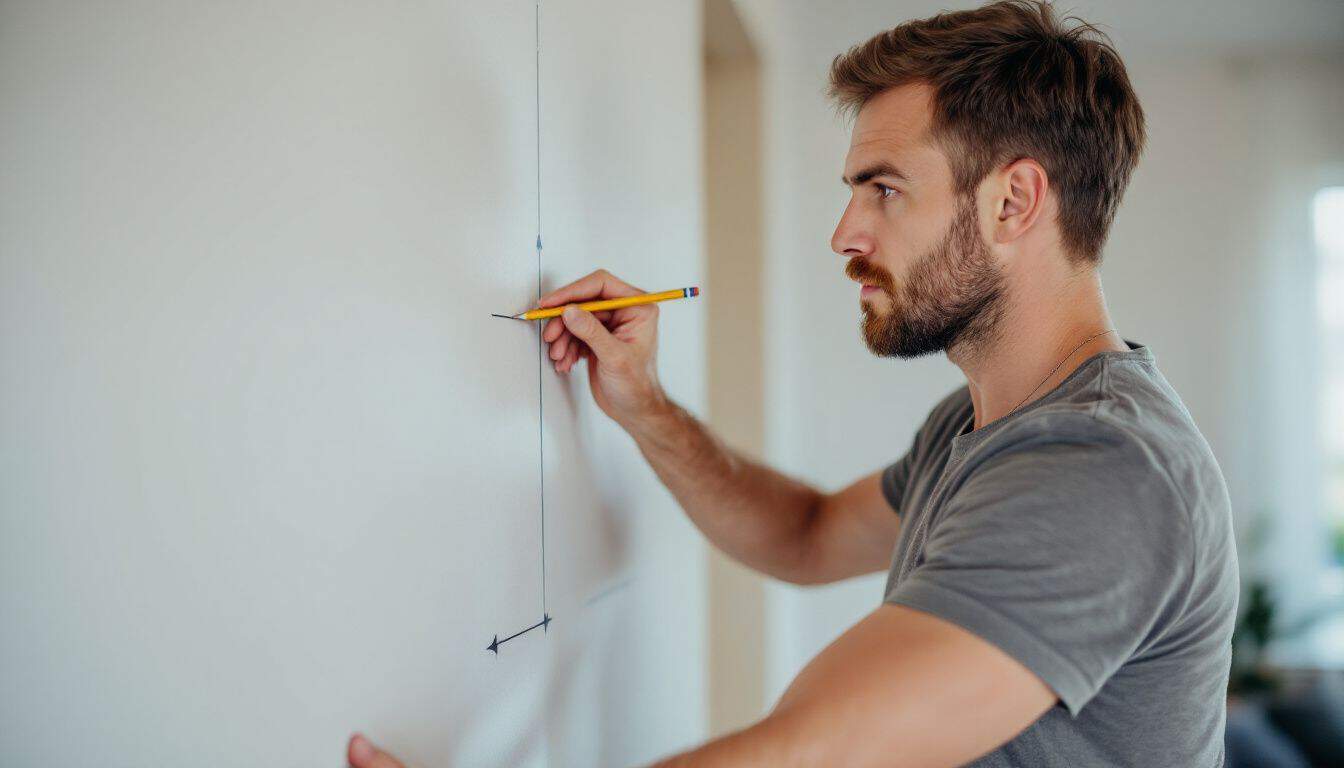
Want to hang your art like a pro? Our tips will help you nail it – literally! From picking the right spot to making sure everything’s level, we’ve got you covered. Keep reading to become a wall-hanging wizard!
Testing wall strength and material
Before you hang art on concrete walls, you need to check how strong they are. Grab a hammer and tap the wall gently. A solid sound means it’s sturdy concrete. A hollow sound? That could be drywall over concrete block.
This matters because it affects which hanging method you’ll use.
Next, figure out what your wall is made of. Is it poured concrete or concrete blocks? Poured concrete is super strong, while blocks can be a bit weaker. For blocks, aim to hang art where the mortar joins them.
This gives you a stronger hold. Don’t worry if this sounds tricky – it’s easier than it seems!
Measuring and leveling for perfect alignment
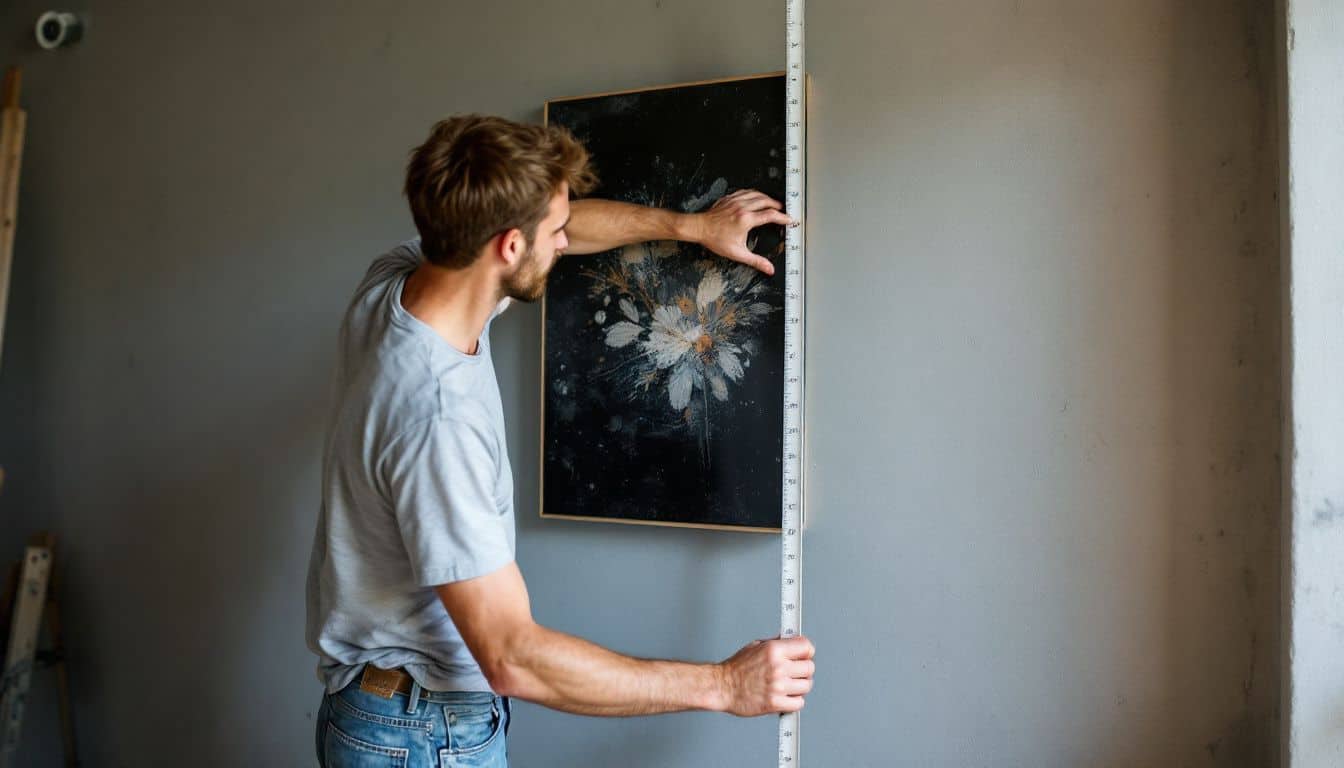
Got a concrete wall? No sweat! Hanging art just got easier. First, grab your trusty level and tape measure. These tools are your best friends for perfect alignment. Mark the spots where you’ll hang your art with a pencil.
Don’t eyeball it! Measure twice, hang once. This simple step saves you from crooked frames and off-center pieces.
Now, let’s talk about that level. It’s not just for show. Use it to draw a straight line where your art will go. This helps you spot any wall bumps or dips. If you’re hanging multiple pieces, use the level to keep them all in line.
It’s like magic – your wall transforms into a pro gallery! Next up, we’ll dive into the nitty-gritty of actually getting that art on your concrete wall.
Maintenance and Care of Art on Concrete Walls

Keeping your art safe on concrete walls isn’t rocket science. It’s all about regular check-ups and a little TLC. Want to know more? Keep reading!
Regular checks on hanging stability
Regular checks on your wall art’s stability are a must. Trust me, I’ve learned this the hard way! Once, my prized painting crashed down during a dinner party – talk about a conversation starter.
Now, I make it a habit to give my art a gentle wiggle every few weeks. It’s quick, easy, and saves a ton of heartache. Plus, it’s a great excuse to admire your pieces while you’re at it.
Don’t forget to peek behind the frames too. Dust and grime can build up, weakening adhesives over time. A quick wipe with a soft cloth keeps things clean and secure. While you’re at it, why not take a moment to style your apartment a bit more? Moving art around can refresh your space.
Just remember to use your hammer-drill or self-adhesive strips when you rehang. Safety first, style second!
Cleaning guidelines for art and hardware
Now that you’ve checked your art’s stability, let’s talk about keeping it clean. Dust and grime can make your beautiful pieces look dull. But don’t worry! Cleaning your art and hardware is easy.
For framed pieces, use a soft, dry cloth to gently wipe the frame and glass. Avoid water or harsh cleaners – they can damage your art. For the hardware, a quick once-over with a damp cloth will do the trick.
Just be sure to dry it right away to prevent rust. If you used adhesive strips, be extra careful not to get them wet. A light dusting is all they need. Gentle is the way to go when cleaning your concrete wall art!
People Also Ask
What tools do I need to hang art on concrete walls?
You’ll want a power drill, concrete screws, and wire. These are your best buddies for this job. Don’t skimp on quality – cheap tools might leave you with a mess on your hands.
Can I hang art without drilling into concrete?
Sure thing! There are ways to dodge the drill. Adhesive hooks or mounting tape can work wonders. Just be careful – some heavy pieces might need more muscle.
How do I know if my concrete wall can handle the weight of my art?
Good question! It’s all about the wall’s strength. Tap it – if it sounds hollow, tread lightly. Solid concrete? You’re golden. When in doubt, call a pro. Better safe than sorry!
What’s the trick to hiding wires when hanging art on concrete?
Ah, the age-old battle against unsightly wires! Try running them along the edge of the frame. Or get crafty – paint them to match your wall. Remember, a little creativity goes a long way in making your space look top-notch.
