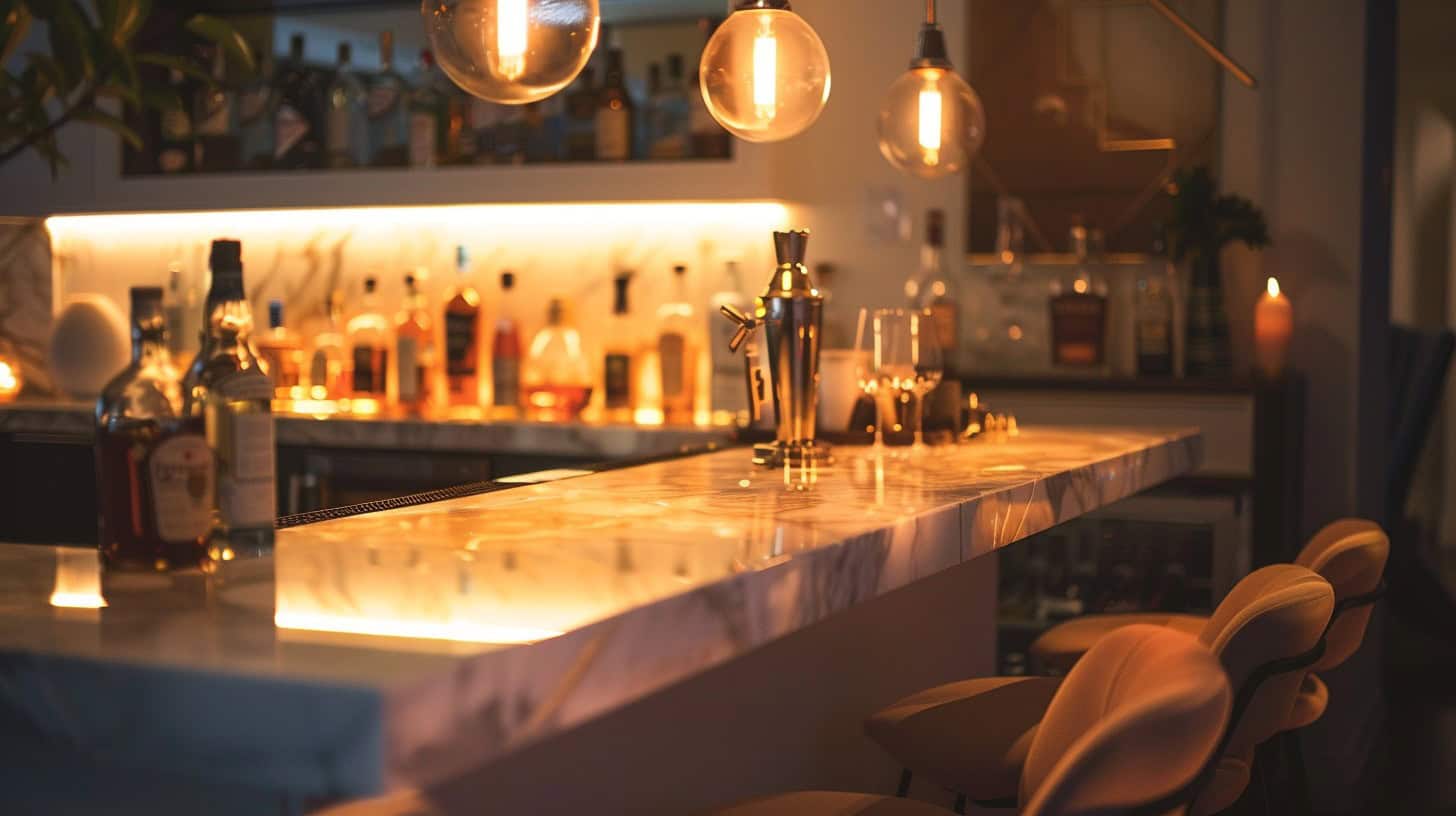
Turning a corner of your home into a stylish bar might seem tricky. You’ll find it’s surprisingly doable with basic tools and some creativity. This guide walks you through 10 easy steps, from selecting the right spot to stocking up on spirits and mixers like bourbon, vermouth, and tonic water.
Get ready for stylish sipping at home.
Key Takeaways
You can make a home bar by picking the right spot in your house, like a living room corner or patio. Measure and design it to fit well.
Gather materials like wood, screws, and tools such as saws and drills to build the bar frame. Add countertops, shelves for bottles and glasses, and choose finishes that match your style.
Light up your bar with LED strips and pendant lights. Decorate it with themes you love. Stock it with various drinks, mixers, glasses, and bartending tools for making cocktails.
Adding fun touches like a mobile bar cart lets you move your party around easily. Use old furniture and add wheels to create one.
Keep updating decor and lighting to make your home bar welcoming for friends or enjoying drinks alone.
Table of Contents
Planning Your Home Bar Setup
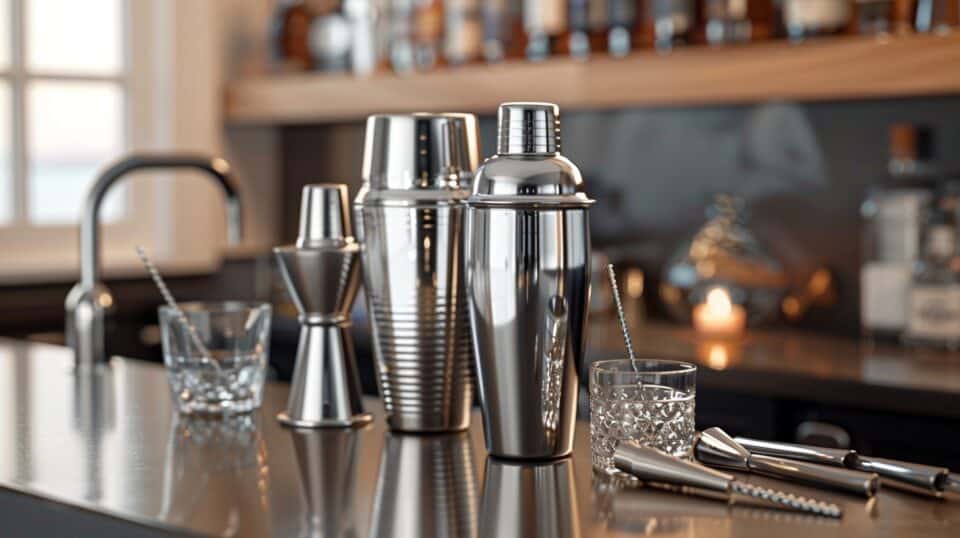
Choosing where to build your home bar is step one. Think about what works best—maybe a quiet corner or near the TV for game days.
Selecting the Ideal Location
Picking the right spot for your home bar matters a lot. Think about where you like to relax or have friends over. A living room corner, a renovated garage, or a patio can be perfect.
Make sure there’s enough space for moving around and that it fits well with the rest of your home vibe. Marcel Dagenais went for his in Milwaukee, showing us any place works if planned right.
Next up is designing your bar layout. Keep in mind, your bar should be 42 inches high and 24 inches deep. This size fits most spaces and feels just right when pulling up a stool for a drink.
Whether you’re into watching sports with buddies or enjoying cocktails on the rocks, getting these dimensions correct is crucial before moving forward.
Designing Your Bar Layout
After finding the perfect spot in your home, it’s time to sketch out your bar’s blueprint. Consider the shape that works best for you—L-shaped, horshe-shaped, or straight—and how each fits into your chosen space. Think about accessibility and flow; you’ll want enough room behind the bar to move comfortably and a layout that invites guests in.
Your design must include key areas: storage for bottles and glasses, a place for a draft beer system installation, and seating arrangements. Shelves should be divided based on what goes where—spirits up top, mixers below. Ensure there’s enough counter space for preparing drinks, and consider adding special features like a wine rack or kegerator conversion kits if you’re aiming high. Every inch counts in making your home bar both functional and inviting.
Measure twice; cut once. This old saying is golden when designing your home bar layout—it saves time and resources in the long run.
Gathering Materials and Tools

To start building your bar, you need the right stuff. Make a list of wood, screws, and finishes — then grab tools like saws and hammers to bring it all together.
Listing Essential Materials
Building your home bar needs the right materials. You want durability and style to meet in every piece you choose. Here’s what you’ll need:
- Get 2×4 wooden pieces for the bar’s frame. This size is sturdy and works well for most designs.
- Pick up some 1×2 lumber for finer details and trims around the bar.
- Choose plywood sheets for the main surface areas, like the countertop and shelves.
- Find corner molding to give edges a smooth finish and professional look.
- Grab a cordless drill – it’s crucial for putting everything together without too much hassle.
- Stock up on wood screws of various lengths to secure all parts of your bar.
- Wood glue will help reinforce joints and keep things steady.
- Use wood putty to fill in any gaps or screw holes, making surfaces clean.
- Pre-stain conditioner prepares your wood for staining, ensuring an even coat,
- Select a stain that matches your home’s theme or desired look for the bar,
- Pick polyurethane to seal your stained wood, protecting it from spills and wear,
- Foam brushes are needed for applying stains and finishes smoothly,
- A level guarantees your bar isn’t leaning; trust me, it makes a difference.
Next, gather tools like tape measures, saws, and safety gear to start building,
Identifying Necessary Construction Tools
Now that you’ve listed all the materials for your home bar, it’s critical to focus on the tools required for building it. Reliable tools make the job smoother and ensure your bar stands strong and looks great. Here’s a list of must-have tools based on first-hand experiences in constructing a solid and stylish home bar:
- Table saw and circular saw: Essential for cutting wood precisely. These saws make sure your pieces fit perfectly together.
- Cordless drill: A true workhorse for drilling holes and driving screws deep into wood, making assembly quick and secure.
- Brad nailer or hammer and finish nails: Perfect for attaching smaller wood pieces without splitting them.
- Mason trowels: Not just for bricklayers; they’re great for spreading adhesives or leveling surfaces when installing countertops.
- Wheelbarrows: Handy for moving heavy materials from one spot to another, especially if you’re mixing concrete for a sturdy bar base.
- Putty knives: Ideal for applying fillers or sealants, smoothing out any imperfections along your bar’s surface.
- Nail guns: Speed up the construction process by efficiently securing larger wooden parts together.
- Portable concrete mixers: Ensure fresh concrete right where you need it if you decide on a concrete countertop or base.
- Screeds and floats: After pouring concrete, these tools help smooth out the surface, key for countertops or decorative elements.
Each tool plays a pivotal role in creating a home bar that looks inviting and is built to last. From precise cuts to smooth finishes, having the right equipment at hand turns complex projects into manageable tasks, ensuring your DIY adventure ends with refreshing cocktails on tap at your new home bar.
Constructing the Bar Frame
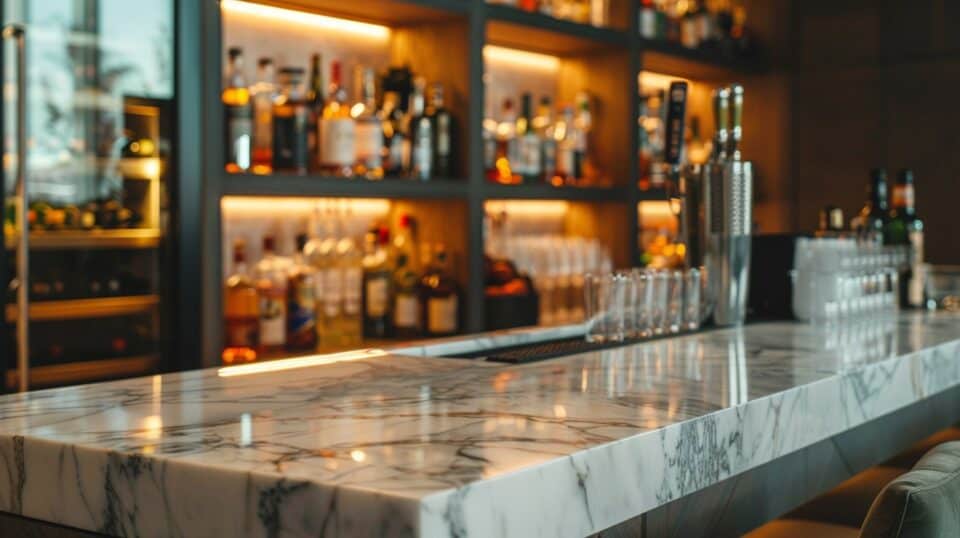
Building your bar starts with the frame. You’ll cut wood, then put it together with nails and a hammer.
Cutting and Assembling Wood Pieces
Making a bar starts by shaping and joining wood. You will need precise measurements and the right tools.
- First, measure the space for your bar. A typical home bar is about 42 inches high.
- Gather your lumber based on these measurements. You’ll need pieces for the bottom support, sides, and top frame.
- Use a saw to cut lumber to size. For a smooth finish, go slowly.
- Create the bottom support by arranging four wood pieces into a rectangle. Screw them together with power drills and suitable drill bits.
- Stand this base where you want your bar to be. This makes it easier to attach other parts.
- Next, prepare side supports by cutting two more pieces of wood that match your bar’s height.
- Fix these side supports onto the bottom brace with screws, ensuring they are vertical.
- Cut additional lumber for the top frame that will rest on these sides—this holds everything together.
- Secure the top frame in place with screws, making sure it’s level, so your drinks won’t slide off.
Next comes adding countertops and storage solutions to make your home bar functional and stylish.
Securing the Structure
Building a strong bar ensures it lasts for years. Properly securing the structure is key to durability.
- Start with attaching two 2×4 pieces horizontally to the side supports for the bottom brace.
- Place another 2×4 piece across these, at the back, to make the support even stronger.
- For added stability, add a cross-support between these horizontal pieces.
- Connect two more 2x4s vertically at each end of the cross-support in the middle. This forms a solid base.
- Move on to the top brace by attaching additional 2×4 pieces across the top of the side supports.
- Ensure all connections are tight and aligned accurately for a sturdy frame.
- Use screws and a power drill for fastening wood pieces together firmly.
- Check all joints and make sure there’s no wobble in any part of the frame.
- Apply wood glue at each joint before screwing them together for an extra strong bond.
- Once the frame is secure, double-check measurements and structure stability before moving on.
These steps guarantee your home bar isn’t just stylish, but also stable and durable, ready for entertaining guests or enjoying a quiet drink alone.
Setting Up Countertops and Storage
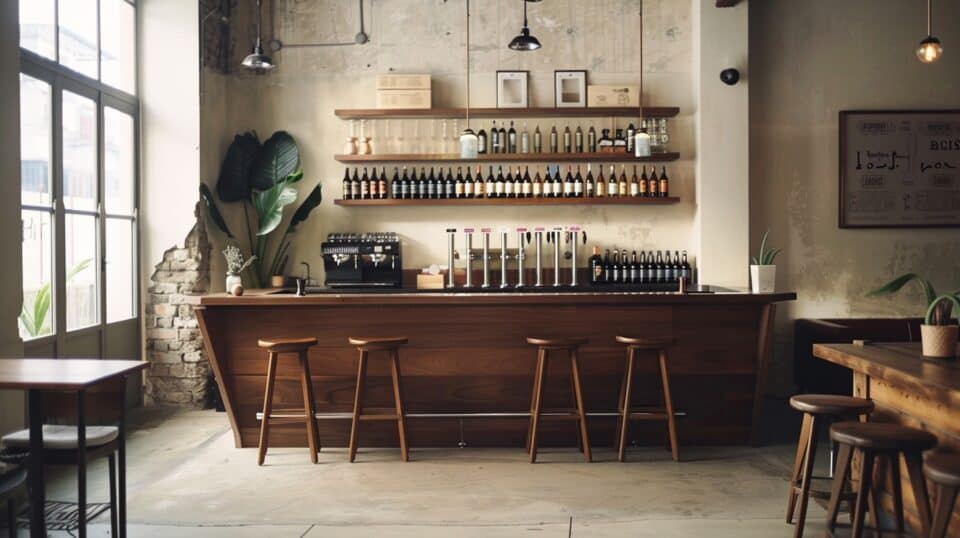
Choosing the right surfaces for your countertops is key—think about durability and style. Next, install these tops and shelves to keep all your drinks and tools organized.
Choosing Countertop Surfaces
For your home bar, picking the right countertop surface is key. Granite, marble, and wood are top picks for their look and toughness. Wood brings natural warmth to your bar area—it’s durable and works well in many designs.
Quartz also stands out for being easy to keep clean, not getting stained, and lasting a long time. You’ll want about 12 to 15 inches of space hanging over the counter front so people sitting at the bar have room for their knees.
Installing these surfaces takes careful measuring and some tools but pays off in style and function. With granite or quartz, you might need professional help due to their weight. For wood countertops, DIYers can cut costs by doing it themselves with basic carpentry tools like saws and screwdrivers.
Keep maintenance in mind—wood may need regular treatment, while granite or quartz will stay looking good with just cleaning. Such choices add value not just to your home bar but to your whole house experience.
Installing Countertops and Shelves
After choosing your countertop surfaces, it’s time to install them. This next step will bring your home bar to life.
- Measure your cabinet layout with precision; you need accurate numbers before you order new countertops. Countertops come by the running foot, and custom-made laminate ones cost about $30 each.
- Save money by installing premade countertops yourself; doing this can cut costs in half compared to hiring a professional.
- Collect essential tools like a tape measure, saw, drill, and level—tools that ensure a smooth installation.
- Cut the countertops carefully based on your measurements. Always double-check dimensions before cutting.
- Secure countertops in place using adhesives and screws for a tight fit that won’t shift over time.
- Turn attention to shelves next, deciding on storage solutions for bottles and glasses. Think about both function and beauty here.
- Choose materials for shelves that match or complement the countertops for a cohesive look.
- Use strong brackets and supports when putting up shelves; they must hold heavy items like liquor bottles without sagging.
- Apply sealant or stain to both countertops and shelves if made of wood; this protects them from spills and adds shine.
- Lastly, clean surfaces with safe cleaners like Fantastic or Pine-Sol instead of bleach or abrasive products, which can harm laminate finishes.
By following these steps, you’ll have counters for mixing cocktails and shelves for all your supplies—the heart of any good home bar is ready to host gatherings or solo sipping sessions in style.
Crafting the Bar Front and Applying Finishes
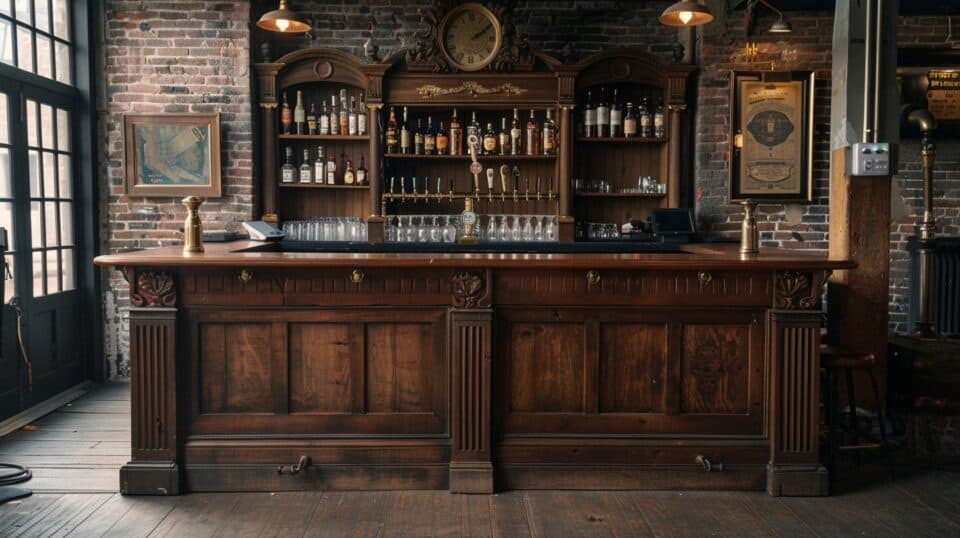
Pick the right materials for your bar’s face, like wood or metal. Then, use stain and sealant to protect it and make it shine.
Selecting Materials for the Bar Front
For your bar front, plywood stands out as a solid choice. It’s durable and works well with paint or decals if you decide to add logos or messages for that personal touch. Adding glossy black MDF aprons along with decorative cherry appliqués will give corner bars an appealing look.
This mix looks good and ensures your bar can handle the spills and knocks from daily use.
Consider dimensions carefully—each plan has specific measurements. Following these helps ensure everything fits right without wasted material or space. For finishes, applying stain and sealant protects the wood, keeping it looking sharp and making clean-ups easy.
With these materials and tips, building a bar front that stands out is straightforward—ensure you measure twice and cut once to keep things running smoothly.
Applying Stain and Sealant
Applying stain and sealant makes your home bar look great and last longer. It’s a must-do for the perfect finish. Here’s how:
- Choose your stain color wisely; it should match the vibe of your space.
- Gather all necessary materials: pre-stain conditioner, stain, polyurethane, sponge brushes, face mask, and rubber gloves.
- Prepare the wood by applying a pre-stain conditioner. This ensures an even coat.
- Use a sponge brush for staining; it helps avoid streaks.
- Apply the first coat of stain following the grain of the wood. Let it dry as instructed on the can.
- Check if you need more coats to get the desired color. If so, apply another coat and let dry.
- Once staining is complete and dry, clean any dust off with a tack cloth or lightly sand if needed.
- Apply a coat of polyurethane with a fresh sponge brush to protect the wood.
- Allow the polyurethane to dry fully before touching or adding another layer for extra durability.
- Ensure good ventilation throughout the process by wearing protective gear like masks and gloves.
With these steps, your bar will shine and be protected from spills and wear over time, making all your efforts worth it in creating that inviting home spot for stylish sipping.
Enhancing Your Bar with Decor and Functionality
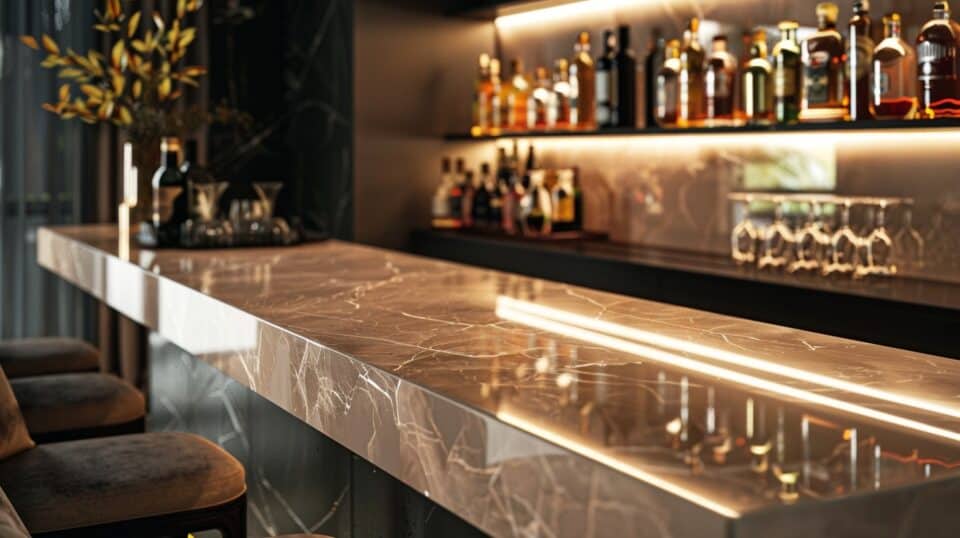
Make your bar shine with special lights and cool decorations. Add a place to rest drinks, like a shiny rail, for that extra touch.
Mounting a Bar Rail
Mounting a bar rail brings your home bar closer to those found in professional settings, offering both style and comfort. First, decide on the tubing—choose from materials like metal or wood for that perfect look.
Next, grab brackets. You’ll need several types: bar mount, combination, floor mount, 90-degree, center post, rounded center post, and tall rounded center post brackets ensure the rail fits just right.
Don’t forget end caps to polish off the design.
For bars with curves or custom shapes, consider getting your tubing bent professionally. This guarantees a snug fit around any corner or curve of your home bar setup. Use tools like saws for cutting pipe lengths and drills for securing brackets into place. With these steps covered—your foot rail will add elegance and offer a comfortable spot for guests to rest their feet while enjoying their drinks.
Adding a foot rail is like giving your bar its finishing touch—a nod to craftsmanship and detail.
Incorporating Lighting and Decor Elements
Lighting sets the mood for your home bar. Use LED strip lights and additional light fixtures to create a warm atmosphere.
- Install LED strip lights inside modern cabinets for both practical and aesthetic reasons.
- Hang pendant lights over the bar area to focus light where it’s needed most.
- Fix wall sconces on either side of the bar to add symmetry and warmth.
- Place a chandelier overhead for a touch of elegance, making sure it complements the bar’s style.
- Add custom elements like chalkboard panels to write menus or messages, giving your bar a personal touch.
- Position lamps on counters or shelves to highlight bottles and glassware.
- Choose lighting with dimmers so you can adjust the brightness depending on the time of day or mood you want to create.
- Incorporate decorative elements that match your theme, such as tiki statues for a tiki-themed bar or vintage signs for a classic feel.
- Ensure all lighting choices blend well with the overall decor to maintain consistency in design.
- Regularly update decor items and lighting fixtures to keep your bar looking fresh and inviting.
Each step focuses on enhancing both functionality and style within your home bar setup, ensuring every element works together seamlessly for stylish sipping sessions.
Stocking Up Your Bar
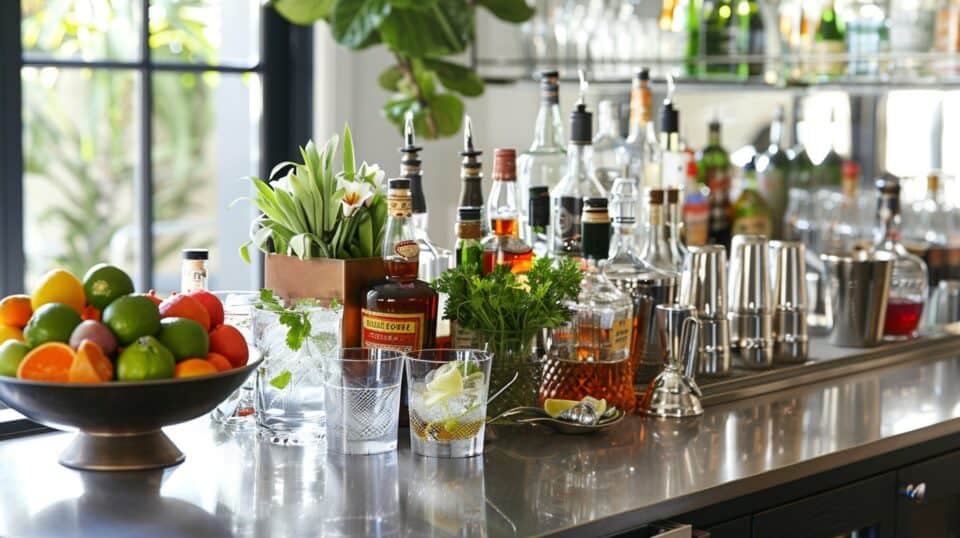
Fill your bar with must-have drinks and tools. Think vodkas, rums, tequila for cocktails; mixers like soda water also grab glasses and a shaker.
Essential Liquors and Mixers
A well-stocked bar is key for making great drinks. You need the right spirits and mixers to start.
- Vodka, a must-have for cocktails like bloody marys and Moscow mules. It mixes well with just about anything.
- Gin brings herbal notes to gin and tonics and martinis.
- Tequila, essential for margaritas and tequila sunrises, should be of good quality.
- Rum adds sweetness to daiquiris and mojitos. Both dark rum and light rum have their places.
- Whiskey, including bourbon for old fashioneds, Canadian whisky, rye whiskey for Manhattans, Irish whiskey for sipping neat or on rocks, and blended scotch for robust mixed drinks.
- Brandy rounds out a classic bar, used in sidecars or enjoyed neat.
- Amaretto offers sweet, nutty flavors for cocktails or coffee drinks.
- Coffee liqueur is key for White Russians or to add a kick to your java.
- Dry vermouth is needed for the perfect martini; sweet vermouth is vital for Manhattans.
- Irish cream liqueur adds creamy richness to cocktails or dessert drinks.
- Knots of citrus fruits—lemons, limes, oranges—for fresh juice makes all the difference in cocktails needing that zingy touch.
- Cranberry juice works in more than just vodka crans; it’s versatile.
- Pineapple juice brings tropical flair to tiki drinks; it’s a staple in many rum-based cocktails.
- Grapefruit juice goes well with tequila or vodka; its bitter edge balances sweeter components.
- Tomato juice is non-negotiable for bloody marys—an absolute must-have.
This lineup guarantees you can mix up classics and experiment with new concoctions too.
Selection of Glassware and Bar Equipment
Setting up your home bar means picking the right tools and glasses. Costing about $50 to $65, you can get all you need for classic cocktails and mixology.
- Start with four types of glasses: single rocks glasses for your whiskey, double rocks glasses for larger drinks, highball or collins glasses for mixed beverages like gin and tonics, and coupe glasses for martinis and other stemmed drinks.
- A cobbler-style shaker is essential for mixing up everything from margaritas to cosmopolitans.
- Don’t forget a sturdy mixing glass; it’s key for stirred, not shaken, recipes.
- A long stirring spoon reaches the bottom of your mixing glass to combine ingredients well.
- A strainer keeps ice out of your drink when pouring into a glass.
- Jiggers measure liquor accurately to ensure the perfect strength of each drink.
- Quality ice cube trays make clear, large cubes that melt slowly, not watering down your drinks.
- Stock bartending basics, including good-quality citrus juicers for fresh lemon or lime juice in sours and highballs.
- Include special mixology tools like muddlers for mojitos and old-fashioneds, plus peelers for garnish twists.
You’ll find top-notch equipment at online stores like Liquor.com, Cocktail Kingdom, and Bar Products—places known by many bartenders.
Next up? Creative ideas to personalize your bar area further.
Creative Ideas for DIY Bar Upgrades

Want to spice up your home bar? Try building a mobile cart for wheels or choose a tropical theme.
Constructing a Mobile Bar Cart
Making your mobile bar cart lets you bring the party anywhere. Old furniture like side tables turns into unique drink stations with a bit of creativity and some tools.
- Choose a sturdy piece of old furniture, such as a console table or bookshelf. This will be the base of your bar cart.
- Attach four caster wheels to the bottom corners for easy movement. Make sure they’re strong enough to handle the weight.
- Sand down the entire piece to prepare it for painting or staining. This step ensures a smooth surface.
- Apply your chosen color of paint or stain. Let it dry completely before adding a second coat if needed.
- Install hooks under one shelf to hang stemware, like wine glasses or cocktail cups, keeping them within easy reach but out of the way.
- Set up a rail along one edge of the top shelf to prevent bottles and tools from falling off when moving.
- Organize your alcohol and mixers on the top shelf for easy access. Include favorites like reposado tequila, single malt scotch, and various liqueurs.
- Use baskets or small boxes on lower shelves for storing extra supplies like cocktail shakers, strainers, and muddlers.
- Create a DIY garnish station with small containers for citrus fruit slices, sugar rims, and herbal bitters – essentials for crafting perfect drinks.
- Add personal touches with decorative elements that match your theme, be it tiki bar vibes with tropical decorations or a sleek modern look with minimal accents.
This simple project transforms old furniture into something new and functional while giving you a custom space to enjoy making and serving drinks at any spot in your home.
Designing a Tiki Bar Theme
After creating a mobile bar cart, designing a tiki bar theme takes your home entertainment to the next level. This exotic setup turns your space into a tropical getaway with just a few creative steps.
- Choose bamboo or weathered wood to construct the bar frame, as these materials resemble those found in traditional tiki bars.
- Install a canvas roof to shield your guests from the sun, creating an authentic island feel.
- Use tiki torches and outdoor string lights for illumination, adding warmth and ambiance when the sun sets.
- Decorate with tropical plants like palms or ferns around the bar area to enhance the exotic look.
- Apply bright and bold colors for cushions and decor items; think vibrant blues, greens, and reds that pop against the natural wood.
- Hang woven grass mats on walls or as dividers to add texture and depth to your tiki theme.
- Stock your bar with essential liquors for tiki cocktails – think dark rums, tequilas, and citrus juices for making classics like Mai Tais and Pina Coladas.
- Include a variety of glassware suited for tiki drinks; stemmed glasses, large bowls, and decorative mugs are must-haves.
- Add playful elements such as tiki statues or masks as focal points on shelves or hanging behind the bar.
- Offer guests straw hats or flower leis as they arrive to immerse them fully in the tiki experience.
This approach sets up an unforgettable backdrop for gatherings that transport your friends straight to paradise without leaving home.
Upkeeping Your Home Bar
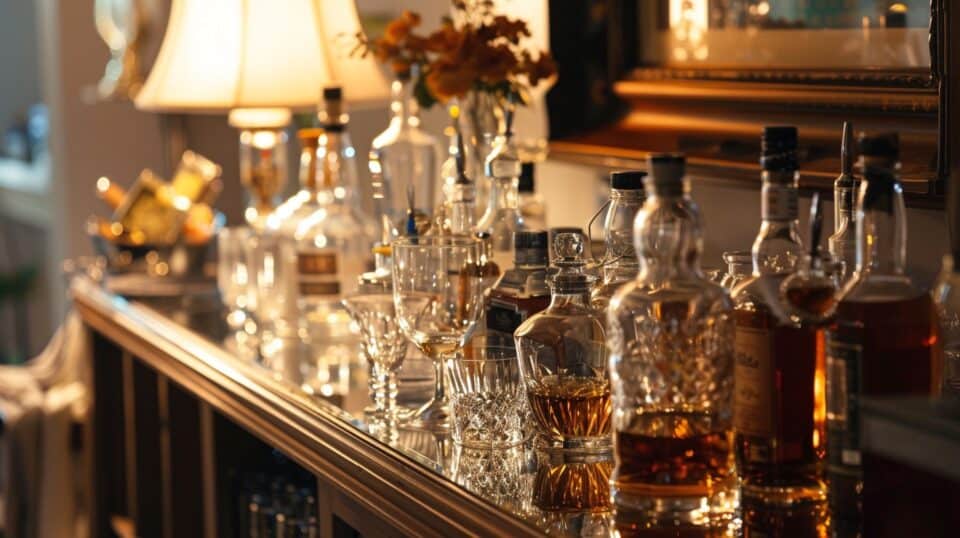
Keep your home bar looking great with regular cleaning and smart fixes. Dust off those bottles, wipe down surfaces, and check that everything is in place for your next gathering.
Regular Cleaning and Maintenance
Taking care of your home bar keeps it ready for use. Cleanliness prevents pests and maintains its stylish look.
- Every day, wipe down the counter with a mild cleaner to remove spills and crumbs.
- Once a week, organize glassware, ensuring everything is spotless and in its place.
- Monthly, deep clean the bar fridge to keep drinks cool and fresh.
- Check storage areas regularly for any opened bottles or perishables that need to be used or thrown away.
- After every gathering, disinfect surfaces to ward off germs and fruit flies by covering leftover fruits and keeping the area dry.
- Restock essential liquors, mixers, sodas, and sparkling water to ensure you’re always prepared for impromptu guests.
- Inspect bar tools like shakers and strainers for wear and tear; replace them as needed to keep your mixology game strong.
- Seasonally adjust your liquor selection—lighter spirits in summer, darker ones in winter—to match the mood and weather.
- Rotate decorative items or themes to keep your bar space inviting and fresh every few months.
Seasonal Updates and Refreshes
To keep your home bar lively and welcoming, change things up with the seasons. For summer pool parties, stock vodka cocktails that cool off the heat. As leaves fall, bring out fall concoctions that warm you up.
You’ll need a variety of spirits—think blended whiskeys for depth and single malts for character. Also, switch your decor; lighter colors brighten summer days, while rich woods echo autumn warmth.
A great bar isn’t just about drinks; it’s about setting the right mood for every season.
Keep pitchers ready for big gatherings any time of year. Pitcher cocktail recipes save you from playing bartender all night. Summer asks for sangria bursting with citrus zest, while winter loves a hot toddy line-up to fight the chill.
Your tools? A sturdy pitcher and a long spoon make mixing easy. And always refresh your glassware: crystal clear for elegance or tinted glasses to match seasonal themes—they make each drink special.
People Also Ask
What’s the first step to building a home bar?
Start by deciding between a wet bar or dry bar. A wet bar includes a sink, needing plumbing work; a dry bar doesn’t.
Can I make my own drinks at this home bar?
Absolutely! Stock up on essentials like London dry gin, Woodford Reserve, and chartreuse. Add mixers, simple syrups, and grapefruits for variety.
Do I need special equipment to start my home cocktail bar?
Yes, gather tools like shakers, strainers, and muddlers. For those into brewing or fermentation—barrels or casks are key.
How can I personalize my home bar area?
Think about adding unique touches that reflect your style—whether it’s in the bedroom or pantry. Use barrels for a rustic look, or sleek glassware for modern vibes.
What if I want to upgrade my home bar over time?
Seasonal updates keep things fresh… Swap out spirits based on the season—peppermint schnapps in winter or amaro in fall.
How do I ensure my drinks taste professional?
Mastering cocktails takes practice, but focus on balancing flavors—a bit of sweet from aromatized wine with the bitterness of anejo can create magic.
References
- https://www.kegworks.com/blog/planning-your-home-bar (2021-01-20)
- https://www.forbes.com/home-improvement/interior/how-to-create-a-home-bar-setup/ (2024-03-19)
- https://www.luxlampshades.com/blogs/lux-blog/designing-your-home-bar-a-step-by-step-guide
- https://www.bourboneur.com/post/planning-your-home-bar-design-in-home-bar-ideas
- https://www.instructables.com/Building-a-Basic-Home-Bar/
- https://www.glimpsecorp.com/bar-tools-and-equipment-and-their-uses/ (2019-09-16)
- https://gocodes.com/tools-used-in-construction/
- https://proest.com/construction/tips/common-tools/
- https://www.thrillist.com/drink/nation/how-to-build-a-home-bar (2015-06-30)
- https://www.apartmenttherapy.com/how-to-build-basic-home-bar-beginner-level-37276809 (2023-07-12)
- https://www.homesandgardens.com/kitchens/bar-countertop-ideas (2022-05-21)
- https://robynsfrenchnest.com/simple-decor-series/how-to-decorate-kitchen-countertops-easy-tips-and-ideas/
- https://www.familyhandyman.com/project/how-to-install-a-countertop/
- https://www.eastcoastsurfaces.us/blog/beyond-the-kitchen-creative-ways-to-use-countertops-in-home-decor (2024-05-23)
- https://drinkbrood.com/blog/bar-design-plans/ (2023-08-15)
- https://www.rinoswoodworking.com/blog/staining-and-finishing-your-bar-top-and-bar-rail/ (2013-03-20)
- https://thewoodwhisperer.com/articles/natural-looking-bartop-finish/
- https://content.kegworks.com/blog/adding-and-installing-bar-rails
- https://www.woodworkingtalk.com/threads/how-do-i-make-a-bar-rail.851/
- https://www.sofasetcmd.com/blog/2024/02/06/designing-your-home-bar-ideas-and-inspirations/
- https://www.thespruceeats.com/essential-distilled-spirits-and-mixers-760741
- https://www.allrecipes.com/affiliate/home-bar-essentials/ (2024-05-23)
- https://www.simplyrecipes.com/how-to-stock-a-home-bar-glasses-and-equipment-5208444
- http://www.cookindineout.com/2015/05/stocking-your-bar-equipment-and.html (2015-05-25)
- https://www.makingjoyandprettythings.com/diy-bar-carts/
- https://www.erinspain.com/diy-bar-cart/
- https://diy.dunnlumber.com/projects/how-to-build-a-diy-tiki-bar
- https://www.instructables.com/Backyard-Tiki-Bar-low-Budget/
- https://cocktailsdistilled.com/2022/02/01/tips-for-maintaining-a-clean-home-bar/
- https://www.bhg.com/rooms/rooms/home-bar-ideas-281474979492034/
