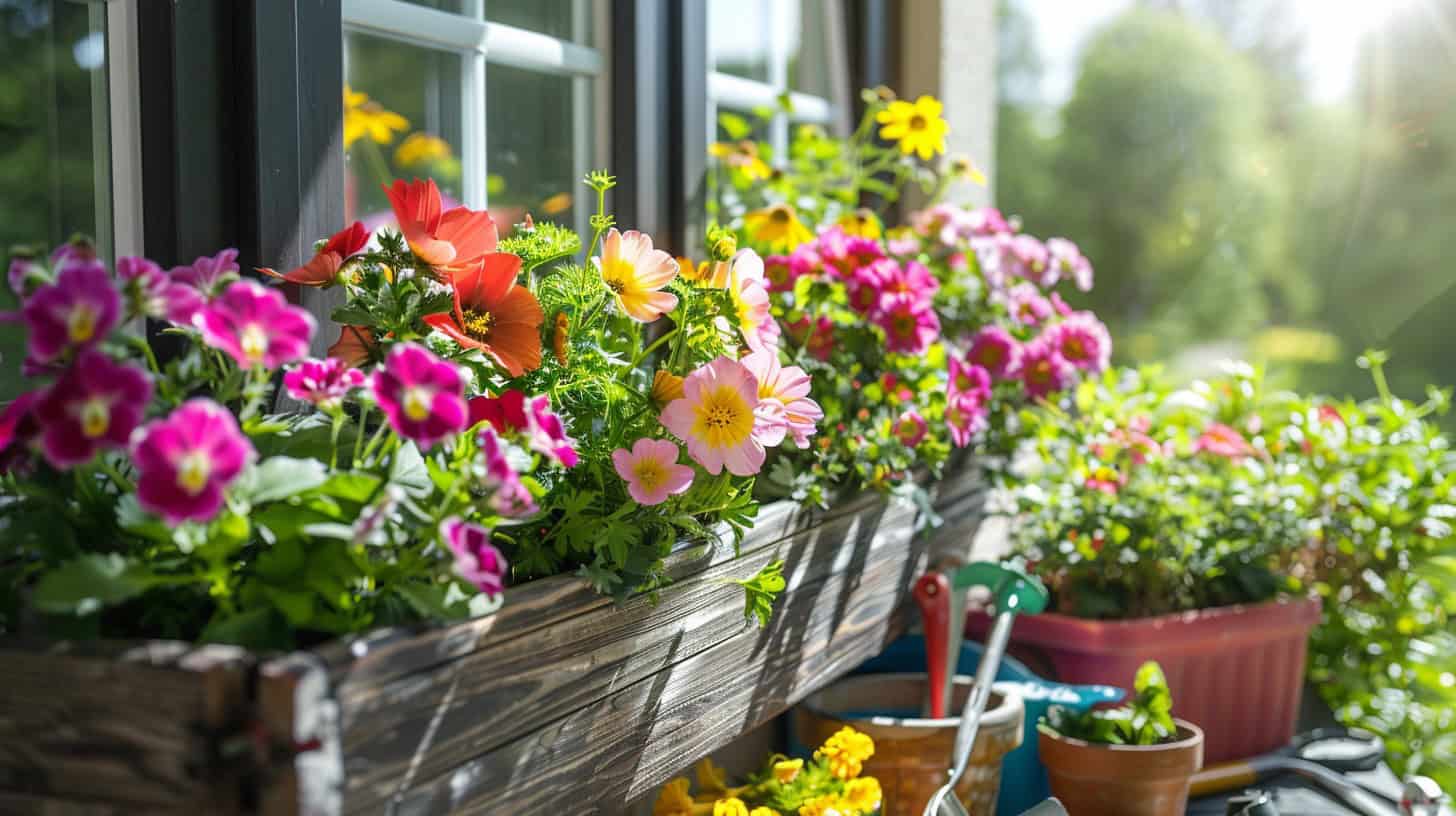
Window boxes add instant charm to any home. They’re easy to make and install yourself. This guide will show you how to create stunning window boxes in just a few hours.
I’ve built dozens of window boxes over the years. My experience has taught me the best materials and techniques. Follow these simple steps for beautiful results that last. Ready to get started? 1 2 3
Key Takeaways
Window boxes should extend 4–6 inches beyond your window trim on each side and be at least 8 inches deep to accommodate plant roots.
Use rot-resistant woods like cedar or redwood, or low-maintenance PVC, and waterproof the inside with plastic lining, marine-grade varnish, and drainage holes.
Apply exterior-grade paint in 2-3 thin coats and seal with a clear waterproof coating to protect the wood from moisture and weather damage.
Mount brackets securely to the wall using appropriate anchors, then attach the window box to the brackets with corrosion-resistant screws every 6–8 inches.
Add a 1-inch layer of pea gravel at the bottom of the box before filling with potting mix to ensure proper drainage and prevent root rot.
Table of Contents
Evaluating Space and Window Box Requirements
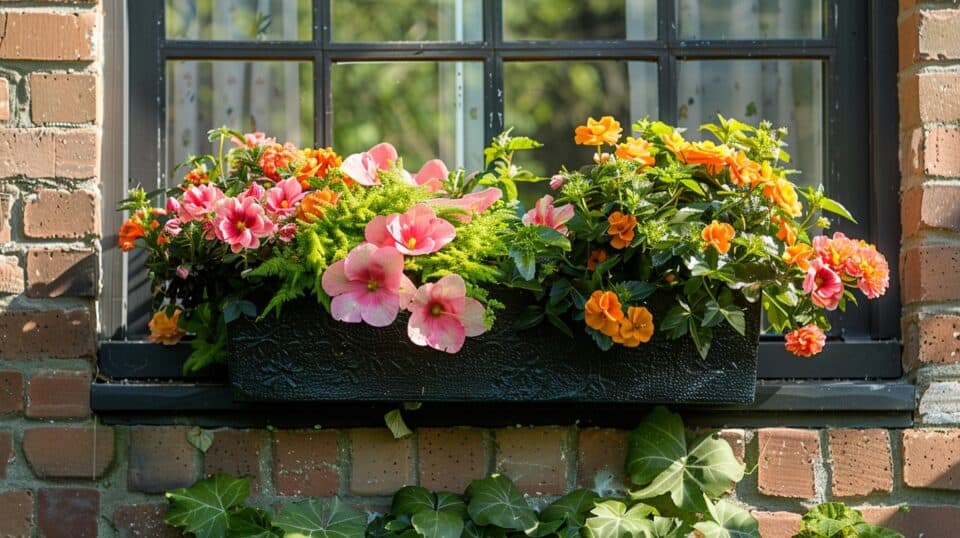
Space matters when it comes to window boxes. You’ll need to measure your window’s width and depth to pick the right size box.
Selecting the size of the window box
Choose a window box size that extends beyond your window trim. 1 A 36-inch box can weigh up to 75 pounds when filled, so plan accordingly. Measure your window width and add 4-6 inches on each side for a balanced look.
Depth matters too – aim for at least 8 inches to accommodate plant roots and soil. 2
Always make your window box bigger than you think.
Consider the visual impact and practical needs. Larger boxes allow for more plants and create a stunning cottage garden effect. They also require less frequent watering. For optimal drainage, drill holes every 4 inches along the bottom.
Use a rafter square to ensure precise measurements and cuts.
Choosing the ideal location for installation
Selecting the perfect spot for window box installation starts with sunlight assessment. South-facing windows offer full sun, ideal for vibrant flowers like petunias or marigolds. East or west-facing windows provide partial shade, suiting plants like impatiens or ferns.
North-facing windows, with limited direct sunlight, work well for shade-loving plants such as hostas or begonias.
Consider the view from inside and outside your home. Place window boxes 6 inches from each side of the window for a balanced look. 3 Check for obstructions like shutters or protruding ledges.
If needed, build lower support for sturdy installation. 3 Ensure easy access for watering and maintenance. Test the area’s wind exposure – sheltered spots protect delicate blooms. 4
Collecting Necessary Materials and Tools
Gather your tools and materials before you start. You’ll need a saw, drill, screws, and wood for the basic construction.
Listing required tools (saw, drill, screws, etc.)
Creating a window box requires specific tools for precise construction. Here’s a list of essential items you’ll need:
- Saws: A miter saw or circular saw for straight cuts, and a jigsaw for curved edges. 5
- Drill and driver: For making holes and driving screws. Use a hammer drill for masonry work.
- Measuring tools: Speed square and level for accurate measurements and alignments.
- Fasteners: Screws, lag bolts, and masonry screws for secure attachments. 6
- Safety gear: Ear protection and safety glasses to prevent injuries.
- Hand tools: Hammer for general use, and a hand plane or hand saw for fine adjustments.
- Finishing tools: Sandpaper with various grits for smooth surfaces.
- Brackets: Metal brackets for mounting the window box securely.
- Paint supplies: Brushes, rollers, and paint for aesthetic appeal and wood protection.
- Waterproofing materials: Sealants to protect the wood from moisture damage.
Picking materials (types of wood, paint, brackets)
Selecting the right materials is crucial for a long-lasting window box. Let’s explore the best options for wood, paint, and brackets to create a stunning addition to your home.
- Wood options:
- Cedar: Naturally rot-resistant, ideal for outdoor use
- Redwood: Durable and weather-resistant
- PVC: Low-maintenance alternative to wood, won’t rot or warp 7
- Paint choices:
- Exterior latex paint: Offers good coverage and durability
- Oil-based paint: Provides a smooth finish and excellent water resistance
- Chalk paint: Creates a rustic, matte look
- Bracket selection:
- L-brackets: Simple, sturdy support for most window boxes
- Decorative iron brackets: Add a touch of elegance
- Adjustable brackets: Allow for easy leveling on uneven surfaces 8
- Hardware essentials:
- 1-1/4″ exterior wood screws: For assembling the box
- 1-1/4″ rustproof nails: Additional reinforcement
- Exterior grade structural screws: For mounting brackets 7
- Sealants and waterproofing:
- Exterior grade silicone caulk: Seals joints and prevents water damage
- Wood preservative: Protects against rot and insects
- Waterproof liner: Keeps soil contained and extends box life
Now that we’ve covered material selection, let’s move on to designing your window box.
Designing Your Window Box
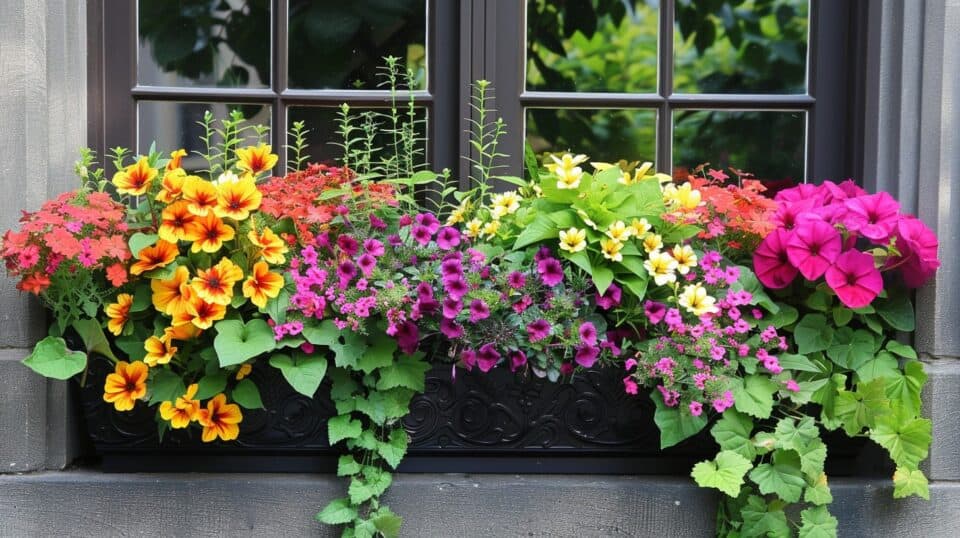
Your window box design sets the stage for a gorgeous display. Pick a style that matches your home’s look, and plan the size to fit your space perfectly.
Planning size and proportions
Size matters for window boxes. Aim for a length that spans your window’s width, minus 4 inches. Depth should be 8–10 inches for most plants. Height varies, but 6–8 inches works well.
Proper proportions create visual appeal and ensure ample growing space. 1
Good design is all about making other designers feel like idiots because that idea wasn’t theirs. – Frank Chimero
Consider the weight when full of soil and plants. A 36-inch box can weigh over 100 pounds. Use sturdy brackets rated for the load. Match the box style to your home’s architecture for a cohesive look.
Ornamental trim adds charm to simple designs. 9
Selecting a style for the window box
Choose a window box style that complements your home’s architecture. Classic designs feature clean lines and simple shapes, perfect for traditional homes. Modern boxes boast sleek profiles and minimalist details, ideal for contemporary structures.
Rustic styles incorporate natural wood textures and earthy tones, enhancing cottage-like charm.
Consider the box’s size and proportion relative to your window. A well-designed box should extend 3–4 inches beyond each side of the window frame. This creates visual balance and curb appeal. 1 Match materials and colors to your home’s exterior for a cohesive look. Wood, vinyl, and fiberglass offer durability and style options to suit any taste. 10
Constructing the Window Box
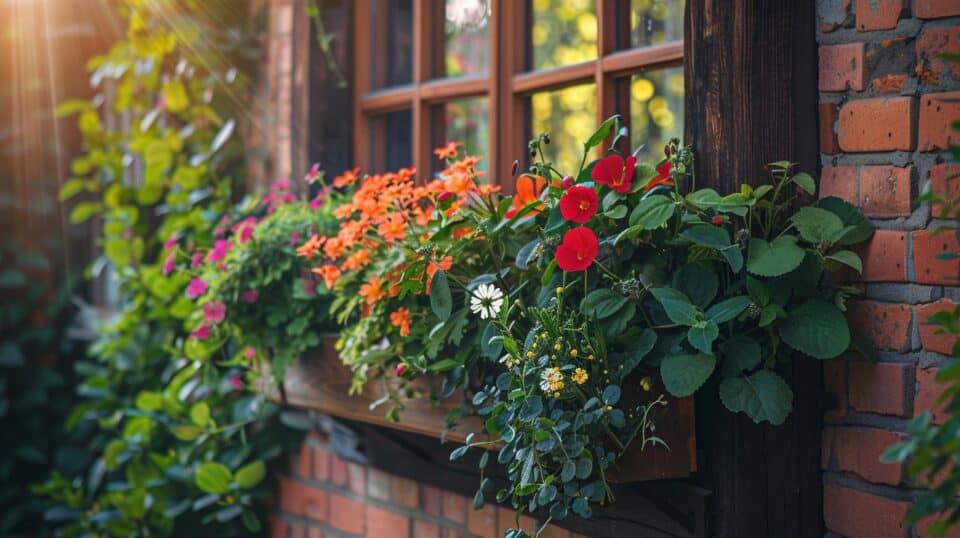
Building your window box is easier than you think. Grab your saw and drill – it’s time to turn those wood pieces into a beautiful home for your flowers.
Cutting wood to size
Cutting wood to size forms the foundation of your window box project. Precise measurements and clean cuts ensure a professional-looking result.
- Measure twice, cut once: Use a tape measure to mark your wood pieces accurately.
- Set up your saw: Choose a miter saw for angled cuts or a circular saw for straight cuts.
- Apply the 15-degree angle: Most pieces require this angle for proper fit and drainage. 11
- Cut end pieces first: These form the sides of your window box. 9
- Trim front and back boards: Match these to your desired box length.
- Size the bottom piece: Cut it slightly smaller than the box dimensions for a snug fit.
- Sand cut edges: Smooth any rough spots with medium-grit sandpaper.
- Double-check measurements: Ensure all pieces align before assembly.
- Label each piece: Mark its position to streamline the construction process.
- Create drainage holes: Drill 1/4-inch holes in the bottom piece every 6 inches.
Assembling sides, bottom, and ends of the box
Assembling the window box is a crucial step in creating your inviting home garden. Follow these steps to construct a sturdy and attractive box for your sweet potato vines and lemon thyme:
- Cut wood pieces to size for sides, bottom, and ends
- Apply construction adhesive to join pieces
- Secure corners with screws, ensuring they’re countersunk
- Attach bottom piece to sides and ends 9
- Install decorative trim for added charm
- Sand all surfaces for a smooth finish
- Drill drainage holes in the bottom 5
- Waterproof the inside to protect against moisture
- Apply exterior paint or stain for weather resistance
- Add final touches like brackets for mounting
Enhancing Window Box Appearance

Spruce up your window box with eye-catching trim and decorative elements. A fresh coat of paint in a bold color can transform your box from bland to beautiful.
Installing decorative trim and elements
Decorative trim enhances the visual appeal of your window box. Here’s how to add charm with trim and elements:
- Choose trim style: Select decorative molding that complements your home’s architecture. Options include simple beading, ornate carvings, or sleek modern profiles.
- Measure and cut: Accurately measure the box edges and cut trim pieces to fit. Use a miter saw for precise 45-degree angle cuts at corners.
- Attach trim: Apply wood glue to the back of the trim. Secure with finishing nails, spacing them every 6-8 inches.
- Fill nail holes: Use wood filler to cover nail heads. Sand smooth once dry for a seamless finish.
- Paint or stain: Apply a coat of paint or wood stain to match or contrast with the box. This protects the trim and unifies the look.
- Add decorative elements: Consider attaching wooden appliques, corbels, or medallions for extra flair. Use strong adhesive and small screws for secure attachment.
- Install hardware: Mount decorative brackets underneath for support and style. Choose weather-resistant materials like wrought iron or powder-coated steel. 12
- Incorporate lighting: Attach small solar-powered lights to illuminate your window box at night. This adds ambiance and highlights your plants. 13
Applying paint and finishing details
Painting and finishing your window box adds the final touch of beauty. Here’s how to make your box shine:
- Sand the box smooth for even paint application.
- Apply primer to enhance paint adhesion and durability.
- Choose exterior-grade paint in your desired color.
- Use a foam roller for smooth, even coverage.
- Apply 2-3 thin coats, allowing each to dry completely.
- Add decorative elements like trim or stenciled designs.
- Seal with clear waterproof coating for protection. 9
- Install hooks or brackets for hanging plants.
- Line interior with plastic for moisture protection. 10
- Add drainage holes to prevent water buildup.
Increasing Window Box Durability
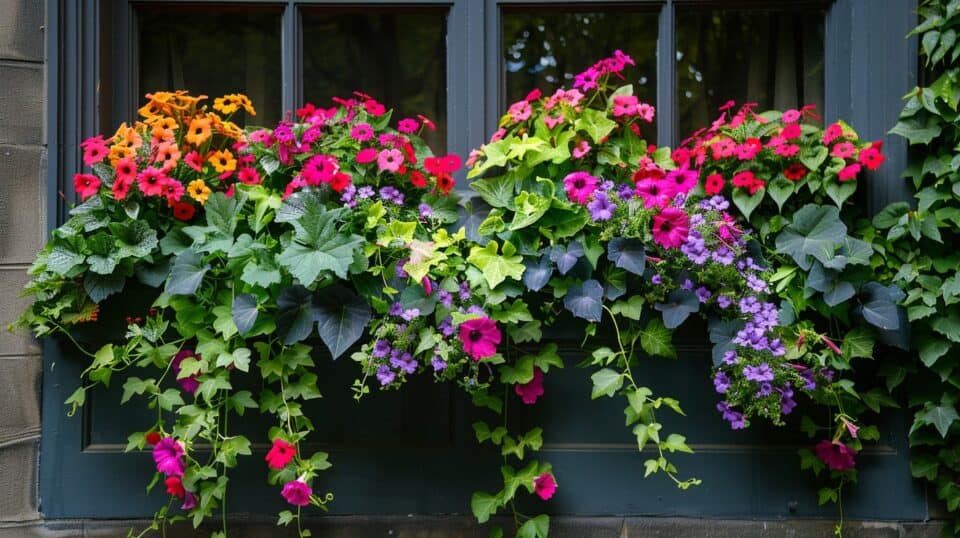
Your window box needs protection from the elements. A good sealant and weatherproof paint can extend its life by years.
Waterproofing the inside
Waterproofing your window box’s interior protects it from moisture damage. This crucial step extends the life of your flowerbed and keeps plants healthy.
- Line the box with plastic sheeting or pond liner for basic waterproofing
- Apply marine-grade varnish to wood surfaces for added protection 14
- Install drainage holes in the bottom to prevent water pooling
- Use a waterproof sealant on all joints and seams
- Paint the interior with water-resistant exterior paint 9
- Add a layer of pea gravel at the bottom for improved drainage
- Place a permeable landscape fabric over the gravel to contain soil
- Opt for rot-resistant woods like cedar or redwood for natural protection
- Consider using a plastic insert for complete waterproofing
- Apply a coat of linseed oil annually to maintain wood’s water resistance
Applying protective finishes
Protective finishes shield your window box from weather damage and extend its lifespan. Here’s how to apply them effectively:
- Sand the surface thoroughly to ensure smooth coverage
- Clean the box, removing all dust and debris
- Apply a wood preservative to protect against rot and insects
- Use a waterproof sealant on all joints and seams 16
- Paint with an exterior-grade paint for added protection
- Add multiple coats for better durability
- Allow each layer to dry completely before the next application
- Use roofing compound to waterproof the interior
- Apply a UV-resistant clear coat for sun protection
- Reapply finishes annually to maintain protection 15
Installing the Window Box

Installing your window box is the final step to beautify your home’s exterior. Proper mounting ensures your flowerbeds stay secure and flourish for years to come.
Mounting brackets to the wall
Secure mounting brackets ensure your window box stays put. Follow these steps for a rock-solid installation:
- Mark bracket positions: Use a level to draw a straight line where brackets will go.
- Pre-drill holes: Create pilot holes to prevent wall damage and ease screw insertion. 4
- Insert wall anchors: For extra support, especially in masonry walls, use appropriate anchors.
- Attach brackets: Screw brackets firmly into place using a ratchet or drill.
- Check alignment: Double-check brackets are level and evenly spaced. 8
- Test strength: Gently pull on brackets to ensure they’re secure before hanging the box.
- Position window box: Carefully place the box onto the mounted brackets.
- Secure box to brackets: Use screws to fasten the box, countersinking for a flush finish.
- Add finishing touches: Apply caulk around bracket edges for a polished look and extra waterproofing.
Securing the window box to the mounted brackets
Attaching your window box securely is crucial for safety and longevity. Follow these steps to ensure a sturdy installation:
- Apply construction adhesive along the bottom of the box. 4
- Position the box on the brackets, aligning it carefully
- Use corrosion-resistant screws to fasten the box to the brackets. 3
- Place screws every 6–8 inches for even support
- Tighten all screws firmly, but avoid over-tightening
- Check the box’s level and adjust if needed
- Test the stability by gently pushing on the box
- Add silicone sealant around the edges for extra waterproofing
Preparing the Window Box for Plants
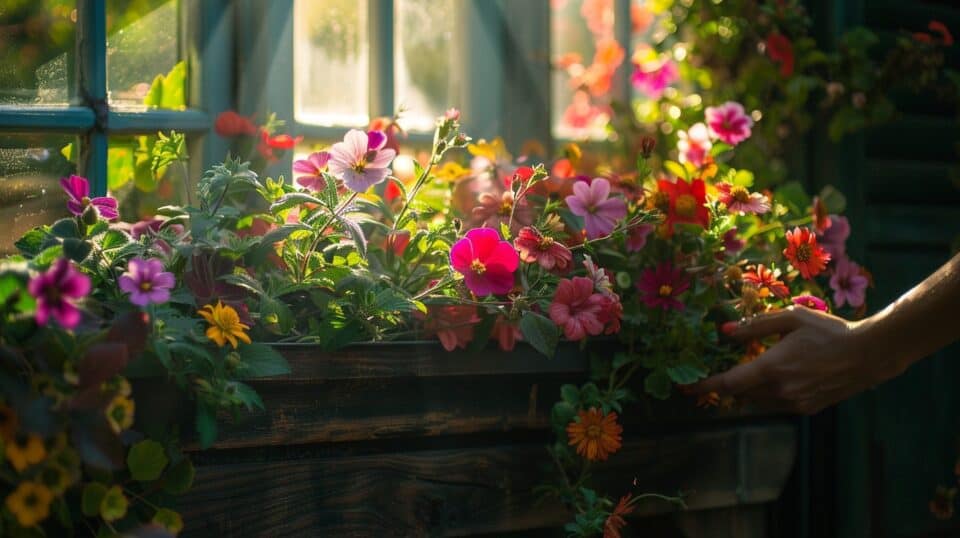
Getting your window box ready for plants is crucial. Line it with plastic and add drainage holes – your flowers will thank you.
Inserting liners for soil
Inserting liners protects your window box and ensures proper drainage. Follow these steps to prepare your box for planting:
- Measure the interior: Use a tape measure to get precise dimensions of your window box.
- Cut plastic liner: Trim a heavy-duty plastic sheet to fit, leaving extra for overlap.
- Fit liner: Place the cut plastic into the box, pressing it into corners. 17
- Secure edges: Staple or tack the liner’s top edges to the box rim.
- Punch drainage holes: Create 5-7 small holes in the liner bottom for water escape.
- Add gravel layer: Pour 1 inch of pebbles for improved drainage.
- Fill with potting mix: Add quality soil, leaving 2 inches from the top.
- Apply plant food: Sprinkle slow-release fertilizer pellets into the soil.
- Mix soil: Gently incorporate the fertilizer into the top layer of potting mix.
- Level surface: Smooth the soil for an even planting bed. 18
Ensuring adequate drainage
Proper drainage prevents root rot and ensures healthy plant growth in window boxes. Follow these steps to create optimal drainage conditions:
- Drill holes: Create 1/4-inch drainage holes every 4 inches along the bottom of the box. 20
- Add gravel layer: Place a 1-inch layer of pea gravel or small stones at the box’s base.
- Use quality potting mix: Fill the box with well-draining potting soil, not garden soil. 19
- Elevate the box: Raise the window box slightly using small risers to improve airflow.
- Install a liner: Use a plastic liner with pre-cut drainage holes to protect the wood.
- Mix in perlite: Add 10% perlite to the soil to enhance drainage and aeration.
- Mulch the surface: Apply a thin layer of mulch to retain moisture and prevent soil compaction.
- Choose appropriate plants: Select drought-tolerant species like mentha spicata (spearmint) for less watering.
- Monitor water levels: Check soil moisture regularly, adjusting watering frequency as needed.
People Also Ask
What materials do I need for a window box?
Cedar or redwood planks, sanded smooth. Drill, screws, and wood glue. Potting soil and plants (try petroselinum crispum for herbs).
How do I ensure proper drainage?
Drill 1/4-inch holes every 4 inches along the bottom. Line with landscape fabric to prevent soil loss. Add a layer of gravel before soil for extra drainage.
What plants work best for window boxes?
Choose plants suited to your light conditions. Mix trailing plants with upright ones for visual interest. Include herbs like parsley (petroselinum crispum) for both beauty and function.
How often should I water my window box?
Check soil moisture daily during hot weather. Water when top inch of soil feels dry. Install a drip irrigation system for consistent watering.
References
- ^ https://www.theimpatientgardener.com/the-definitive-guide-to-window-box/ (2015-05-19)
- ^ https://www.flowerwindowboxes.com/What-Size-Window-Box-s/392.htm
- ^ https://roomfortuesday.com/how-to-install-window-flower-boxes/
- ^ https://tanic.design/blog/guide-to-installing-flower-window-boxes-for-your-home (2024-03-18)
- ^ https://plankandpillow.com/how-to-build-a-window-box/
- ^ https://www.homedepot.com/c/ah/diy-window-box/9ba683603be9fa5395fab902da0155b
- ^ https://www.hgtv.com/outdoors/landscaping-and-hardscaping/how-to-build-a-window-box
- ^ https://www.thelittlebylittlehome.com/how-to-build-window-box/ (2020-06-30)
- ^ https://www.ronhazelton.com/projects/how_to_build_a_window_box
- ^ https://thediyplaybook.com/how-to-build-a-window-box/ (2020-07-21)
- ^ https://www.farmhouseonboone.com/diy-window-box/ (2020-05-23)
- ^ https://www.instructables.com/Building-Cedar-trimmed-Window-Boxes-for-your-home/
- ^ https://dreamingofhomemaking.com/how-to-install-window-boxes-trim/ (2020-07-30)
- ^ https://www.finehomebuilding.com/forum/window-box-waterproofing (2006-08-14)
- ^ https://www.rachelrossi.design/simple-durable-diy-window-boxes/
- ^ https://www.flowerwindowboxes.com/DIY-Window-Boxes-s/419.htm
- ^ https://anextraordinaryday.net/how-to-plant-a-window-box-garden-tutorial-planting-tips/
- ^ https://southhousedesigns.com/diy-window-box-liners/
- ^ https://www.deucecitieshenhouse.com/2014/05/gardening-basics-planting-a-window-box.html (2014-05-19)
- ^ https://www.thecoastaloak.com/how-to-plant-window-boxes/ (2021-04-26)
