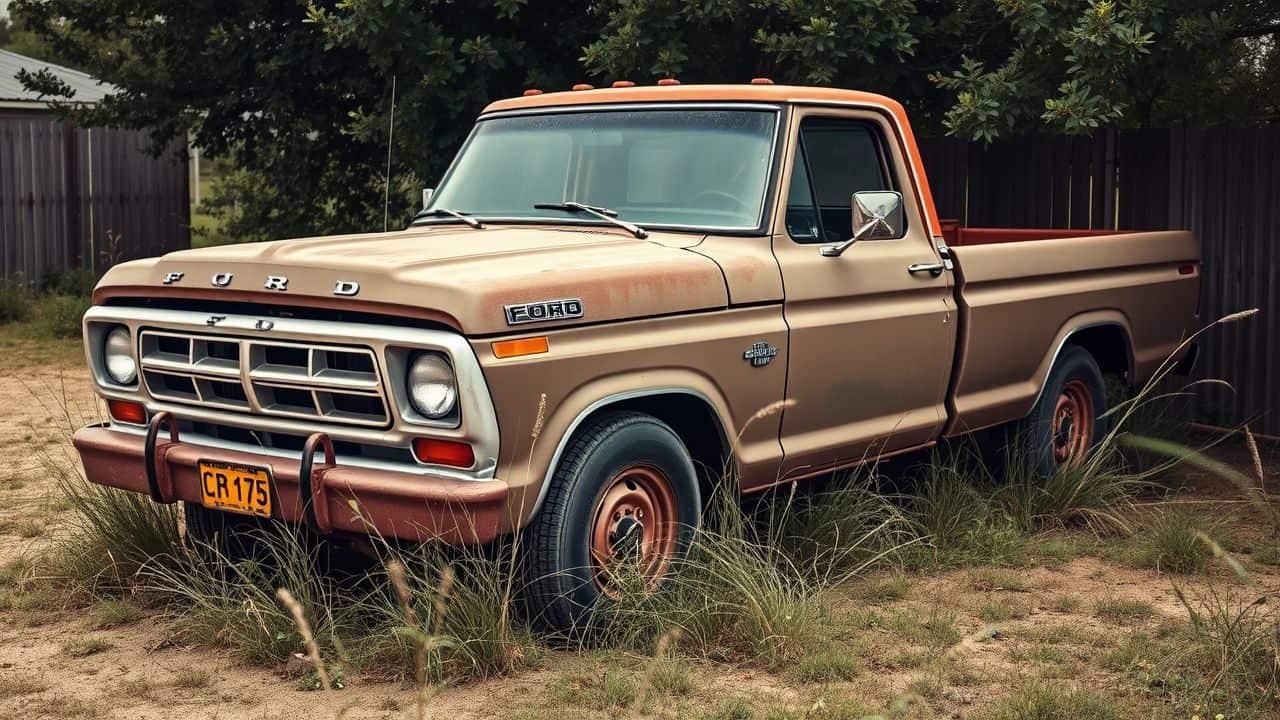
Are you itching to breathe new life into that rusty old truck sitting in your yard? How to restore an old truck is a skill many dream of mastering. Did you know restoring a classic Ford F100 can cost up to $45,000? Don’t worry – this guide will walk you through 10 game-changing steps to glory.
Get ready to roll up your sleeves and turn that heap into a showstopper!
Key Takeaways
Restoring an old truck can cost up to $45,000 for a classic Ford F100, so careful planning and budgeting are crucial.
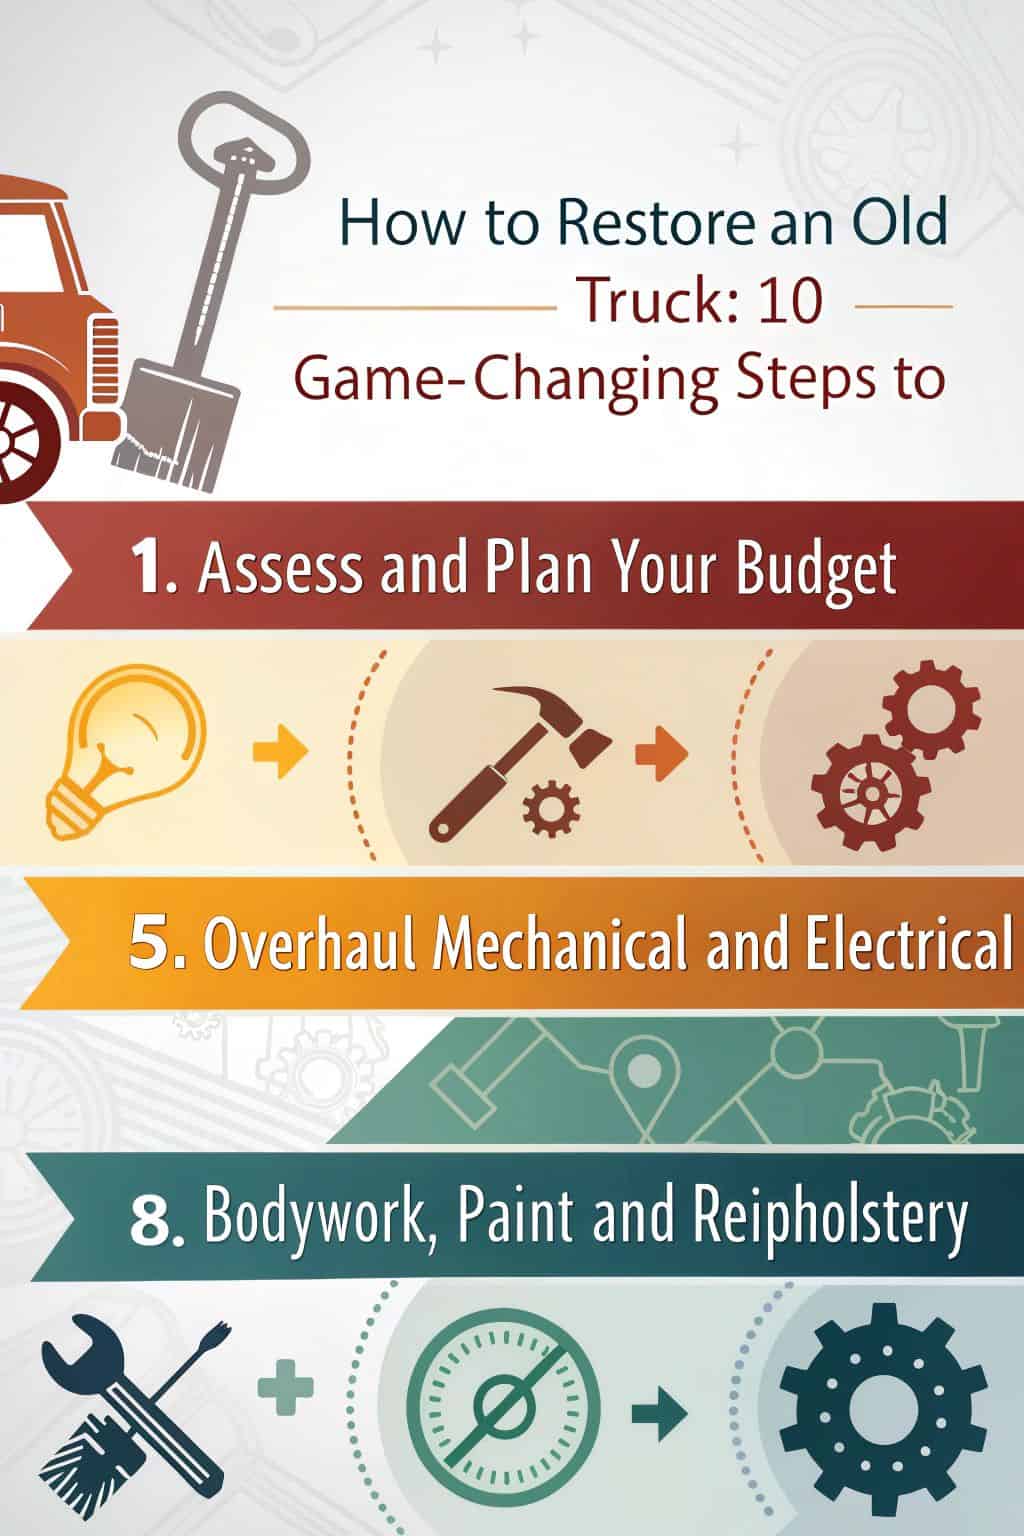
Key steps include assessing the truck’s condition, setting clear goals, cleaning and stripping, repairing mechanical systems, overhauling electrical components, conducting bodywork and painting, restoring the interior, and reassembling parts.
Important tasks involve removing rust, deep cleaning, engine overhaul, transmission repair, brake system restoration, rewiring, upgrading lighting, fixing dents, repainting, reupholstering seats, and restoring the dashboard.
Adding accessories like bed liners, running boards, light bars, and custom wheels can enhance functionality and style.
Patience, attention to detail, and following a step-by-step process are essential for a successful truck restoration project.
Table of Contents
Assessing and Planning Your Truck Restoration
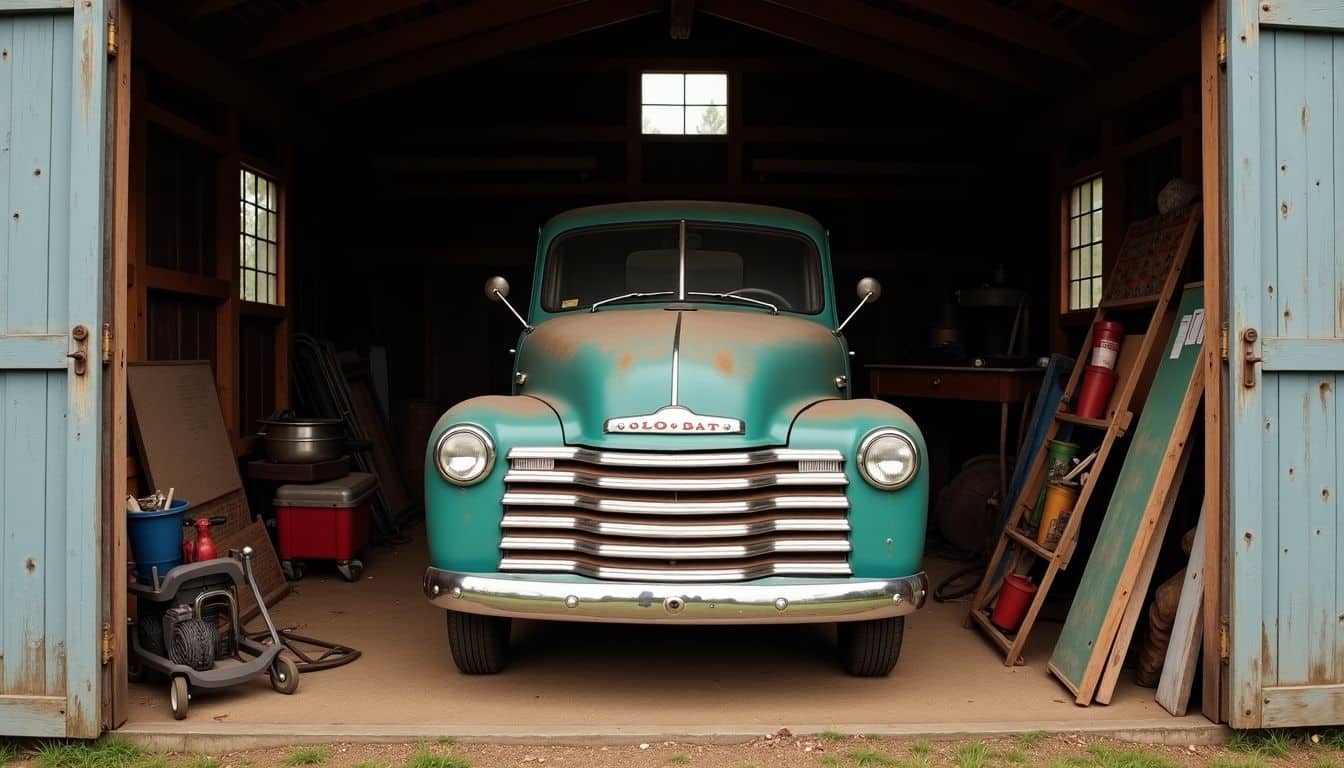
Ready to bring that old truck back to life? First things first – you gotta size up what you’re working with. Take a good look at your ride and dream up what you want it to be… but don’t forget about your wallet!
Assess the Condition of the Truck
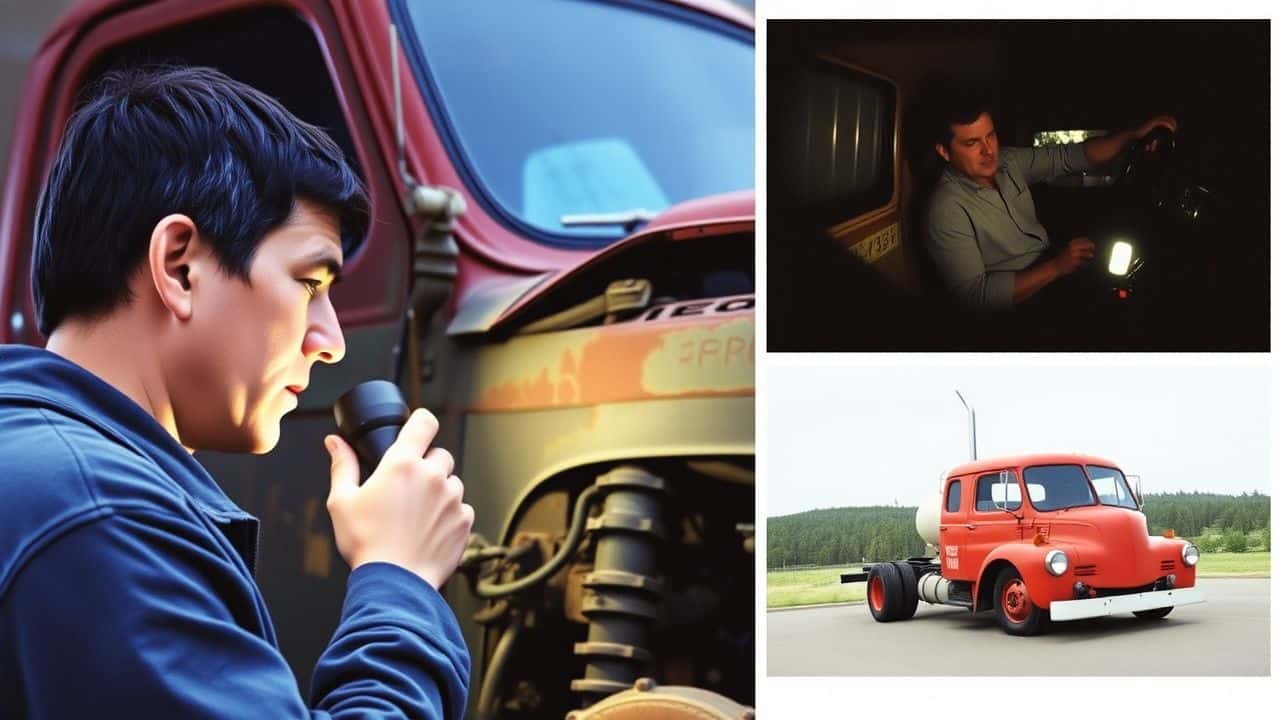
Let’s check out your old truck! First, grab a flashlight and take a good look at every part. You’ll want to spot any rust, dents, or weird noises. Look under the hood and check the engine, transmission, and brakes.
It’s like playing detective – you’re hunting for clues about what needs fixing.
Next, take that beauty for a spin. Listen for odd sounds and feel for strange vibrations. Does it pull to one side? How’s the steering? This road test will tell you a lot about the truck’s condition.
Oh, and don’t forget to snap some pics – they’ll be useful later when you’re planning your restoration project. Keep in mind, a solid grade 2 Ford F100 might cost you $35,000 to $45,000 to restore.
So, knowing what you’re dealing with is important!
Define Your Restoration Goals

Setting clear goals for your truck restoration is key. Think about what you want from your old truck. Do you want a shiny showpiece? Or a daily driver with modern upgrades? Your goals will shape every choice you make.
They’ll guide your budget, timeline, and the parts you’ll need.
Be honest about your skills and time. Restoring a truck takes work – lots of it. If you’re new to this, start small. Maybe focus on the engine or interior first. As you learn, you can tackle bigger projects.
Your goals should match your abilities and resources. Next, let’s look at how to plan your budget for this exciting journey.
A goal without a plan is just a wish. – Antoine de Saint-Exupéry
Plan Your Budget

Budgeting for a truck restoration can be tricky. You’ll need to set aside cash for parts, tools, and maybe even some help. Don’t forget about hidden costs like storage and special equipment.
It’s smart to add a 20% buffer to your initial estimate. This way, you won’t get caught off guard by surprise expenses.
I learned the hard way that budgets can spiral out of control fast. On my first F-150 project, I blew through my savings in just three months! Now, I track every penny spent on ball joints, fenders, and paint.
I also shop around for deals on power stroke engines and tonneau covers. It’s a balancing act, but with careful planning, you can bring your dream truck back to life without breaking the bank.
Cleaning and Stripping the Truck

Ready to get your hands dirty? Cleaning and stripping your old truck is where the real fun begins! You’ll need some elbow grease, a power washer, and a whole lot of patience to tackle this messy – but oh-so-satisfying – step.
Remove Rust and Old Paint
Rust and old paint are the enemies of any truck restoration project. Let’s tackle these pesky problems head-on with some tried-and-true methods.
- Grab your safety gear. Goggles, gloves, and a mask are must-haves.
- Start with a wire brush. Scrub off loose rust and flaking paint.
- Apply a rust converter. This magic stuff turns rust into a paintable surface.
- Sand, sand, sand. Use different grits to smooth out the surface.
- Wipe down with mineral spirits. This removes any leftover dust or grime.
- Spot-treat stubborn rust. Use a grinder or sandblaster for tough spots.
- Prime bare-metal areas. This prevents new rust from forming.
- Strip old paint with chemical stripper. Follow the product instructions carefully.
- Pressure wash the truck. This removes any lingering debris.
- Let it dry completely. Patience is key here, ladies!
Deep Clean the Truck’s Interior and Exterior
Deep cleaning your truck is a crucial step in restoration. Let’s dive into how to make your ride sparkle inside and out:
- Start with the interior. Remove all items and vacuum thoroughly. Don’t forget those nooks and crannies!
- Wipe down all surfaces with a mild cleaner. Use a soft brush for stubborn dirt.
- Clean the windows with a glass cleaner. A newspaper works great for a streak-free shine.
- Tackle the seats. Use a pH-neutral shampoo to protect the fabric or leather.
- Move to the exterior. Rinse the truck to remove loose dirt.
- Wash with car soap and a soft mitt. Work from top to bottom.
- Use a clay bar to remove embedded contaminants. This step makes the paint super smooth.
- Dry with a microfiber towel to avoid water spots.
- Clean the wheels and tires. A degreaser works wonders on stubborn grime.
- Don’t forget the truck bed! Sweep it out and wash it down.
- Finish with a wax or sealant to protect your hard work. This step makes future cleaning easier, too.
Repairing the Truck’s Mechanical Systems
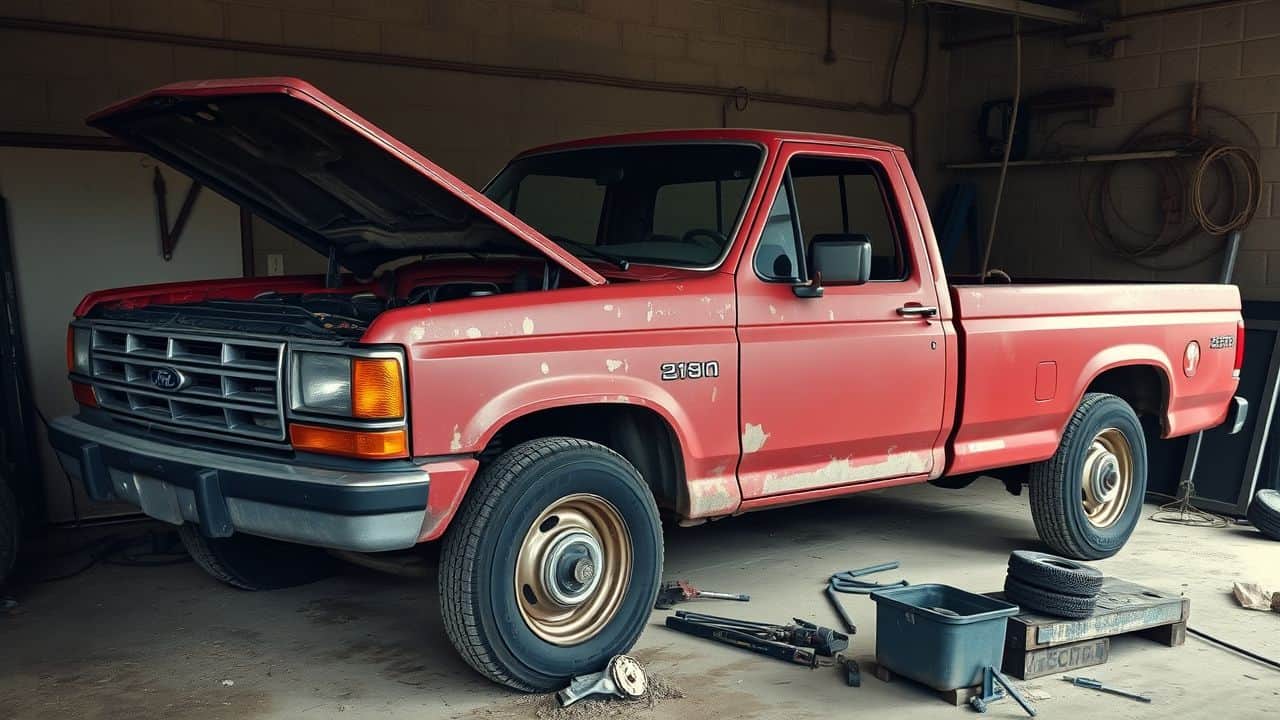
Let’s talk about fixing up your truck’s guts. This is where the real magic happens – you’ll get your hands dirty with the engine, transmission, and brakes.
Overhaul the Engine
Ladies, it’s time to roll up your sleeves and tackle the heart of your truck. Overhauling the engine is a big job, but it’s key to bringing your old beast back to life.
- Pull out the engine. You’ll need a hoist and some strong friends for this job.
- Strip it down. Take off all parts until you’re left with the bare block.
- Clean everything. Use a degreaser to get rid of years of gunk and grime.
- Check for damage. Look for cracks, wear, or warping in all parts.
- Replace worn parts. This might include pistons, rings, bearings, and gaskets.
- Rebuild the bottom end. Put in new bearings and seals. Install the crank and pistons.
- Work on the cylinder head. Replace valves, springs, and seals if needed.
- Put it all back together. Follow your manual step by step.
- Add fluids. Don’t forget oil, coolant, and transmission fluid.
- Fire it up. Cross your fingers and turn the key!
With the engine humming, it’s time to move on to the next big task – fixing up the transmission.
Fix the Transmission
After overhauling the engine, it’s time to tackle the transmission. This vital part keeps your truck moving smoothly, so let’s get it fixed up right.
- Check the transmission fluid. Look for dark, burnt-smelling fluid – it’s a sign of trouble.
- Flush out old fluid. New fluid helps the transmission run cooler and smoother.
- Replace the filter. A clean filter keeps dirt out of your transmission’s guts.
- Inspect the gears. Worn or chipped gears need replacing to avoid future headaches.
- Look at the clutch (for manual transmissions). A worn clutch can slip, making your truck feel sluggish.
- Test the solenoids. These little gadgets control fluid flow in automatic transmissions.
- Check the torque converter. It’s the link between your engine and transmission in automatics.
- Adjust the bands. Proper tension helps your transmission shift gears smoothly.
- Examine the shaft and sidewall. Cracks or damage here can lead to big problems down the road.
- Grease up those zerks. These little fittings need love to keep your transmission happy.
- Consider an upgrade. A beefier transmission can handle more power if you’ve souped up your engine.
- Get pro help if needed. Transmissions can be tricky – don’t be shy about asking for expert hands.
Restore the Brake System
Brakes are crucial for your truck’s safety. Let’s dive into fixing up that brake system to keep you cruising safely.
- Check the brake pads. Look for wear and tear. Replace them if they’re too thin.
- Inspect the rotors. Smooth rotors mean better stopping power. Resurface or replace if they’re warped.
- Test the calipers. These squeeze the pads onto the rotors. Make sure they move freely.
- Examine brake lines. Look for cracks or leaks. Replace any damaged lines pronto.
- Top up brake fluid. Low fluid can spell trouble. Fill it to the right level.
- Bleed the brakes. This gets rid of air bubbles. It’ll make your pedal feel firmer.
- Adjust the parking brake. A tight parking brake keeps your truck in place.
- Road test the brakes. Take a spin to feel how they work. Listen for any weird noises.
Now that we’ve tackled the brakes, let’s move on to sprucing up your truck’s electrical system.
Overhauling the Electrical System
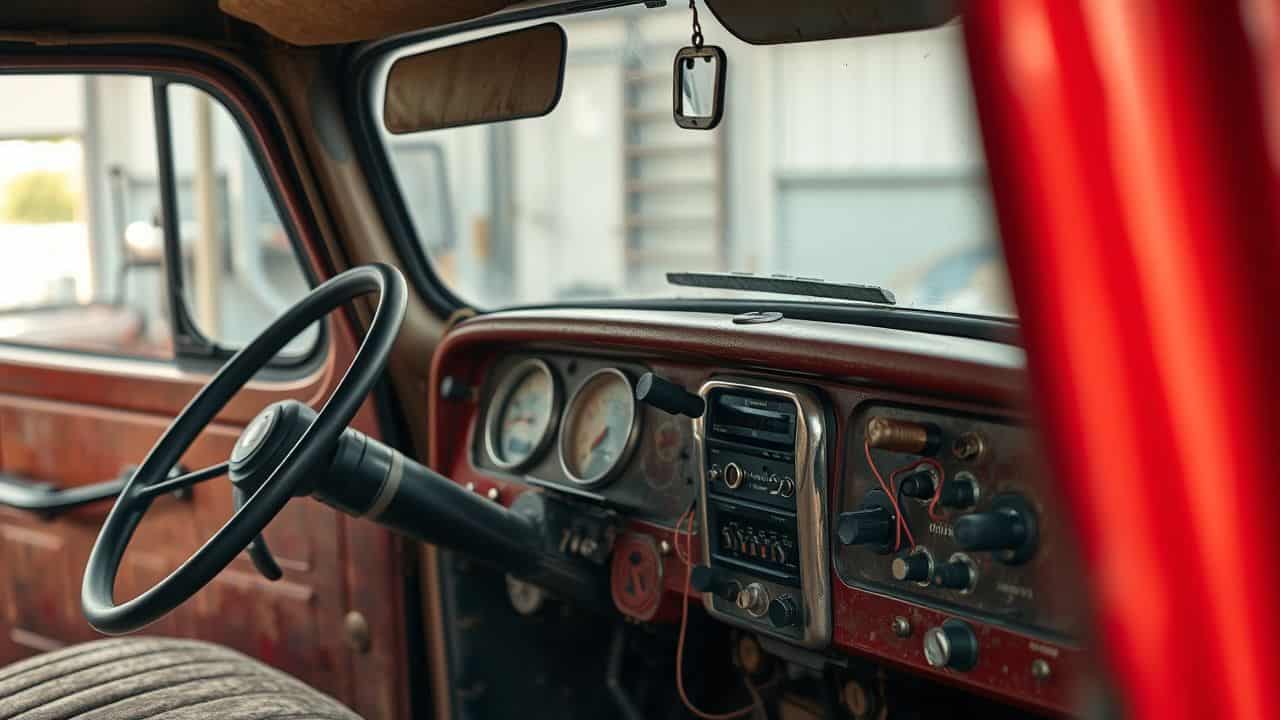
Rewiring your truck’s electrical system can be a real game-changer. It’s like giving your old ride a new brain! Want to learn more about this electrifying process? Keep reading….
Rewire the Electrical System
Rewiring your truck’s electrical system can be a real game-changer. It’s like giving your old ride a new brain – smarter, stronger, and ready for action.
- Start by yanking out the old wires. They’re probably a tangled mess anyway. Get in there and strip it all out.
- Install a shiny new 60-amp alternator. It’s the heart of your electrical system, pumping juice to everything else.
- Upgrade the wiring for heavy circuits. Think big, thick wires that can handle the load without breaking a sweat.
- Add a new under-dash fuse block. It’s like a traffic cop for your electrical system, keeping everything flowing smoothly.
- Replace any melted connectors or burnt wiring. These are fire hazards waiting to happen, so don’t skimp here.
- Install fresh lighting systems. LED lights are all the rage now – they’re bright, efficient, and look cool as heck.
- Don’t forget the little things. New switches, relays, and fuses might seem boring, but they’re crucial for a top-notch job.
- Test everything… twice. You don’t want any surprises when you’re cruising down the highway.
Upgrade the Lighting Systems
Bright lights make a world of difference in old trucks. Let’s shine a light on how to upgrade your ride’s illumination system.
- Out with the old, in with the new: Swap those dim, yellowed headlights for modern LED bulbs. They’re brighter, last longer, and use less power.
- Fog lights for the win: Add a pair of fog lights to cut through mist and rain. They’ll make night driving safer and look cool too.
- Light up the bed: Install LED strips in your truck bed. Great for loading gear at night or tailgating with friends.
- Don’t forget the interior: Replace dome lights with LEDs. You’ll see better inside and save your battery.
- Check your wiring: Old trucks often have worn-out wires. Replace them to avoid shorts and ensure your new lights work right.
- Go for a light bar: Mount an LED light bar on your roof or bumper. It’s perfect for off-road adventures or lighting up dark country roads.
- Upgrade your turn signals: LED turn signals are brighter and last longer. Plus, they look sleek and modern.
- Consider daytime running lights: These make your truck more visible during the day, boosting safety.
- Don’t overlook the little lights: Replace license plate lights, side markers, and reverse lights with LEDs for a complete upgrade.
- Get it all hooked up right: Make sure your new lights are wired correctly and don’t overload your electrical system. If in doubt, ask a pro for help.
Conducting Bodywork and Painting
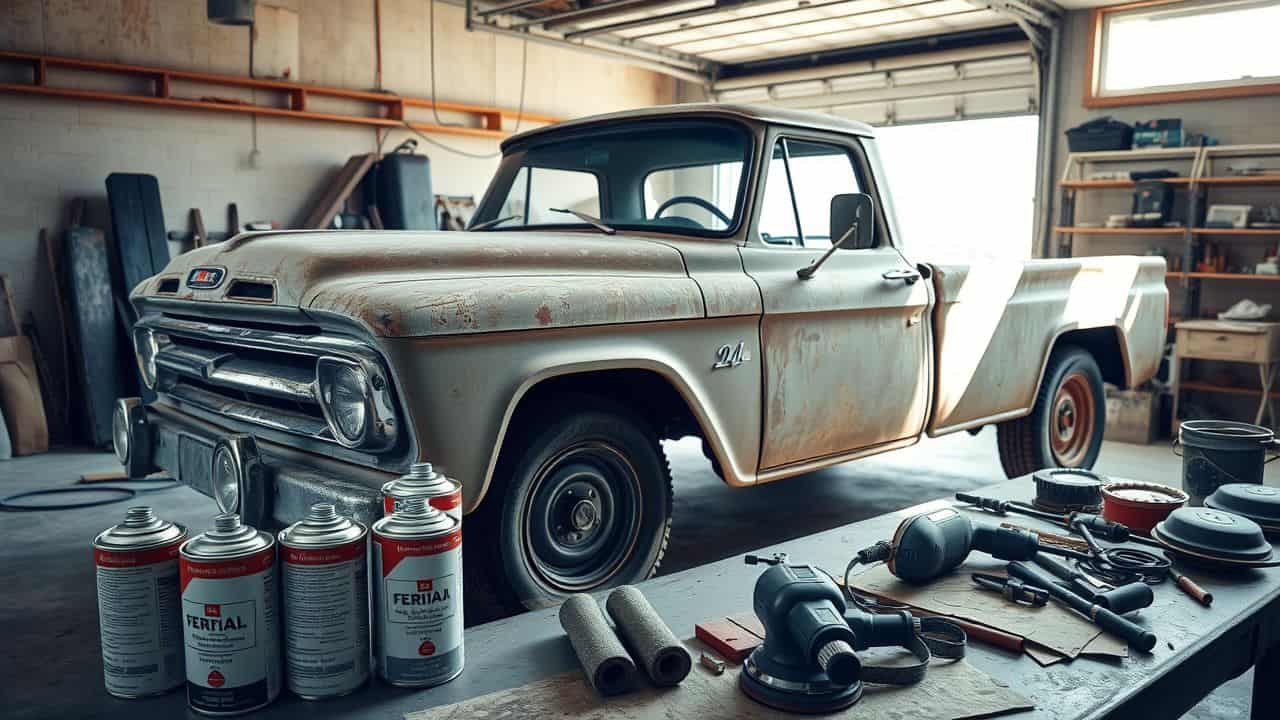
Bodywork and painting can turn your rusty old truck into a shiny showpiece. It’s where the magic happens! Want to know how to make your truck look brand new? Keep reading….
Repair Dents and Scratches
Dents and scratches can really mess up your truck’s look. Let’s fix that! Here’s how to smooth out those bumps and scrapes:
- Assess the damage. Look closely at each dent and scratch. Small dings might pop out with a plunger. Deeper dents need more work.
- Clean the area. Use soap and water to remove dirt. Dry it well. This helps you see the damage clearly.
- Try the plunger method. For small dents, wet the plunger and the dent. Push and pull until it pops out. It’s like magic!
- Use a dent puller. For stubborn dents, stick the puller on and yank. It might take a few tries, but don’t give up!
- Sand down scratches. Start with rough sandpaper, then move to finer grits. Go slow and steady. It’s like giving your truck a spa day.
- Fill deep scratches. Use body filler for big gaps. Spread it on, let it dry, then sand it smooth. Patience is key here.
- Prime the area. This helps the paint stick better. Spray on thin, even coats. Let each layer dry before adding more.
- Paint to match. Find the right color code for your truck. Spray in light layers. It’s better to do many thin coats than one thick one.
- Buff it out. Once the paint dries, use a buffer to blend it in. This makes the repair less noticeable.
- Protect your work. Add a clear coat to seal the deal. It guards against future damage and makes your truck shine.
Apply New Primer and Paint
Now that you’ve fixed those dents, it’s time to give your truck a fresh coat of paint. This step can make a big difference in your restoration project, so let’s get into the details of applying primer and paint.
- Clean the surface: Wipe down the entire truck with a degreaser to remove any oils or dirt.
- Sand the body: Use fine-grit sandpaper to create a smooth surface for the primer to stick to.
- Cover areas: Use masking tape and paper for windows, lights, and other parts you don’t want painted.
- Apply primer: Spray on 2-3 thin coats of primer, letting each dry fully before the next.
- Sand the primer: Once dry, lightly sand the primer to create an even smoother base for paint.
- Mix the paint: Follow the manufacturer’s instructions to mix your chosen color properly.
- Spray the base coat: Apply 3-4 thin coats of paint, allowing each to dry between applications.
- Add clear coat: Spray 2–3 layers of clear coat for shine and protection.
- Buff and polish: After the clear coat dries, buff and polish for a glossy finish.
- Protect exposed areas: Think about applying spray paint from Durabak to the truck bed for extra rust protection.
A high-quality paint job can cost around $20,000, but with patience and practice, you can get great results at home. Take your time and enjoy seeing your truck transform!
Restoring the Interior

Bringing your truck’s interior back to life is like giving it a cozy new home. You’ll tackle everything from seats to dashboard – and trust me, it’s a blast! Want to know more about this fun makeover? Keep reading!
Reupholster the Seats
Reupholstering truck seats can breathe new life into your ride. Let’s dive into the steps to make those seats look and feel amazing:
- Strip the old fabric: Carefully remove the old seat covers. Take photos as you go – they’ll help when you put things back together.
- Check the padding: Look for worn or damaged foam. Replace it if needed for maximum comfort.
- Choose your new fabric: Pick a tough material that matches your style. Leather, vinyl, or fabric – the choice is yours!
- Cut the new material: Use the old covers as a pattern. Add an extra inch all around for seams.
- Sew the pieces: If you’re handy with a needle, go for it! Or find a pro to ensure a perfect fit.
- Attach the new covers: Start at the back and work your way forward. Pull the fabric tight to avoid wrinkles.
- Secure the edges: Use hog rings or staples to fasten the fabric underneath the seat.
- Add finishing touches: Replace any trim pieces you removed earlier.
- Test for comfort: Sit in your newly covered seats. Make sure they feel as good as they look.
- Protect your work: Use seat covers or fabric guard to keep your new upholstery looking fresh.
Restore or Replace the Dashboard
The dashboard is the heart of your truck’s interior. Let’s dive into how to restore or replace it, giving your ride a fresh new look.
- Check the current state. Look for cracks, fading, or missing pieces.
- Decide: restore or replace? Weigh costs and sentimental value.
- Cleaning comes first. Use a mild soap and soft cloth to remove grime.
- Fix small cracks with a vinyl repair kit. It’s cheaper than full replacement.
- Consider a dash cover for a quick fix. They’re easy to install and affordable.
- For serious damage, removal is key. Disconnect wiring and remove screws carefully.
- Sand the old dashboard if restoring. This preps it for new paint or covering.
- Apply new vinyl or paint. Choose a color that matches your truck’s style.
- Install new gauges or switches. Modern ones can add cool features.
- Reassemble with care. Double-check all connections before final install.
- Add personal touches. A steering wheel cover or new knobs can make it pop.
- Test everything. Make sure all lights and gauges work before hitting the road.
Reassembling and Adding Final Touches

Putting your truck back together is like solving a giant puzzle. You’ll add cool extras too – maybe a shiny new steering wheel or comfy seat covers. Want to know more about making your old truck shine? Keep reading!
Reassemble Removed Parts
Putting your truck back together is like solving a big puzzle. It takes time and care, but you’ll feel so proud when it’s done. Here’s how to tackle reassembling those removed parts:
- Get organized. Lay out all your parts and tools before you start. This saves time and headaches later.
- Start with the big stuff. Put the engine, transmission, and axles back in first. They’re the backbone of your truck.
- Hook up the wiring. Follow your notes or photos to reconnect all the electrical bits. Double-check each connection.
- Reattach body panels. Line up fenders, doors, and the hood carefully. Make sure they fit snug and even.
- Install interior pieces. Put the dash, seats, and trim back in. This is where your truck starts feeling like home again.
- Add fluids. Fill up the oil, coolant, and other liquids your truck needs to run smoothly.
- Check all fasteners. Go over every bolt and nut to make sure they’re tight. Loose parts can cause big trouble.
- Test as you go. Turn the key after each major step to catch any issues early.
- Be patient. Don’t rush this part. Taking your time now means fewer problems down the road.
- Celebrate small wins. Each piece you put back is progress. Enjoy the journey of bringing your classic back to life.
Install Additional Accessories
Let’s jazz up your truck with some cool extras! Adding accessories can make your ride stand out and work better for you. Here’s a list of awesome add-ons to consider:
- Bed liner: Protect your truck’s bed from scratches and dents. It’s a must-have for hauling stuff.
- Running boards: These make getting in and out of your truck a breeze, especially if it’s lifted.
- Tonneau cover: Keep your cargo safe and dry with this nifty bed cover.
- Roof rack: Perfect for carrying extra gear on road trips or camping adventures.
- LED light bar: Light up the night for better visibility on dark roads or off-road trails.
- Backup camera: Say goodbye to blind spots when parking or hooking up a trailer.
- Custom wheels: Swap out those stock rims for some eye-catching new ones. The Method Race Wheels 305HD is a great pick for heavy-duty use.
- Upgraded sound system: Crank up your tunes with better speakers and a new head unit.
- Seat covers: Protect your seats from wear and tear while adding a personal touch.
- Truck bed extender: Need more space? This handy gadget gives you extra room for longer items.
Testing and Tuning the Truck

Once you’ve put your truck back together, it’s time for the fun part – taking it for a spin! You’ll want to test how it runs and make sure everything’s working right. But hey, there’s more to this story…
Keep reading to find out what comes next in your truck restoration journey!
Perform Road Testing
Road testing is the moment of truth for your restored truck. It’s time to see if all your hard work has paid off and if your classic beauty runs as good as it looks.
- Safety first: Check all lights, brakes, and signals before hitting the road.
- Start small: Begin with short trips around the block to spot any issues.
- Listen closely: Pay attention to odd noises or vibrations while driving.
- Test all gears: Shift through each gear to ensure smooth transitions.
- Hit the highway: Once you’re comfy, take it for a spin on the open road.
- Monitor gauges: Keep an eye on temp, oil pressure, and fuel levels.
- Test in different conditions: Try hills, curves, and varying speeds.
- Brake check: Test your brakes at different speeds and on different surfaces.
- Park and inspect: After each drive, look for leaks or loose parts.
- Log your findings: Write down any quirks or needed tweaks.
- Adjust as needed: Make small changes based on your test drives.
- Celebrate: Take a moment to enjoy your hard work – you’ve earned it!
After road testing, it’s time to fine-tune your truck for top performance. Just like transporting a motorcycle, getting your truck running smoothly takes care and attention.
Tune the Engine for Optimal Performance
Engine tuning is like giving your truck a power boost. Let’s dive into some steps to make your engine purr like a kitten on steroids:
- Clean the fuel system. Dump in a bottle of fuel injector cleaner and fill up with premium gas. Your engine will thank you!
- Replace those old spark plugs. Fresh plugs mean better ignition and smoother running.
- Adjust the idle speed. A properly set idle keeps your engine happy at stoplights.
- Check and set the timing. Correct timing equals more power and better fuel economy.
- Upgrade the air intake. A cold air intake lets your engine breathe easier… and who doesn’t like easy breathing?
- Install a performance exhaust. It’s like giving your engine a megaphone – more noise, more power!
- Reprogram the ECU. This little computer tweak can unlock hidden horsepower.
- Add a supercharger or turbocharger. If you’re feeling brave, forced induction is the ultimate power-up!
- Use high-grade engine oil. Think of it as a spa day for your engine’s moving parts.
- Regular tune-ups are key. Keep your truck in tip-top shape with scheduled maintenance.
Maintaining Your Restored Truck
Keep your restored truck in top shape with regular check-ups and TLC. Want to know more about bringing an old truck back to life? Read on!
Conduct Regular Checks and Servicing
Regular checks keep your restored truck purring like a kitten. Every 5,000 miles, swap out that engine oil. It’s like giving your truck a spa day! Don’t forget the fuel filter – it needs a change every 10,000 to 20,000 miles.
Think of it as a breath of fresh air for your ride.
Your transmission fluid? That’s the unsung hero. Give it some love every 30,000 to 60,000 miles. I once skipped this step and… let’s just say my F-150 wasn’t too happy. Trust me, ladies, these simple checks will keep your truck running smooth as butter.
It’s not rocket science – just a little TLC goes a long way!
Implement Protective Measures
Protect your restored truck like a prized possession. Cover it with a breathable, custom-fit cover when not in use. This keeps dust, dirt, and moisture at bay. For extra care, apply a high-quality wax to the paint job every few months.
It’ll make your truck shine and guard against harmful UV rays.
Don’t forget about the interior! Use seat covers to prevent wear and tear on your newly upholstered seats. Install floor mats to catch dirt and grime. For the engine, regular oil changes and tune-ups are a must.
These simple steps will keep your classic ride in top shape for years to come.
People Also Ask
What’s the first step in bringing an old truck back to life?
Start with a thorough inspection. Check the frame, body, and engine. Look for rust on the F-series or Econoline you’re working on. Don’t forget to peek at the trunk and wiper areas. It’s like giving your truck a physical before the big makeover.
How do I choose between keeping the original engine or swapping it out?
It’s a tough call. If you’ve got a classic small block V8 or inline six, you might want to keep it. But if you’re itching for more power, consider an engine swap. The Coyote or EcoBoost could breathe new life into your ride. It’s like giving your truck a heart transplant!
What’s the deal with restoring the interior of an old truck?
The inside matters as much as the outside. Replace worn-out seats, dashboard, and carpet. For a Bronco or Explorer, you might need to hunt for specific parts. It’s like giving your truck’s living room a total makeover. Your butt will thank you later!
How important is upgrading the suspension in a restoration project?
It’s crucial! Whether you’re working on a Ranger or a Super Duty, a good suspension makes all the difference. Consider upgrading the track bar and shocks. It’s like giving your truck new legs to dance with.
What about the exterior? How do I make my old truck shine again?
Start with bodywork. Fix dents, replace rusty panels, and prep for paint. Choose a color that fits the era of your truck. For a classic F-150 Lightning or Ranchero, go bold! It’s like dressing your truck for prom night.
Any tips for sourcing parts for my restoration project?
Get creative! Check out junkyards, online marketplaces, and specialty shops. The Mid-West and South often have gold mines for old truck parts. For rare bits like Flathead V8 components, join forums and make friends. It’s like going on a treasure hunt for your truck’s missing pieces.
References
https://www.amazon.com/How-Restore-your-Chevy-Truck/dp/1613251998
https://www.instructables.com/How-to-Clean-Up-a-Rusty-Frame-on-a-Budget/
https://www.jcwhitney.com/culture/preserving-the-past-detailing-tips-for-old-trucks/
https://robscustoms.com/the-complete-guide-to-truck-restoration/ (2019-10-14)
https://www.frontech.com/a-how-possible-is-it-to-restore-an-old-brake-system-in-a-vehicle.html
https://www.garagejournal.com/forum/threads/upgrading-old-car-electrical-system.509294/ (2023-01-16)
https://www.parsonsautobody.com/blog-details?objId=4e234752-f55e-4d1b-b081-48eb34d50384
https://www.northwestautocollision.com/guide-to-classic-car-restoration-using-modern-repair/ (2023-11-17)
https://www.ford-trucks.com/forums/95920-paint-and-bodywork-step-by-step-paintwork.html
https://www.articlesfactory.com/articles/autos/lmc-truck.html (2023-07-26)
https://www.diamondfleets.com/articles/5-tips-to-increase-your-heavy-duty-truck-performance
https://www.hotrod.com/features/10-steps-to-power-how-to-hop-up-your-car-june-1994-982-1512-39-1/
