Is your baby’s pacifier a germ magnet? Don’t worry, you’re not alone in this sticky situation. Babies love to drop their pacifiers everywhere – on the floor, in the sandbox, or even in the dog’s water bowl.
Yuck! But fear not, we’ve got your back. We’ll show you how to sterilize a pacifier and keep those nasty germs at bay. 1 Ready to become a pacifier-cleaning pro? Let’s go! 3
Key Takeaways
Sterilize pacifiers daily for babies under 3 months old to protect their developing immune systems.
Boiling water for 2 minutes is an effective way to clean both latex and silicone pacifiers.
Microwave steam sterilization takes about 1 minute at 800 watts but can melt pacifiers if overheated.
UV sterilizers may damage some pacifier materials and miss hard-to-reach spots.
Check pacifiers for damage after cleaning and replace them if you see cracks or weak spots.
Table of Contents
Importance of Sterilizing Pacifiers
Keeping pacifiers clean is a big deal for your baby’s health. Germs love to hang out on these little soothers, so zapping them regularly is key to keeping your little one happy and healthy.
Combatting Bacterial Growth
Pacifiers can harbor germs. Babies tend to drop them everywhere – on floors, in dirt, or even in the dog’s water bowl! These small items need regular cleaning to keep your little one safe.
Daily sterilization is important to fight off bacteria. 1 It’s especially important for newborns and infants under 3 months old. Their immune systems are still developing, so they’re at higher risk for infections.
I learned this firsthand when my daughter got thrush from an unclean pacifier. Now, I boil her pacifiers for 5 minutes after each use. 1 It’s a simple step that gives me peace of mind. For older babies, you can clean pacifiers less often – but still aim for at least once a day. A clean pacifier leads to a happy baby!
Promoting Baby’s Health and Safety
Keeping your baby’s pacifier clean is a big deal. It’s not just about being tidy – it’s about keeping your little one healthy. Dirty pacifiers can spread nasty bugs like thrush. This fungal infection causes white patches in your baby’s mouth.
Yuck! Dr. Jason Sherman, a kid doctor, says we should clean pacifiers right away if they fall on the ground or touch any surface. 1
Sterilizing pacifiers helps fight off germs that could make your baby sick. It’s a simple step that goes a long way in protecting your little one’s health. Some folks think parent spit might boost baby’s immunity.
But the jury’s still out on that one. For now, it’s best to play it safe and keep those pacifiers squeaky clean. Let’s dive into the popular ways to sterilize pacifiers and keep those pesky germs at bay.
Regular sterilization of pacifiers is essential for hygiene and preventing bacterial infections in infants. – Dr. Jason Sherman, DO
Popular Methods for Sterilizing Pacifiers
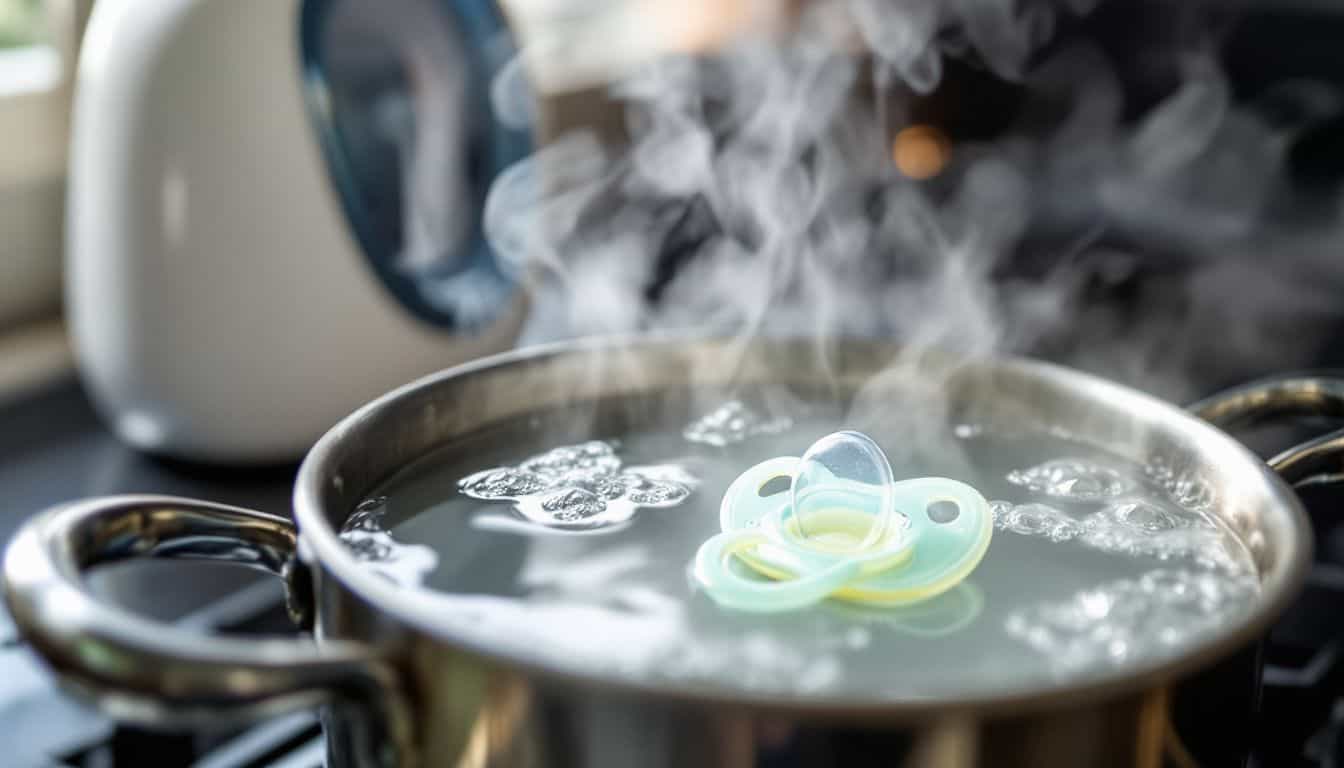
Let’s dive into some easy ways to zap those nasty germs on your baby’s pacifier. From old-school boiling to high-tech UV gadgets, we’ve got you covered with tricks that’ll keep your little one’s binky squeaky clean.
Using Boiling Water
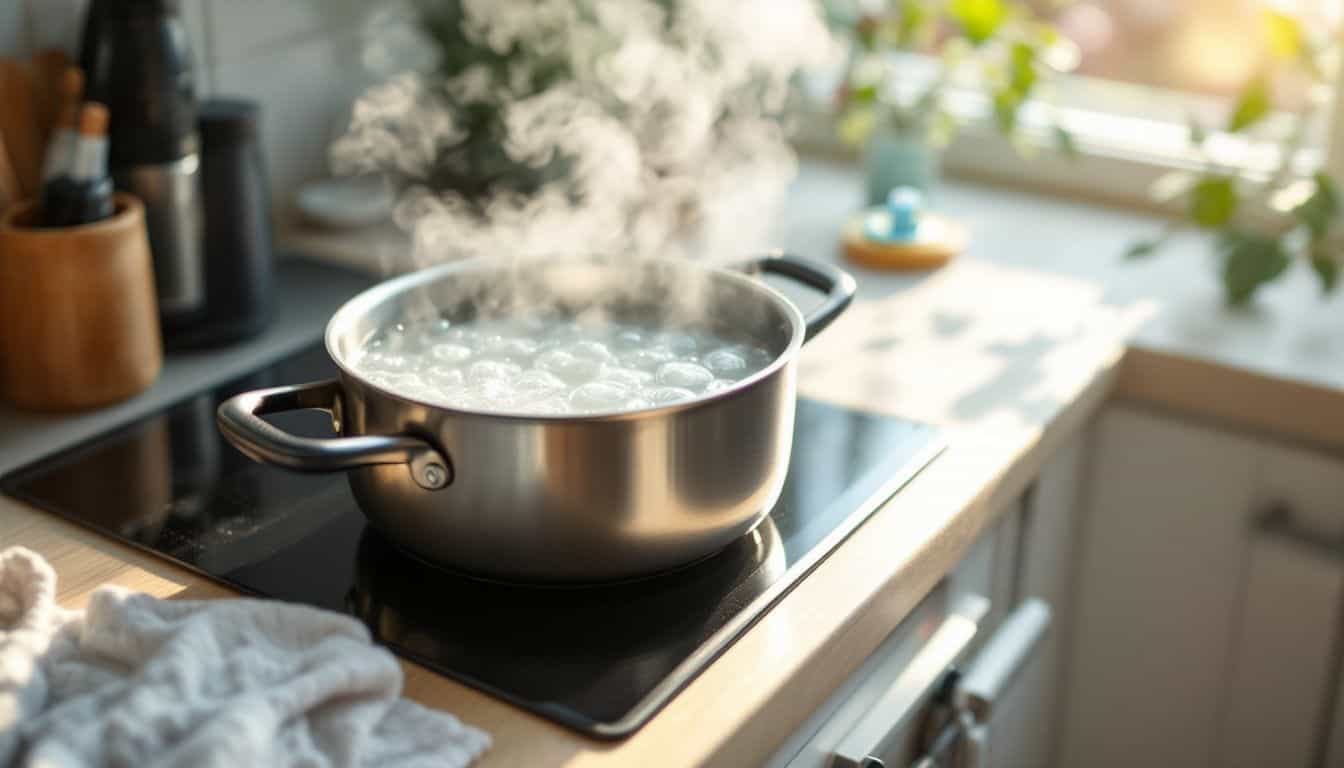
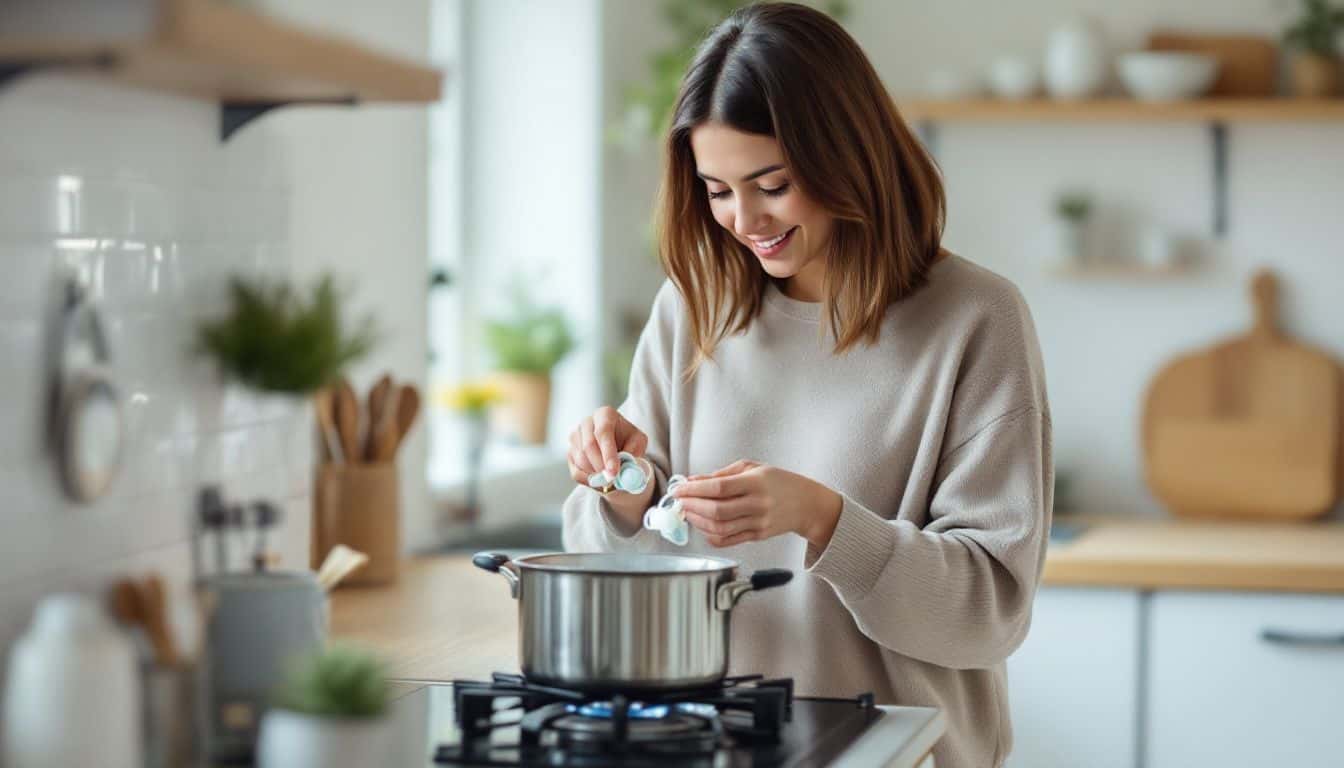
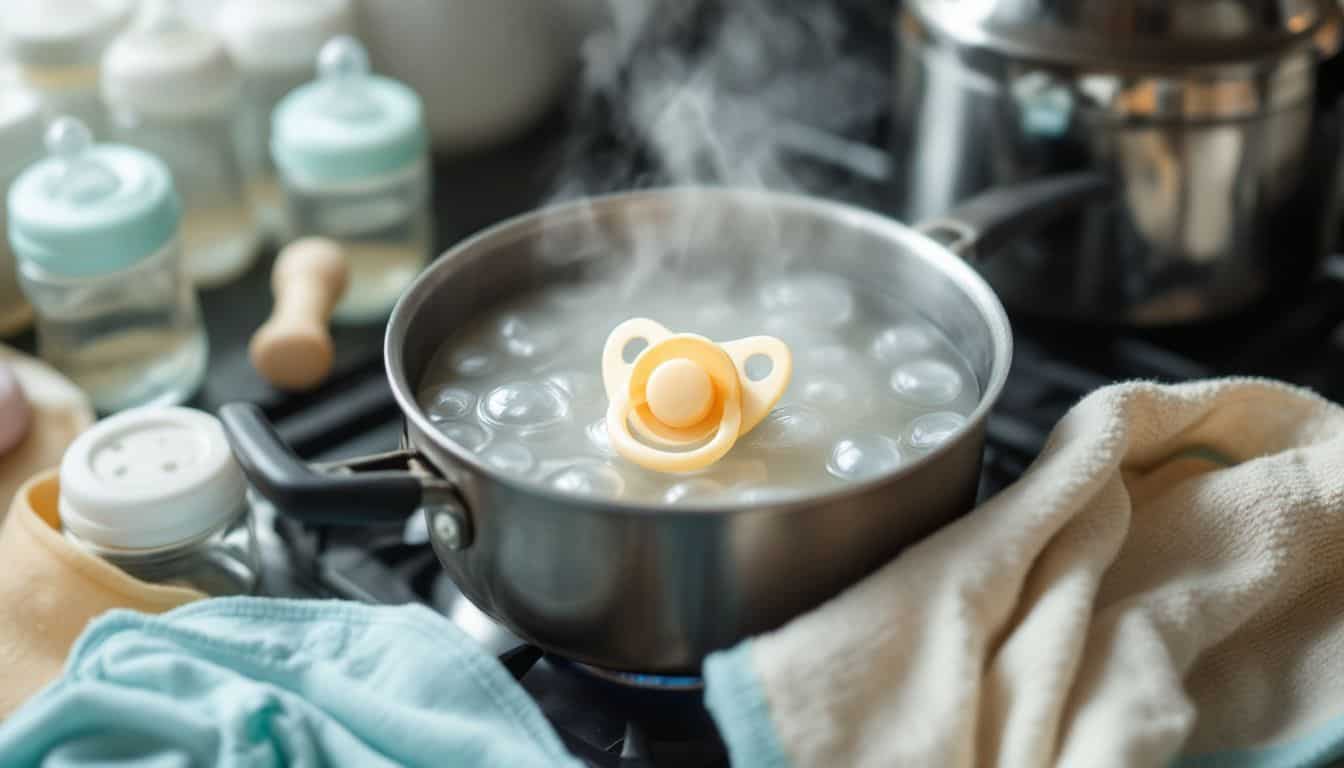
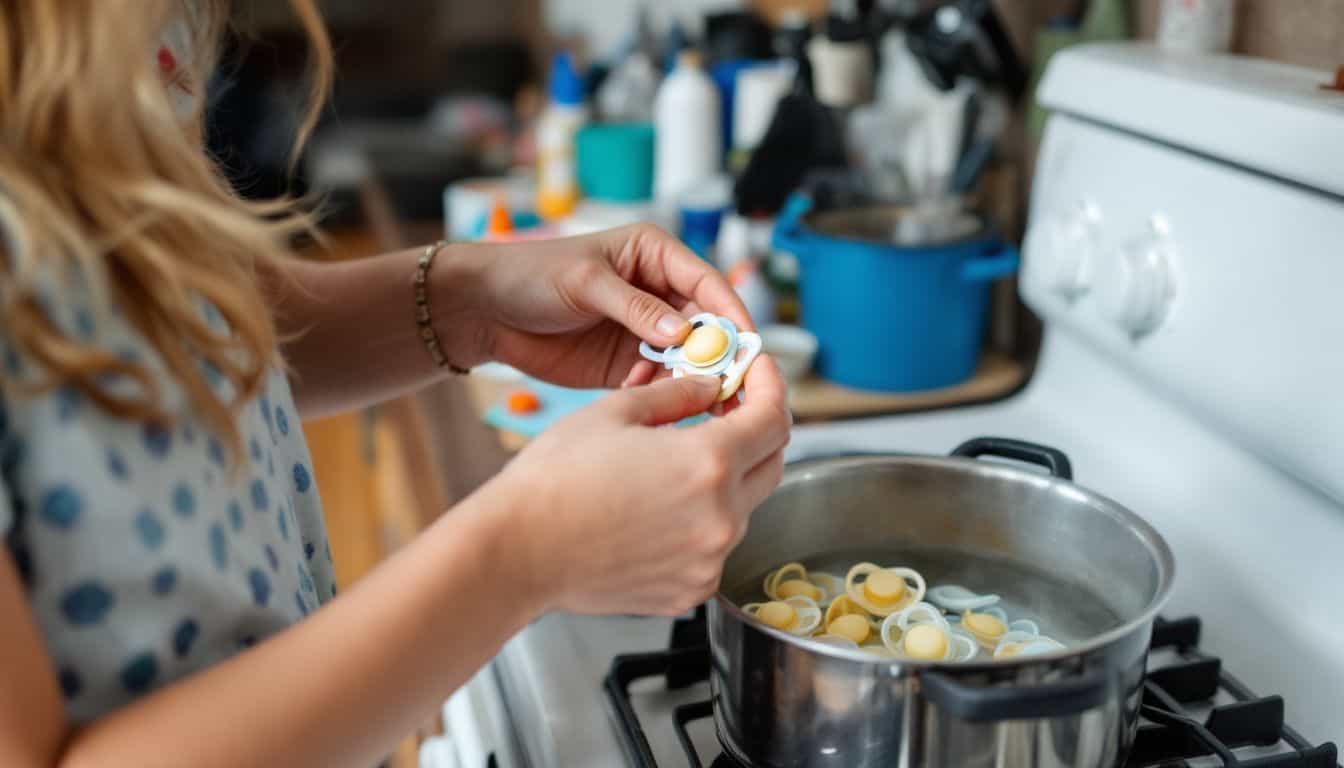
 Boiling water is a simple yet powerful way to eliminate germs on pacifiers. It’s a tried-and-true method that moms have used for ages. Here’s how it works: Fill a pot with water and turn up the heat.
Once it’s bubbling, drop the pacifier in for two minutes. 2 But don’t just put it in and forget it! Use tongs and squeeze the nipple. This allows the hot water to get inside the plastic part, eliminating any hidden bacteria.
This method is effective for both latex and silicone pacifiers. It’s a quick solution that’ll keep your little one’s soother clean. Just keep in mind, before using a new pacifier for the first time, give it a good five-minute boil.
That’ll eliminate any factory germs and prepare it for your baby’s first use. Simple, right? With this technique, you’ll become a pacifier-cleaning expert quickly!
Employing Microwave Steam Sterilization
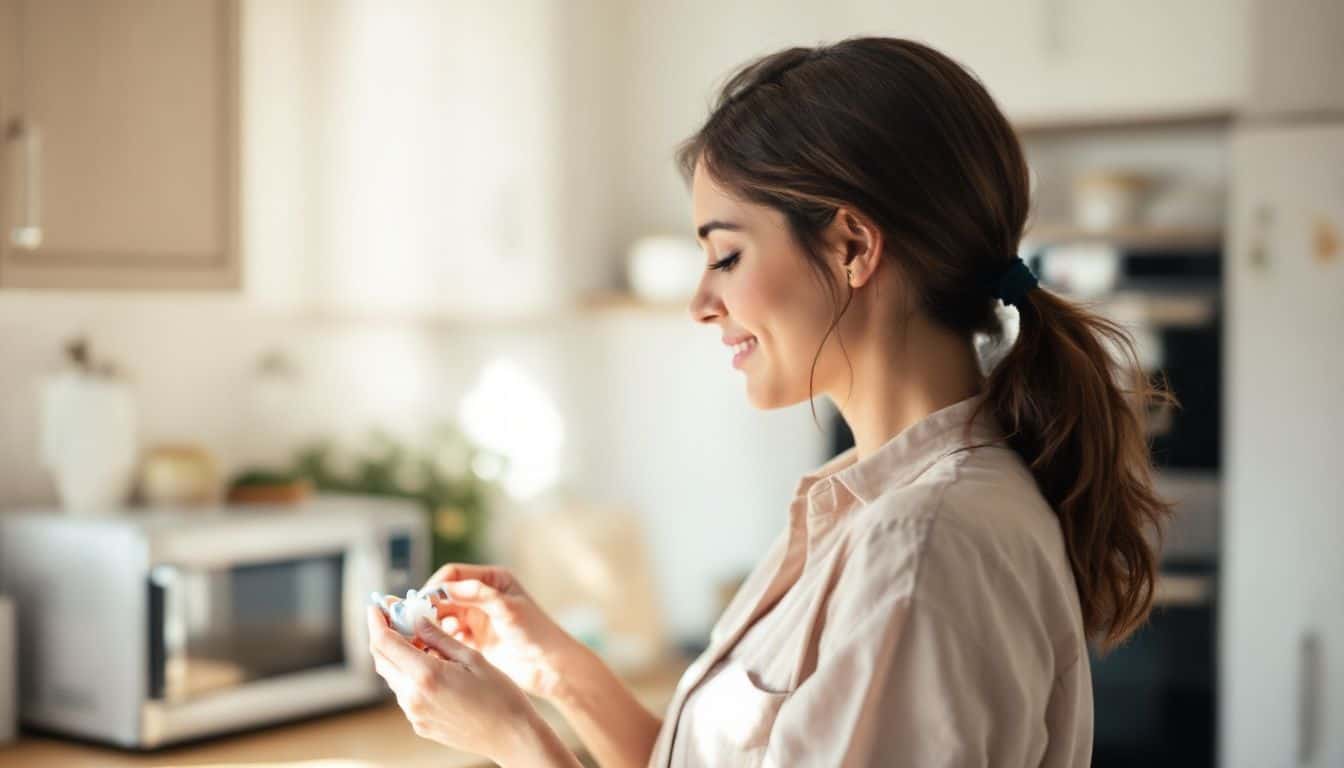 Microwave steam sterilization is a quick and easy way to eliminate germs on pacifiers. Have a microwave at home? You’re set! This method uses steam to destroy harmful bacteria that could make your baby ill.
Here’s how it works: place the pacifier in a microwave-safe bowl with water, or use a specialized sterilizer container. Heat it for about a minute at 800 watts. 3 But be careful! Don’t overdo it, or you’ll end up with a melted mess.
Silicone pacifiers can withstand the heat, but keep temperatures below 230°F. Always add water – dry pacifiers are off-limits in the microwave. This method is great for busy parents who need clean soothers quickly.
It’s easy to do while you’re heating up baby’s bottle or preparing a quick snack. Just make sure to let everything cool down before giving it to your little one. No one wants a burned tongue!
Utilizing UV Sterilizing Devices
 UV sterilizing devices offer a quick way to zap germs on pacifiers. These gadgets use ultraviolet light to kill bacteria and viruses. But hold up! They’re not perfect for all pacifier types.
UV light can harm natural rubber latex and silicone pacifiers. 1 It might make them break down faster. Also, UV rays only kill germs on surfaces they touch directly. This means some spots might get missed.
UV sterilization is like a flashlight for germs – it only kills what it can see!
Steam sterilization is often a safer bet. It reaches all nooks and crannies of the pacifier. If you do use UV devices, check your pacifier’s material first. And don’t forget to inspect it after each cleaning.
Look for any signs of wear and tear. Your baby’s safety comes first!
Best Practices for Pacifier Sterilization
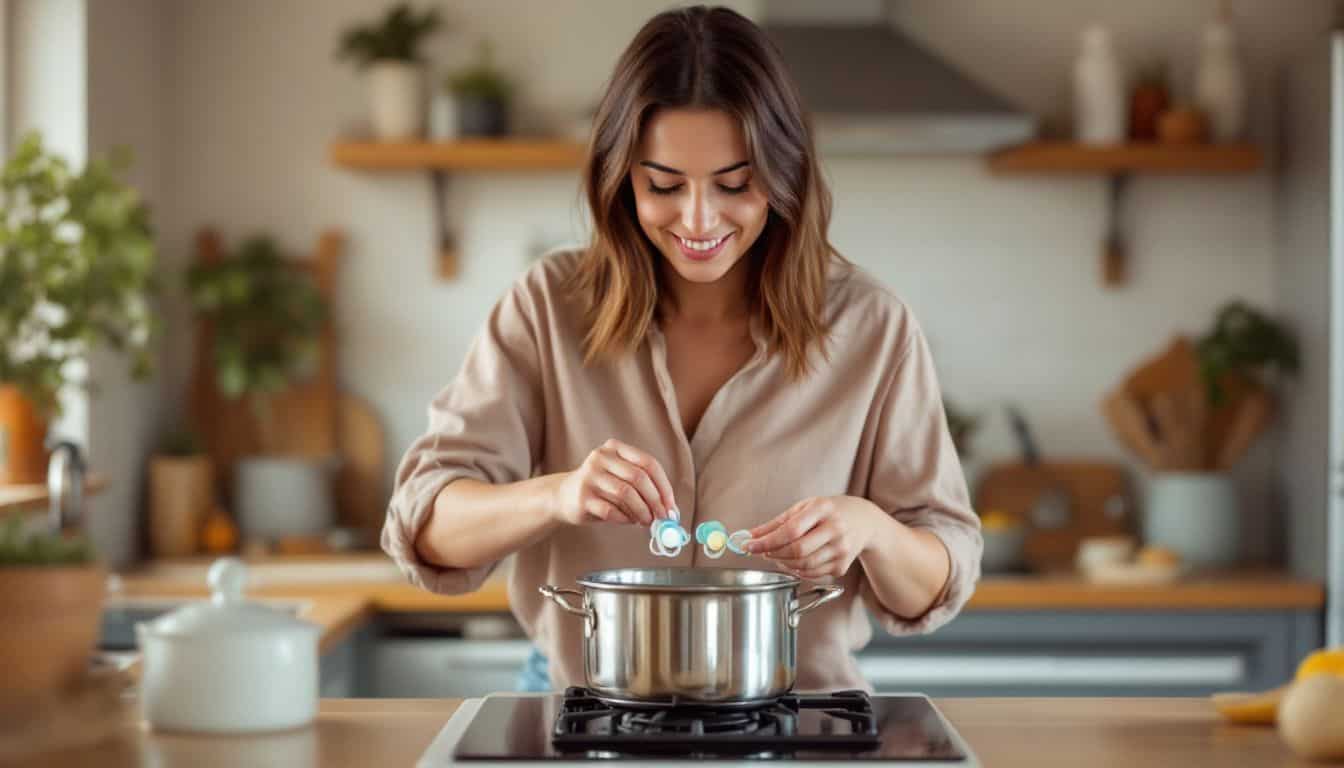
Let’s talk about pacifier care. It’s key to keep those little soothers clean and safe for your baby.
Determining Sterilization Frequency
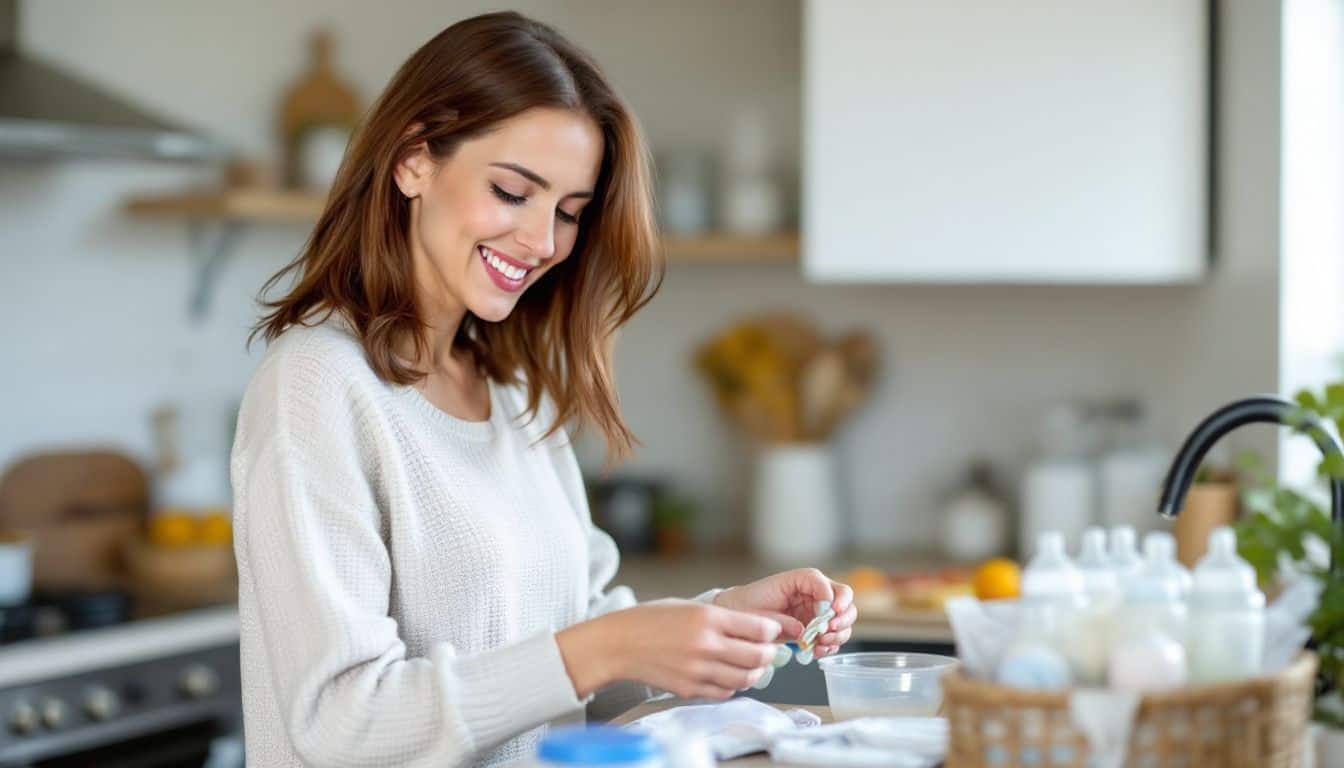
Babies need clean pacifiers. But how often should you clean them thoroughly? For infants under 3 months, daily thorough cleaning is best. Their immune systems are still developing, so they need extra protection. 1 As babies grow, you can clean them less often – maybe 2-3 times a week. Just clean pacifiers with soap and water after each use. 4
I learned this the hard way with my first child. I was cleaning pacifiers multiple times a day! It was tiring. Now, I follow a more relaxed schedule after drinking baby formula to soothe my sore throat one night.
Balance is key – keep things clean without overdoing it. Your baby (and your sanity) will thank you!
Inspecting Pacifier Condition After Sterilization
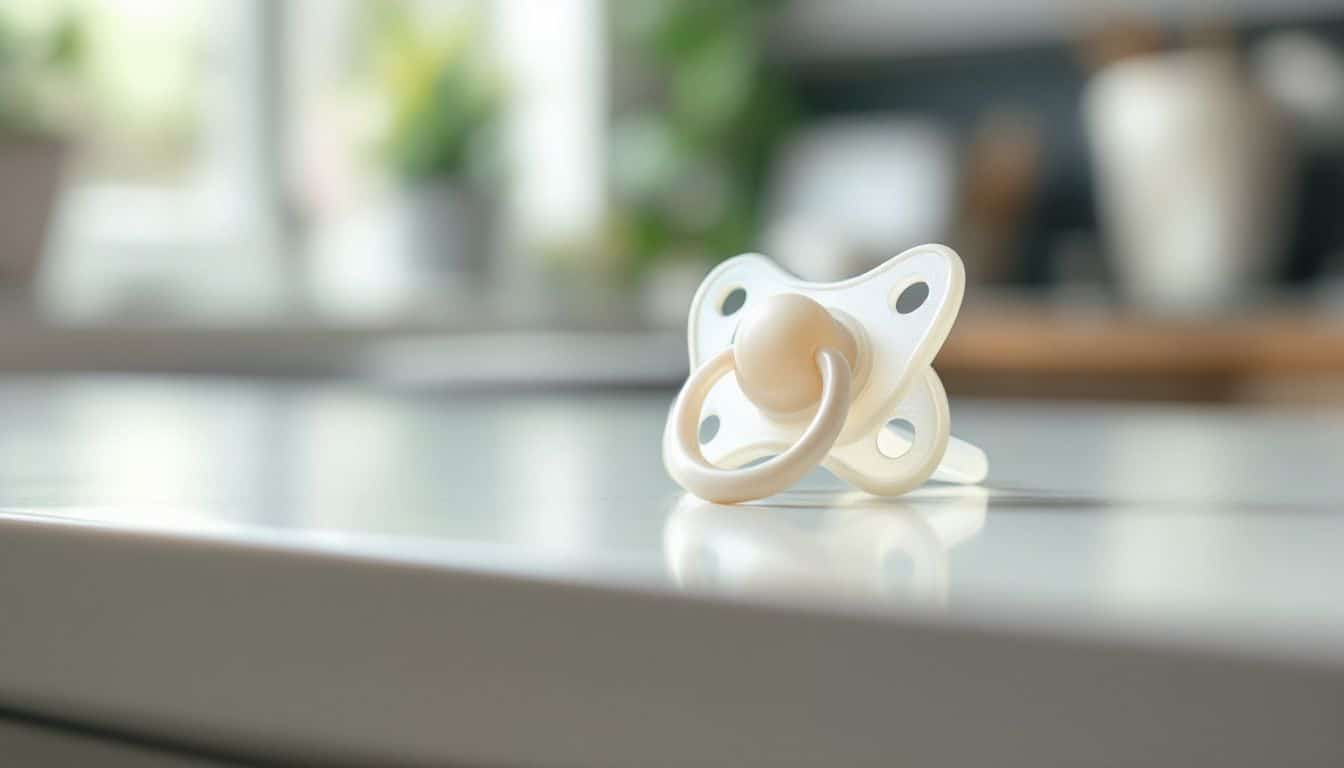
After sterilizing, take a close look at your baby’s pacifier. Check for any cracks, tears, or weak spots. These could harbor germs or break off, causing a choking hazard. Squeeze the nipple flat to remove extra water – it’s normal for some to stay inside.
If water remains, let the pacifier air dry before use. 1
Keep an eye on how often you sterilize. Too much heat can wear out the pacifier faster. Replace it if you spot any damage or if it’s been used for a while. Your little one’s safety comes first! A clean, intact pacifier helps keep your baby happy and healthy.
People Also Ask
1. Why should I sterilize my baby’s pacifier?
Sterilizing pacifiers keeps germs at bay. It’s like giving your little one’s suckle buddy a spa day! Clean pacifiers help prevent the common cold, throat infections, and even bronchiolitis. Plus, it’s a smart move to keep those runny noses away.
2. What’s the best way to sterilize latex pacifiers?
You’ve got options! Pop them in the dishwasher, zap them in the microwave, or boil them like tiny submarines. Just make sure they’re squeaky clean before your baby uses them. It’s as easy as pie and keeps those pacifiers hygienic.
3. Can I use the same method to sterilize bottles and pacifiers?
You bet! The same germ-busting tricks work for both. Whether it’s Philips Avent bottles or your baby’s favorite pacifier, sterilization is key. Just don’t mix them up – your little one might not appreciate a bottle-sized pacifier!
4. How often should I sterilize pacifiers?
It’s best to sterilize pacifiers daily, especially for newborns. As your baby grows, you can do it less often. But remember, if it falls on the floor, it’s time for a quick clean. Think of it as a pacifier’s trip to the car wash!
5. Are there any risks associated with not sterilizing pacifiers?
Absolutely! Dirty pacifiers can be a playground for germs. They might increase the risk of infections and, in rare cases, contribute to sudden infant death syndrome (SIDS). So, keep those pacifiers clean – it’s like giving your baby a tiny shield against the bad guys!
References
- ^ https://bibsworld.com/blogs/guides/how-to-clean-my-pacifier-the-right-way
- ^ https://www.hgtv.com/lifestyle/clean-and-organize/how-to-clean-a-pacifier
- ^ https://tushbaby.com/blogs/special-needs/how-to-clean-sanitize-pacifier?srsltid=AfmBOopLYBQHR-oqtgV8hoFMF812AbQEB8DNJbbRVcLSq_PpuY7vwi5W
- ^ https://health.clevelandclinic.org/how-to-clean-your-babys-pacifier (2020-09-30)
