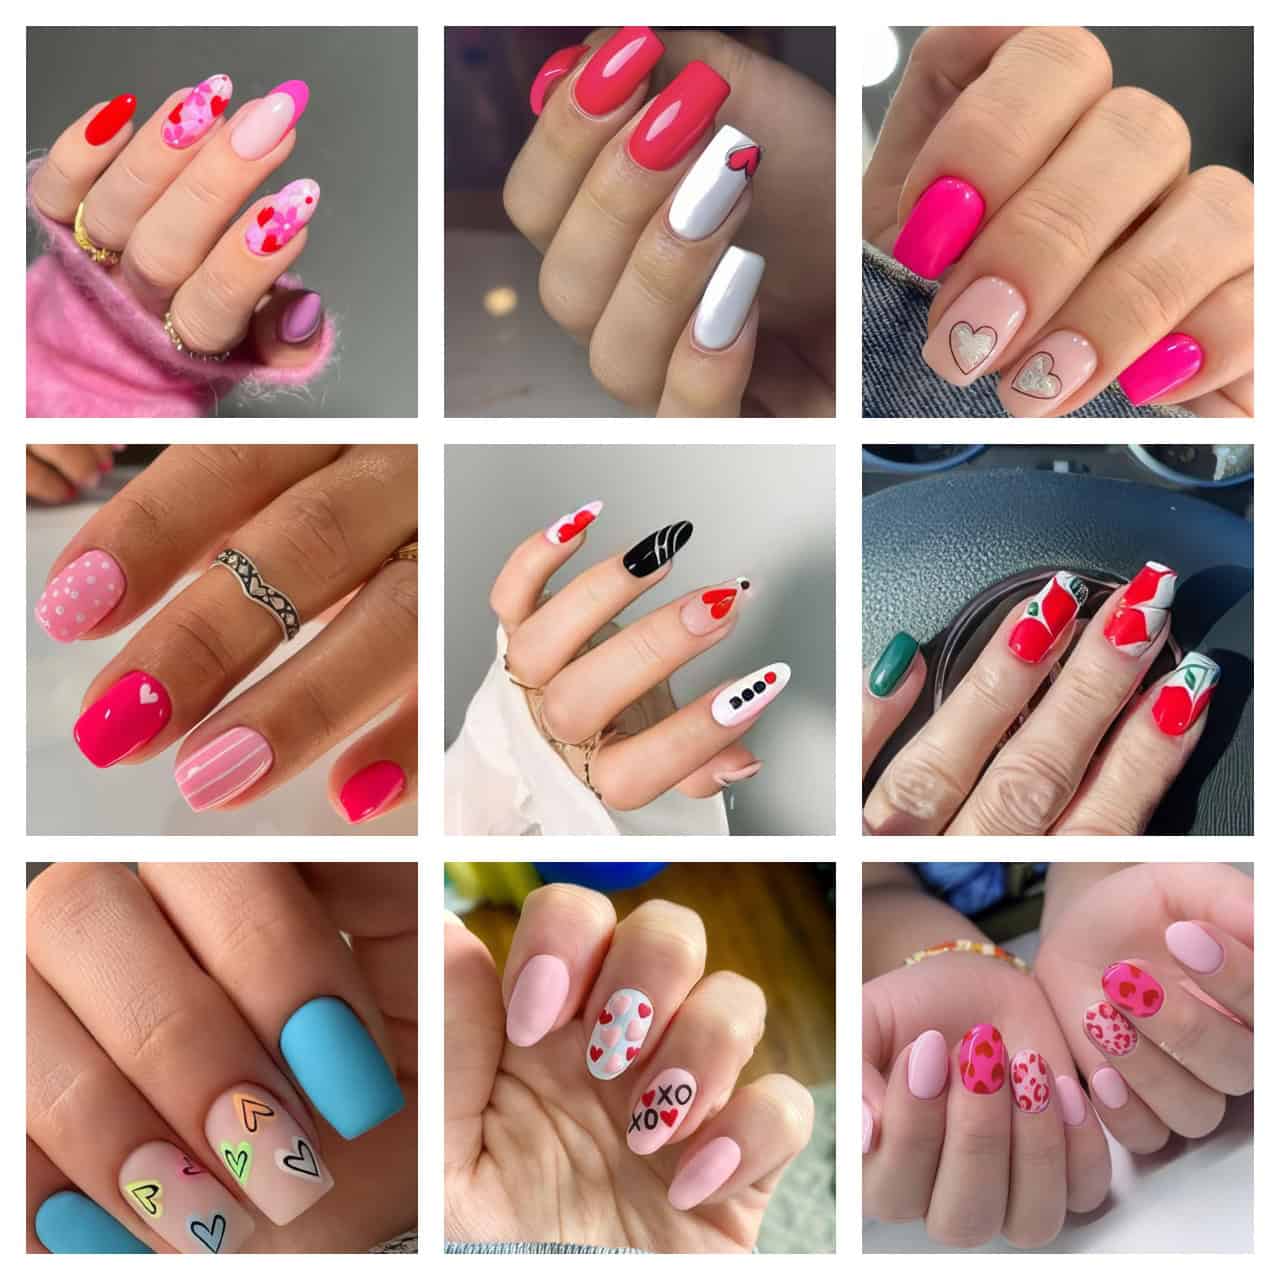
Picking the perfect Valentine’s Day nails can feel like a huge task with so many designs to choose from. Red and pink remain the top choices for V-Day manicures, but 2025 brings fresh twists on these classic colors.
We’ve gathered 23+ amazing nail designs that range from subtle hearts to bold glamour – perfect for dates or fun nights with friends. Get ready to turn heads with these swoon-worthy nail art ideas that’ll make your hands the star of any Valentine’s celebration.
Key Takeaways
The 2025 Valentine’s nail trends focus on 23+ designs across four main styles: minimalist, romantic classics, glamorous, and playful creative looks.
Minimalist designs feature geometric shapes, tiny hearts, and negative space patterns using red, pink, and metallic polishes, making them perfect for both work and dates.
Classic red nails remain popular, with OPI’s Big Apple Red being a top choice that works well on all skin tones, especially on shorter nails with square-rounded edges.
Gold accents, rhinestones, and holographic effects bring sparkle to Valentine’s manicures, while 3D bubble hearts and candy heart designs add playful dimension to nail art.
Most designs work best with a clear base coat, two thin layers of color, and a quick-dry top coat, with cold water dips helping polish set faster and stronger.
Table of Contents
Minimalist Valentine’s Day Nail Designs
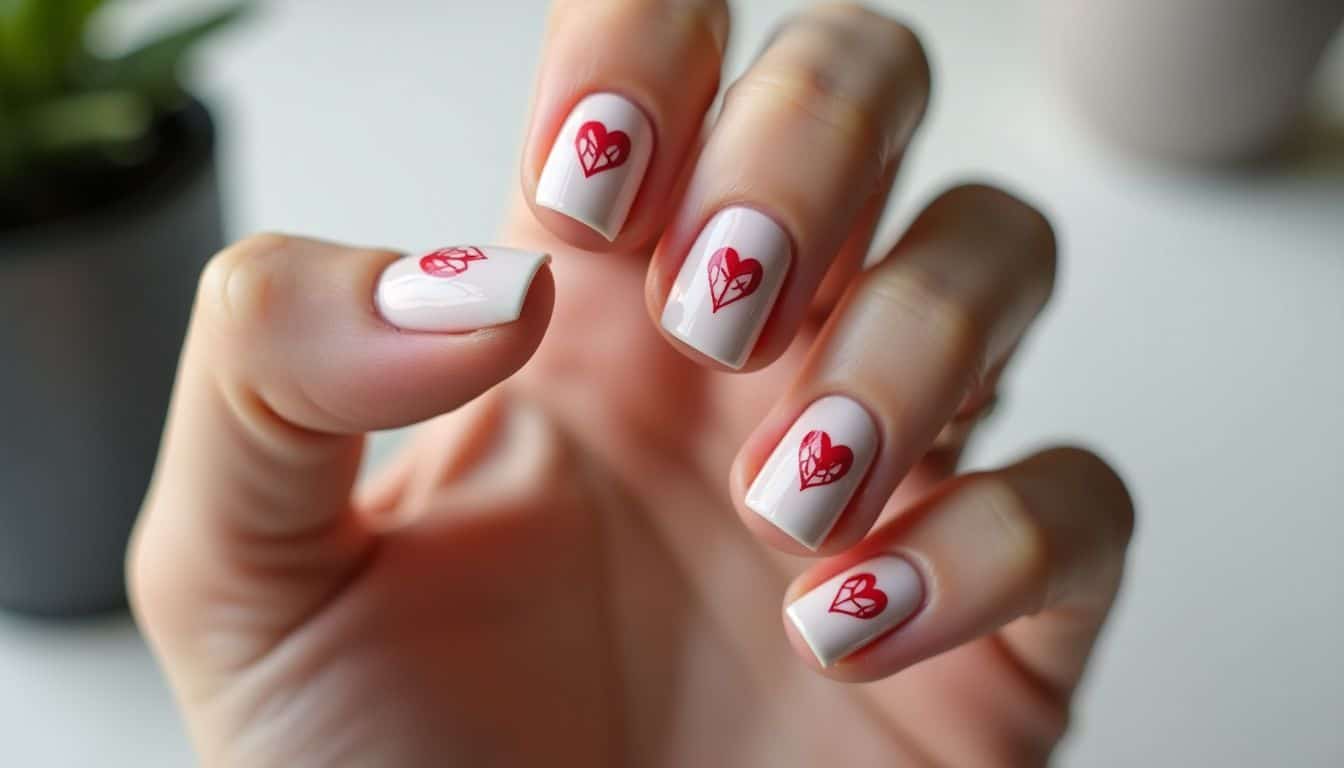
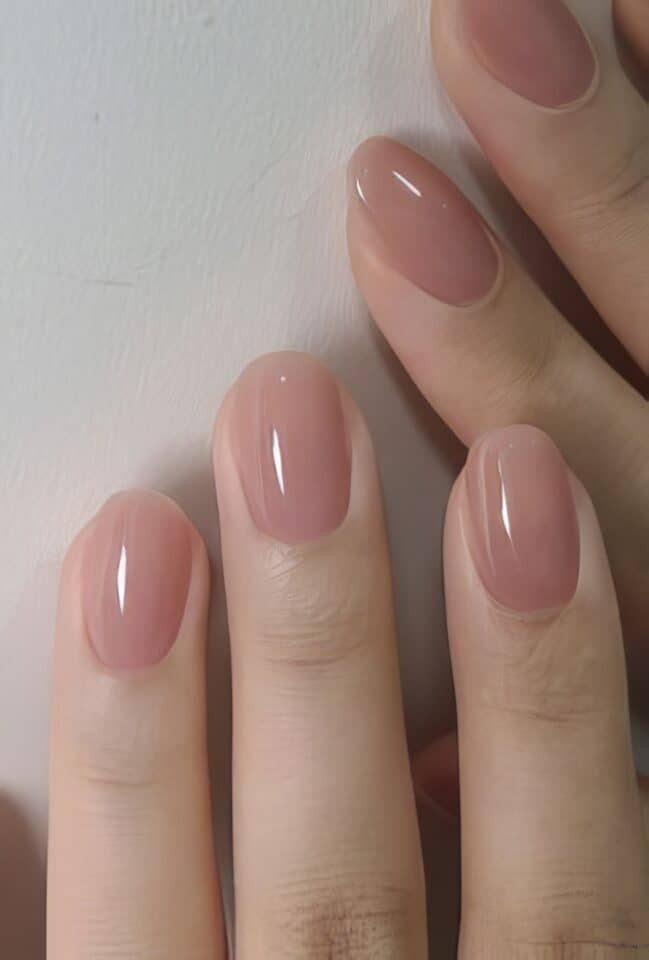
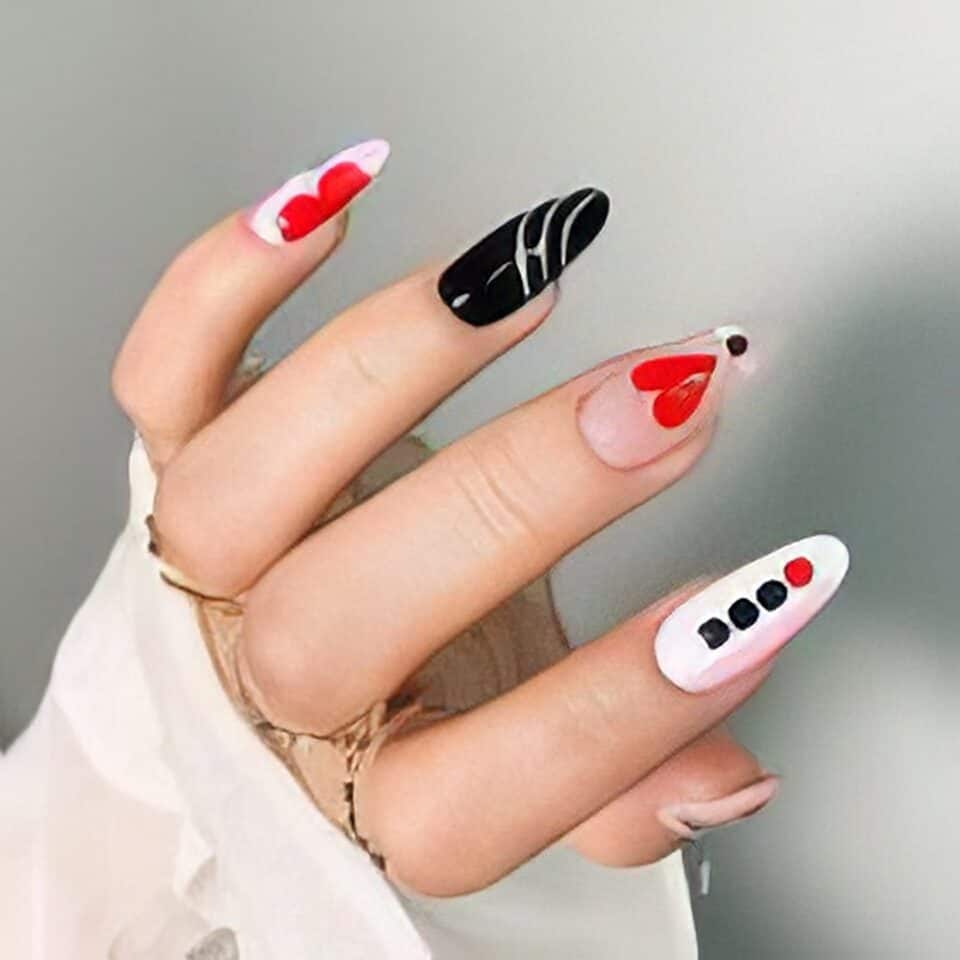
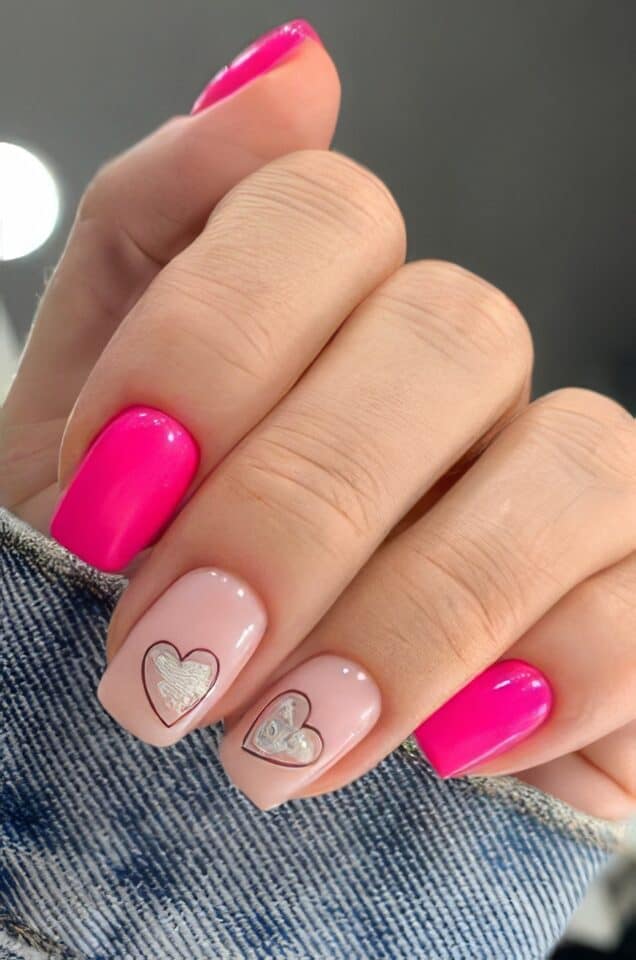
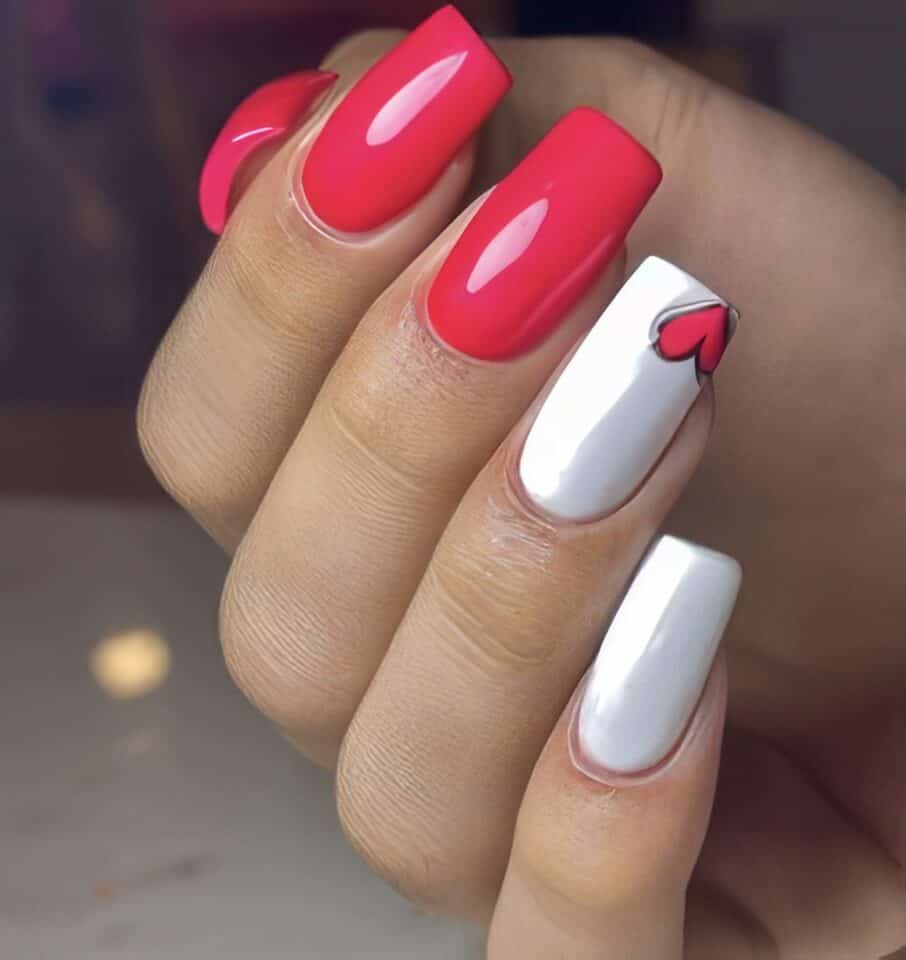
Less is more with minimalist Valentine’s Day nail designs. A clean base coat paired with tiny geometric hearts or simple line work creates a modern take on romantic manicures.
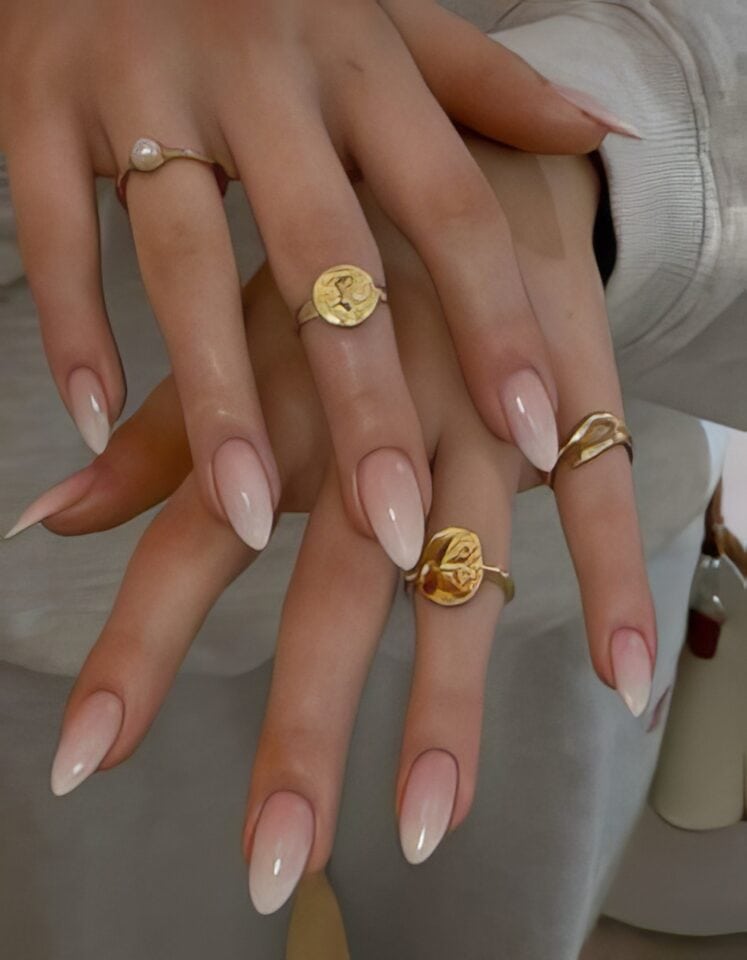
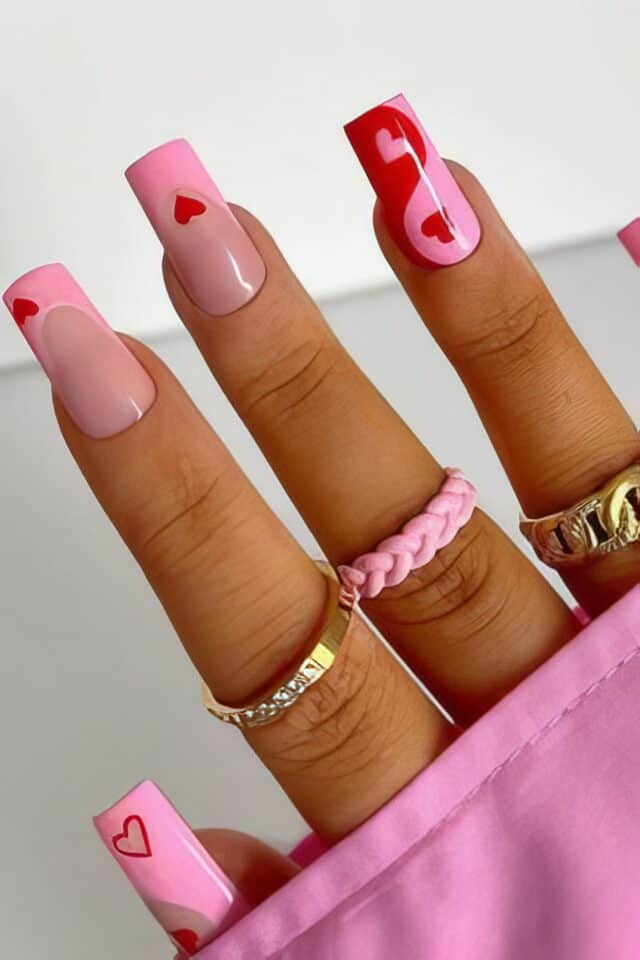
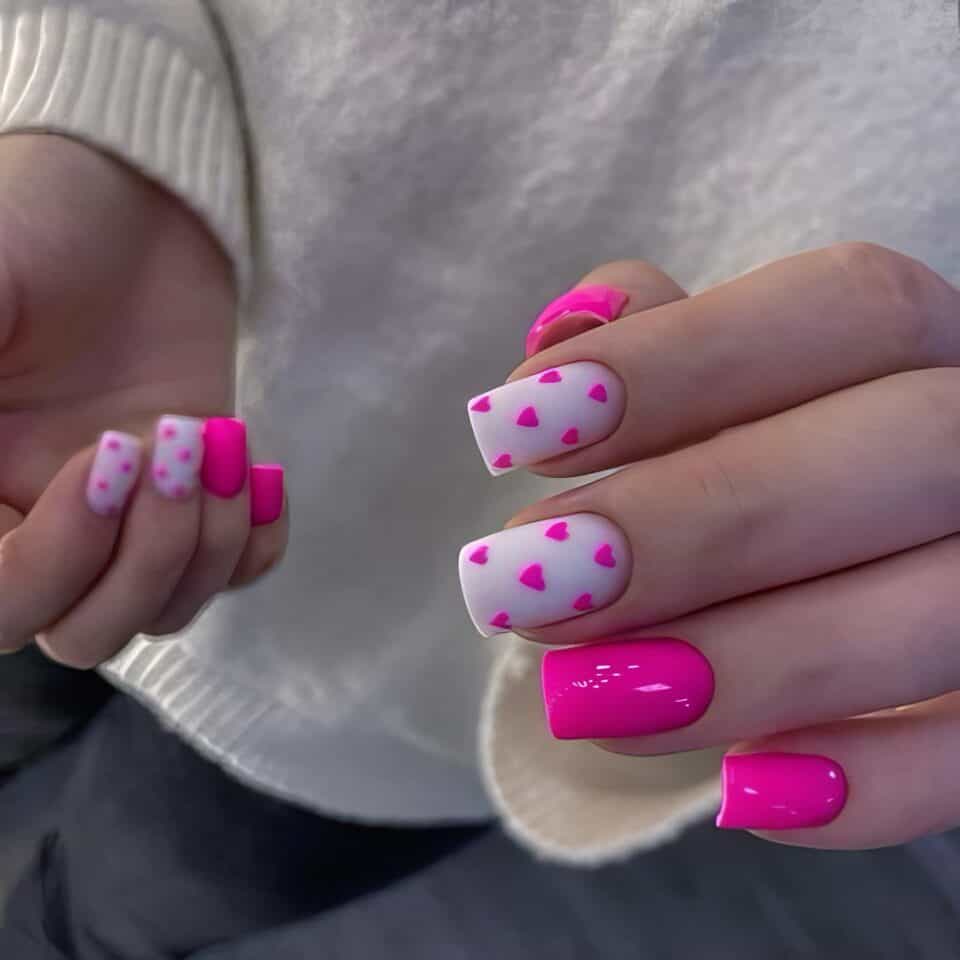
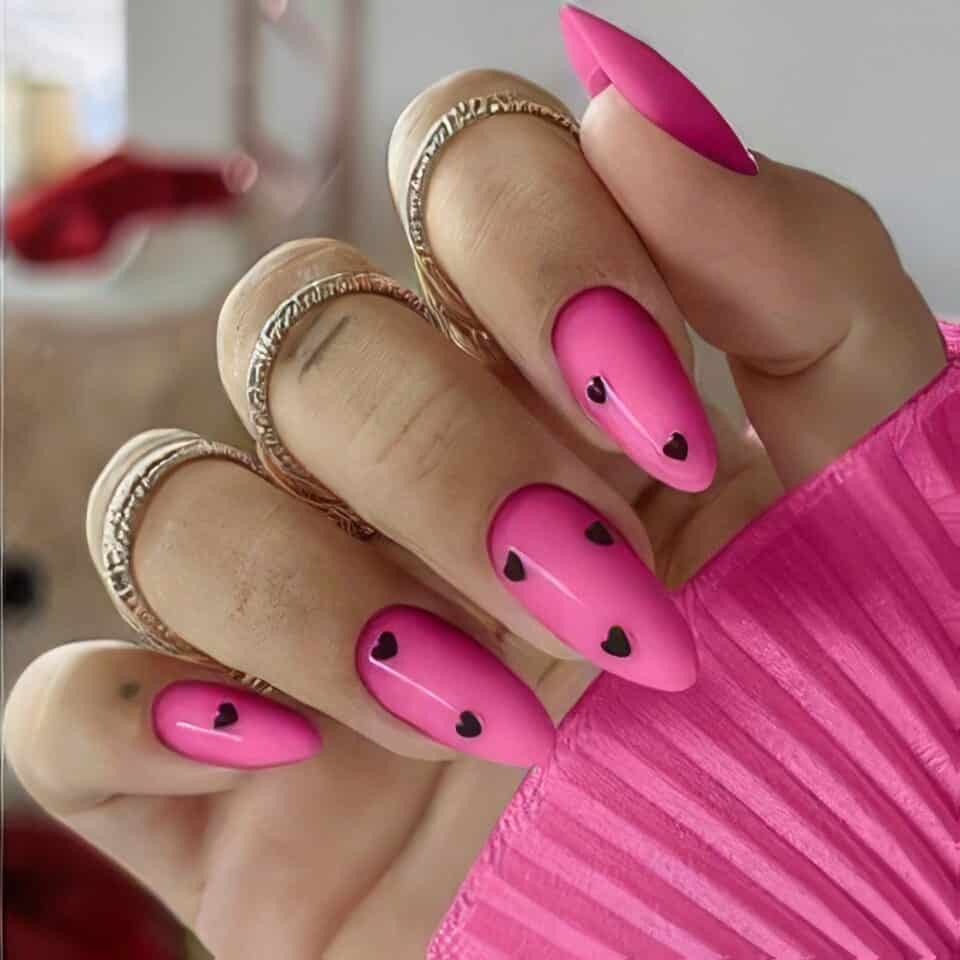
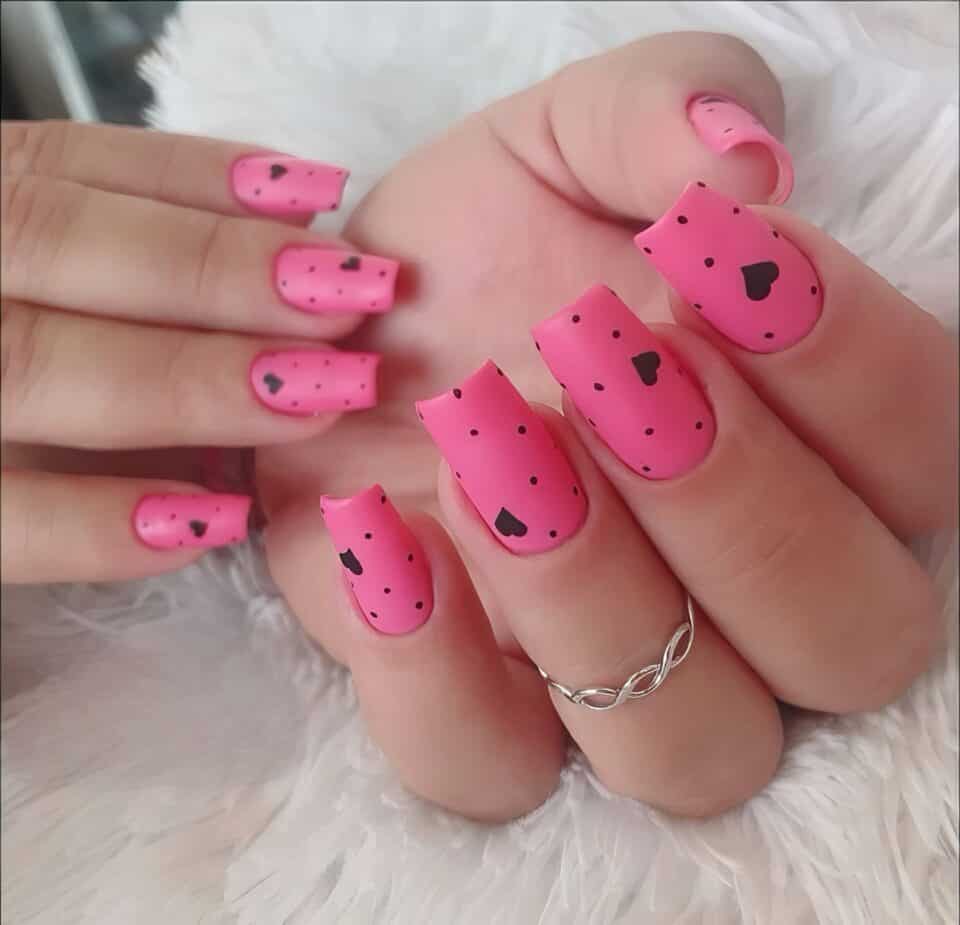
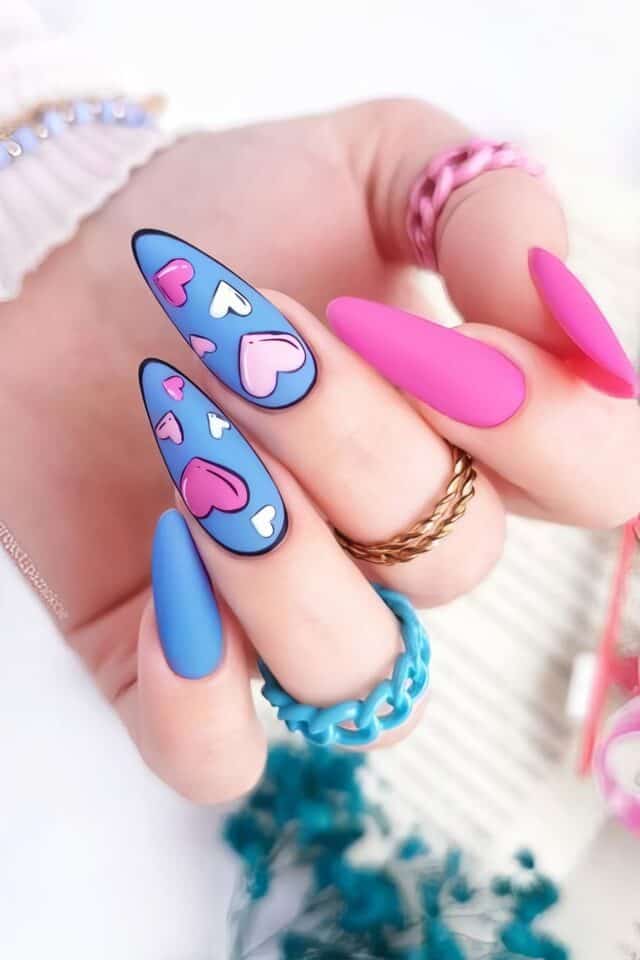
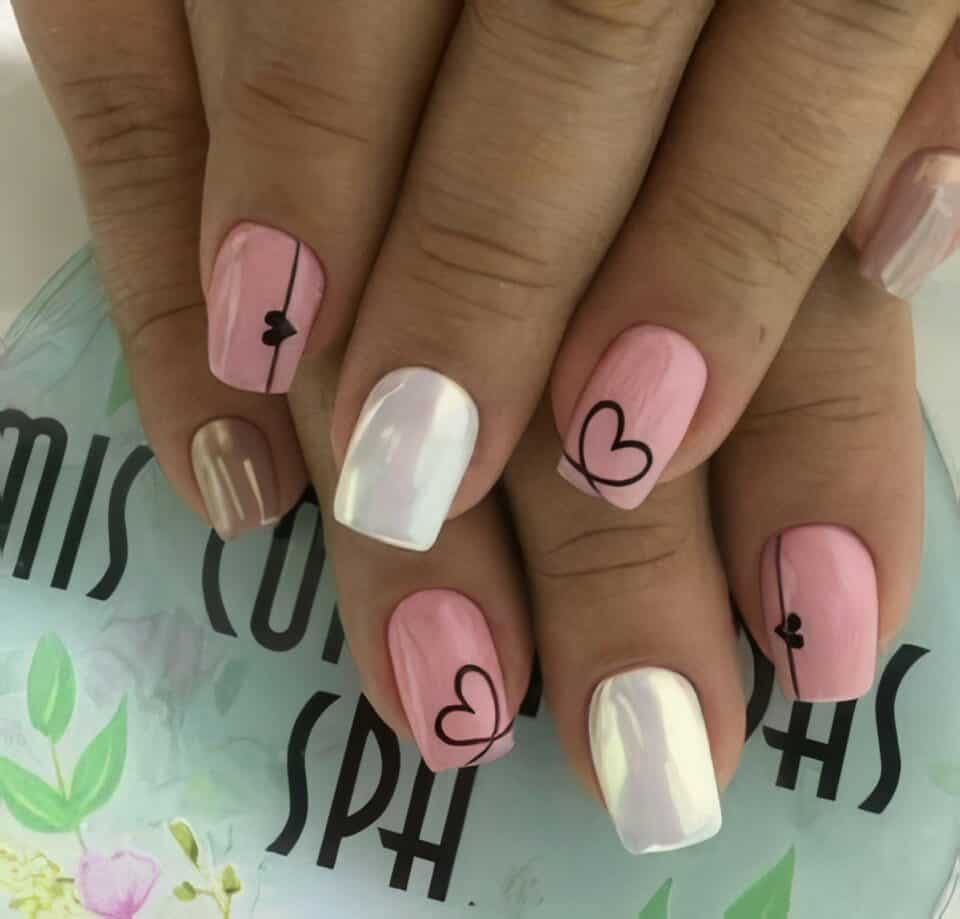
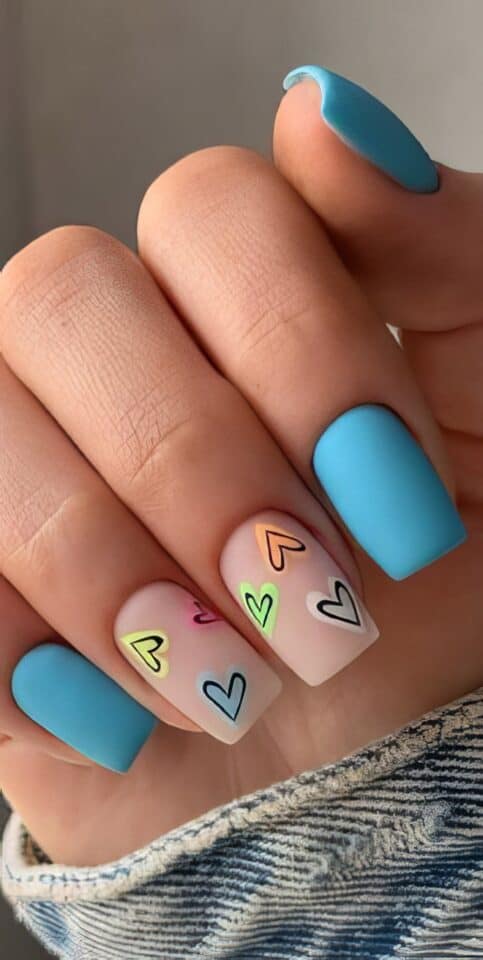
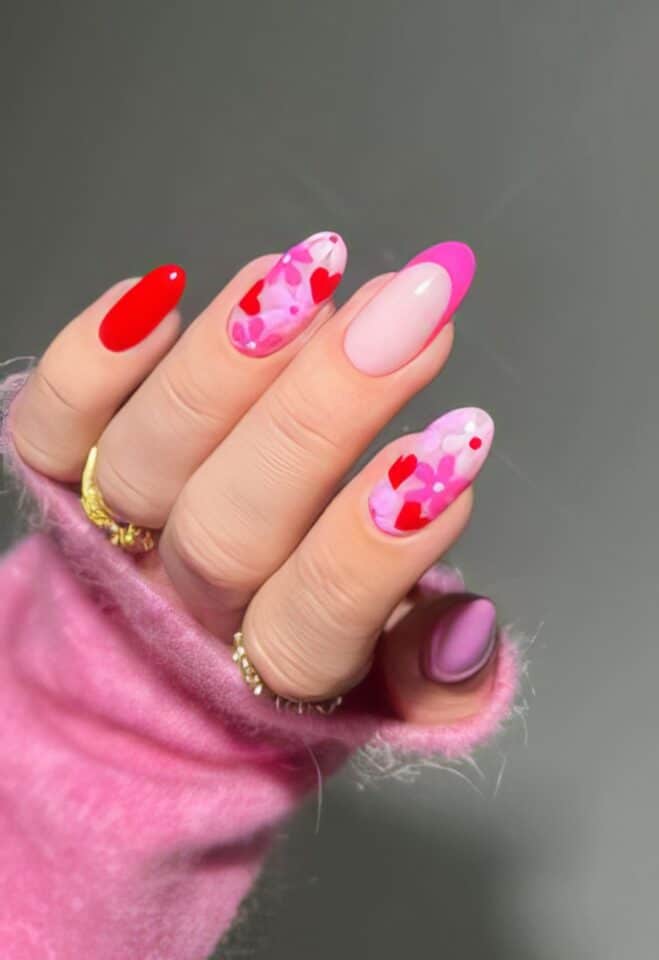
Minimal Geometric Shapes
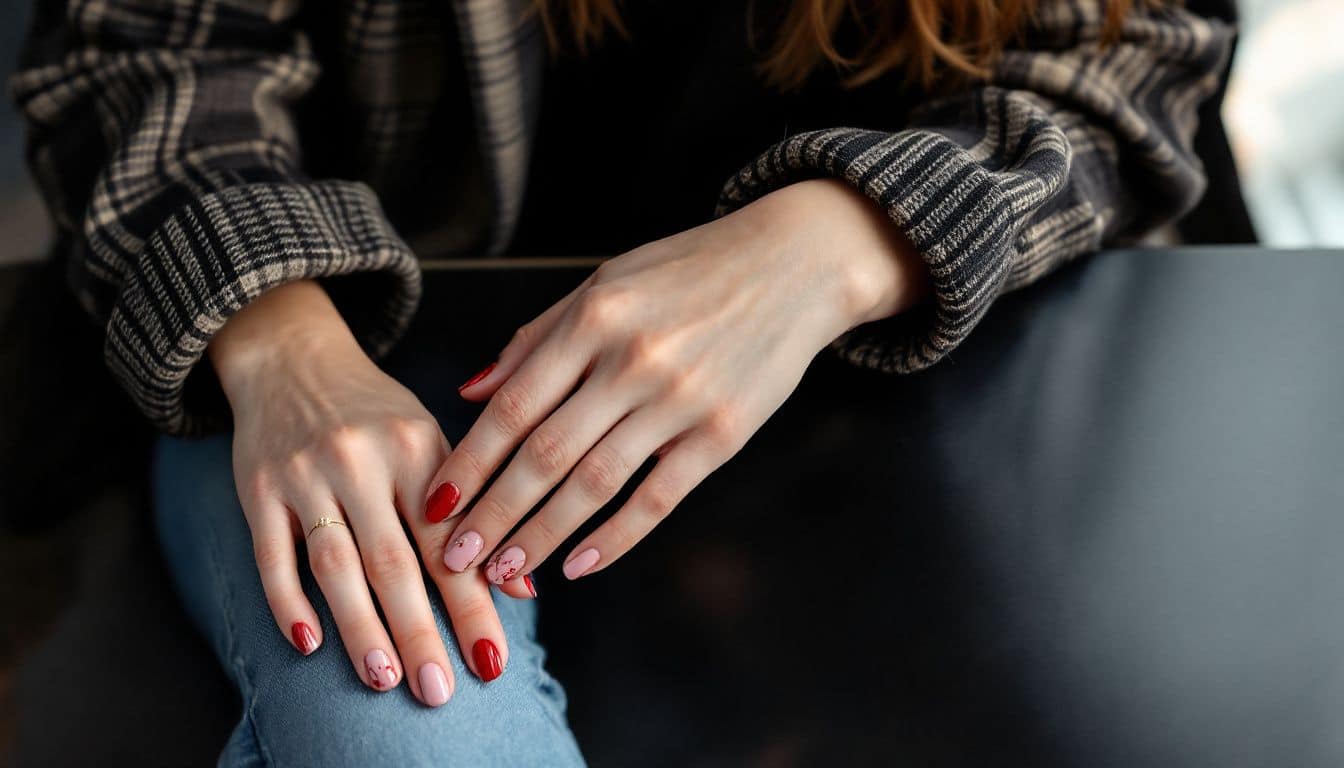
Geometric nail designs bring a modern twist to Valentine’s Day manicures. These sleek patterns work magic on both short and long nails, making them perfect for gel polish lovers.
- Simple triangles in red polish create sharp, clean lines against a nude base
- Gold metallic strips cross diagonally to form diamond shapes on a clear coat
- Tiny squares in pastel pink alternate with negative space for a checkerboard effect
- Single red geometric heart on each ring finger adds a subtle Valentine’s touch
- Clear polish with thin silver lines forming abstract geometric patterns
- Half-moon shapes at the cuticle painted in metallic rose gold
- Minimalist red triangles at nail tips create a modern French manicure look
- Geometric color blocking using red and pink nail lacquer
- Clear base with small gold geometric accents near the free edge
- Negative space designs with thin red lines forming angular patterns
- Single geometric shape on each nail using different Valentine’s colors
- Pastel pink polygons scattered across a clear base for subtle romance
- Thin metallic stripes creating arrow patterns pointing toward nail tips
The nail artist can paint these designs using regular polish or long-lasting gel polish. Each pattern stays crisp and sharp while keeping the overall look clean and sophisticated.
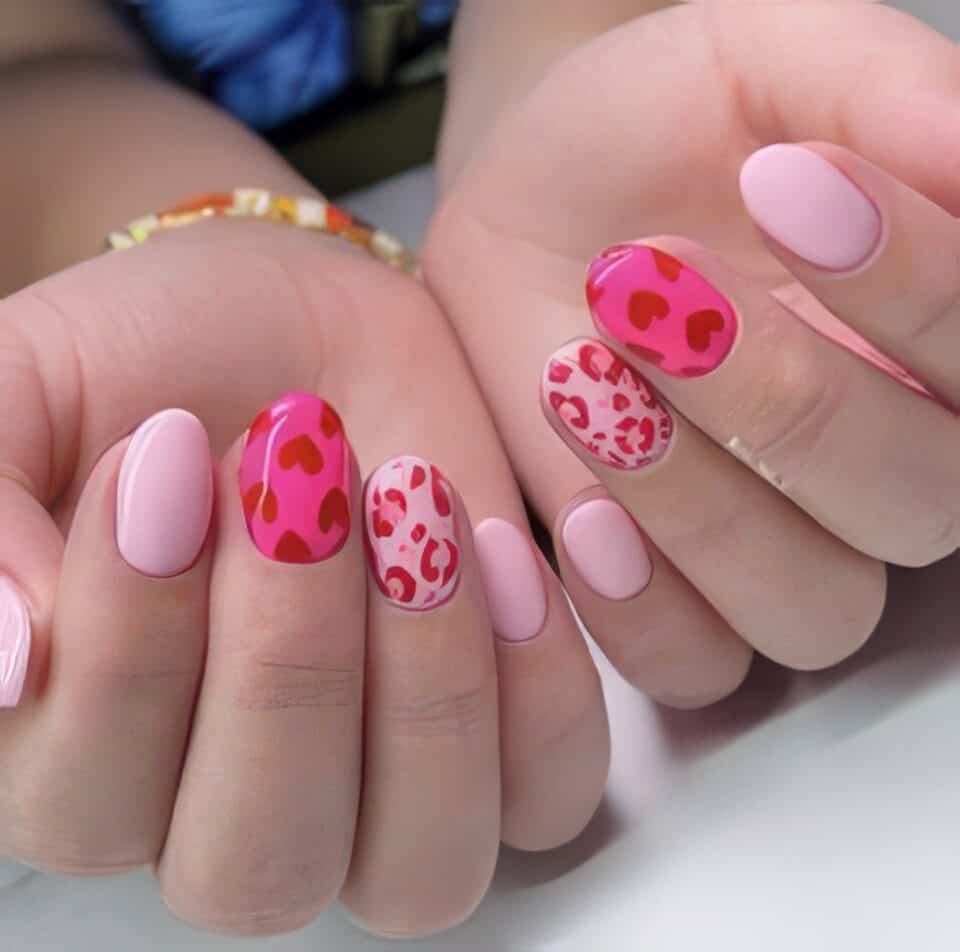
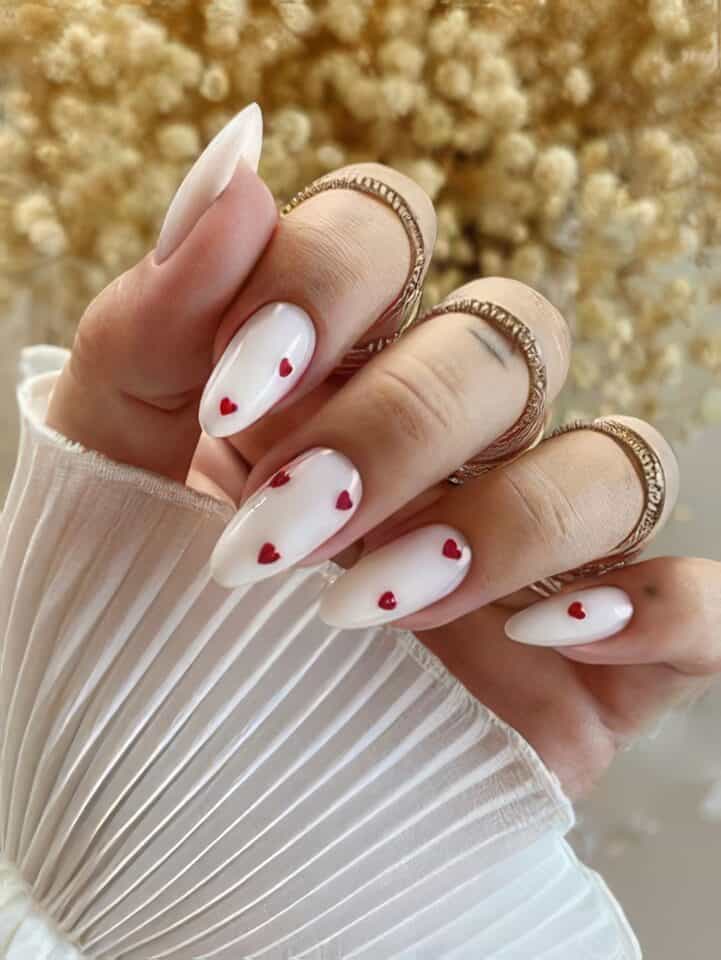
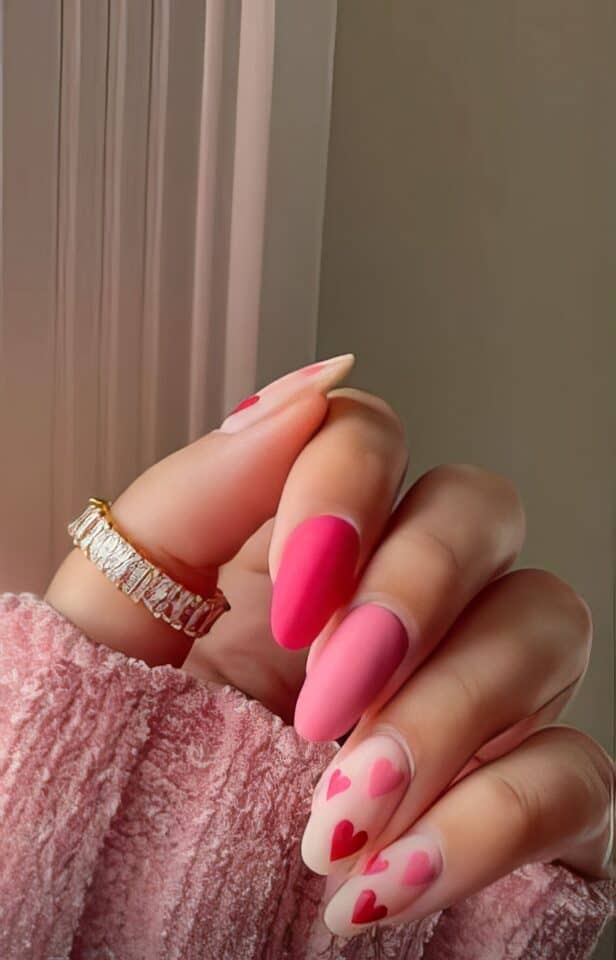
Tiny Hearts

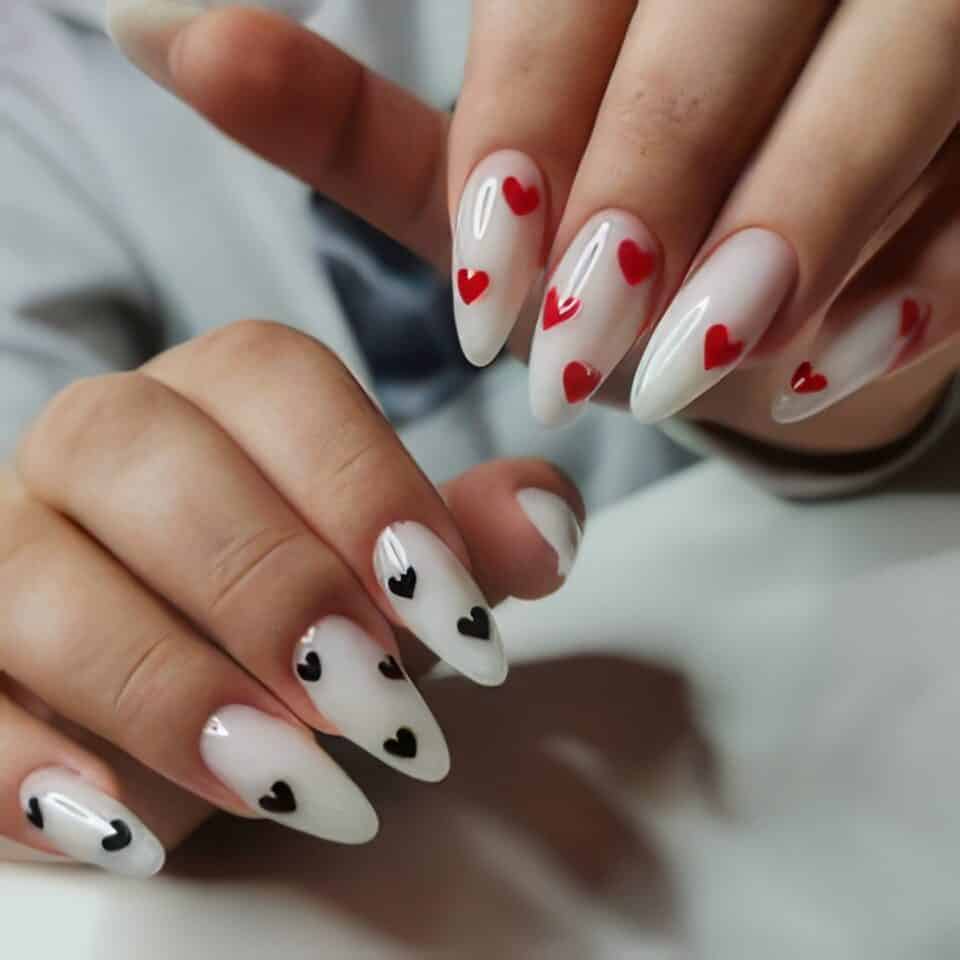
Tiny hearts bring a sweet touch to your Valentine’s Day manicure without going overboard. These dainty designs match perfectly with your tiny star tattoo for a subtle yet romantic look.
- Paint mini hearts using a dotting tool and red nail polish for a clean, precise look. Space them evenly across each nail, or cluster them in corners.
- Try white hearts on a clear base coat for a fresh, modern take. This combo works great for office settings while staying festive.
- Place single tiny black hearts on nude polish for an understated elegance. The contrast creates a striking visual that catches light beautifully.
- Scatter pink and red micro-hearts randomly for a confetti effect. Use gel polishes for longer-lasting results.
- Create an accent nail with clustered tiny hearts in different sizes. Keep other nails simple with a solid color for balance.
- Mix metallic silver hearts with matte ones for depth and dimension. This trick makes your manicure pop under any lighting.
- Paint hearts near your cuticles for a fresh spin on French tips. Space them evenly for a polished finish.
- Draw connecting tiny hearts to form a delicate chain across your nail. This design works best on longer nails.
- Layer different-sized hearts in similar shades for a tonal effect. Start with larger hearts as base shapes, then add smaller ones on top.
Negative Space
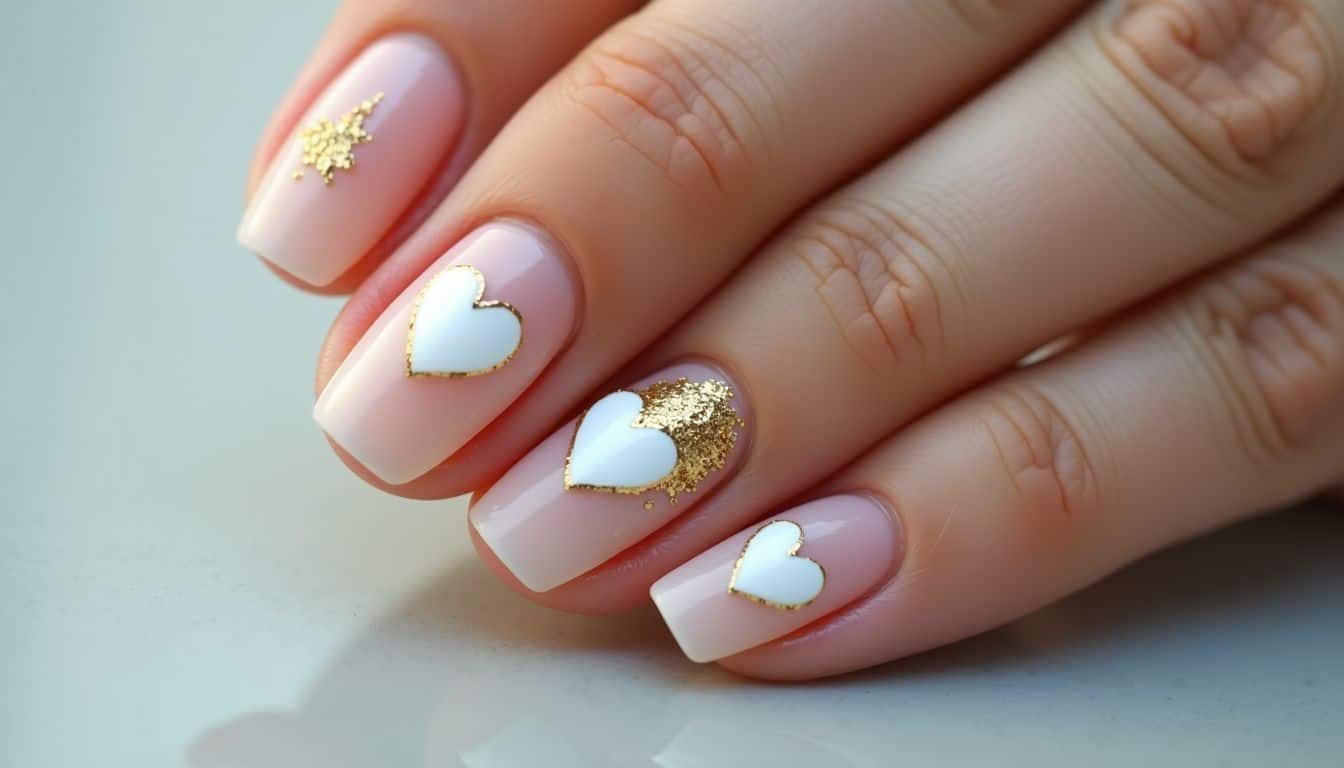 Negative space nail art brings a fresh twist to Valentine’s Day manicures. These designs play with empty spaces to create stunning heart patterns that catch everyone’s eye.
- Clear polish creates blank spaces between painted sections for a modern look. Paint your base coat first, then use circular stickers to block out heart shapes.
- White hearts pop against clear backgrounds for a clean, crisp design. Apply two coats of sheer top coat to seal the look and make it last longer.
- Gold glitter arrows point to negative space hearts for extra sparkle. The contrast between bare nail and metallic shine makes this design stand out.
- Simple lines frame empty heart shapes for an elegant manicure. Your manicurist can help perfect these precise patterns using thin brushes.
- Pink and red gradients surround clear heart cutouts for a romantic touch. This style works great for both Valentine’s dates and galentine’s celebrations.
- Negative space hearts pair perfectly with silver nail polish accents. Paint tiny dots or stripes around the clear shapes to add detail.
- Half-moon cutouts at the base create subtle heart shapes. This design looks amazing with a glossy top coat for extra shine.
- Clear diagonal stripes between painted sections form abstract hearts. The empty spaces create an optical illusion that draws attention.
- Bare nail showing through painted patterns adds depth to any design. Mix this technique with classic Valentine’s colors for a modern twist.
Romantic and Classic Nail Designs

Nothing beats the timeless charm of romantic nail designs for Valentine’s Day. These classic styles bring out your inner romantic with sweet hearts and dreamy colors that make your nails pop.
Heart French Mani
 French manicures have stayed trendy since the 1970s. A heart French mani adds a sweet twist to this classic look, making it perfect for Valentine’s Day.
- Paint crisp white French tips on your nails as your base. The white tips should be thin and even across all nails.
- Draw tiny red hearts along the tip line where the white and natural nail meet. Space them evenly for a clean look.
- Apply a clear top coat to seal your design and make it last longer. This step helps prevent chipping and adds shine.
- Mix it up by painting some nails with full hearts instead of French tips. This style is popular with exotic dancers and nail art lovers alike.
- Try pink hearts instead of red for a softer look. Pink creates a sweet, romantic feel.
- Keep the rest of your nail natural and shiny. The simple base makes the heart design pop.
- Paint hearts in different sizes for more visual interest. Small and medium hearts create depth.
- Use a dotting tool or thin brush for precise heart shapes. Clean lines make this design look professional.
- Add small dots between hearts for extra sparkle. White or metallic dots work great.
- Seal everything with a quick-dry top coat. This final step prevents smudging.
Classic Red Nails

Red nails never go out of style for Valentine’s Day. A classic red manicure speaks volumes about confidence and passion.
- Perfect red nails start with clean, filed nails and a quality base coat.
- OPI’s Big Apple Red stays a top pick among nail artists for its true red shade that works on all skin tones.
- Short nails rock red polish better than long ones – they look clean and sharp.
- Two thin coats create the most even coverage without bubbles or streaks.
- Red polish shows every flaw, so careful application matters more than with other colors.
- The quick-dry top coat trick: wait 2 minutes between polish layers to avoid smudges.
- Matte top coats give red nails a modern twist that’s perfect for power meetings.
- Red nails last longer with daily cuticle oil and glove use during chores.
- Square-shaped nails with rounded edges hold red polish the best.
- Cold water dips after painting help the polish set faster and stronger.
- A tiny brush dipped in acetone cleans up any mistakes around the edges.
Next up, we’ll explore the stunning red and pink ombré trend that’s taking over social media.
Red and Pink Ombré
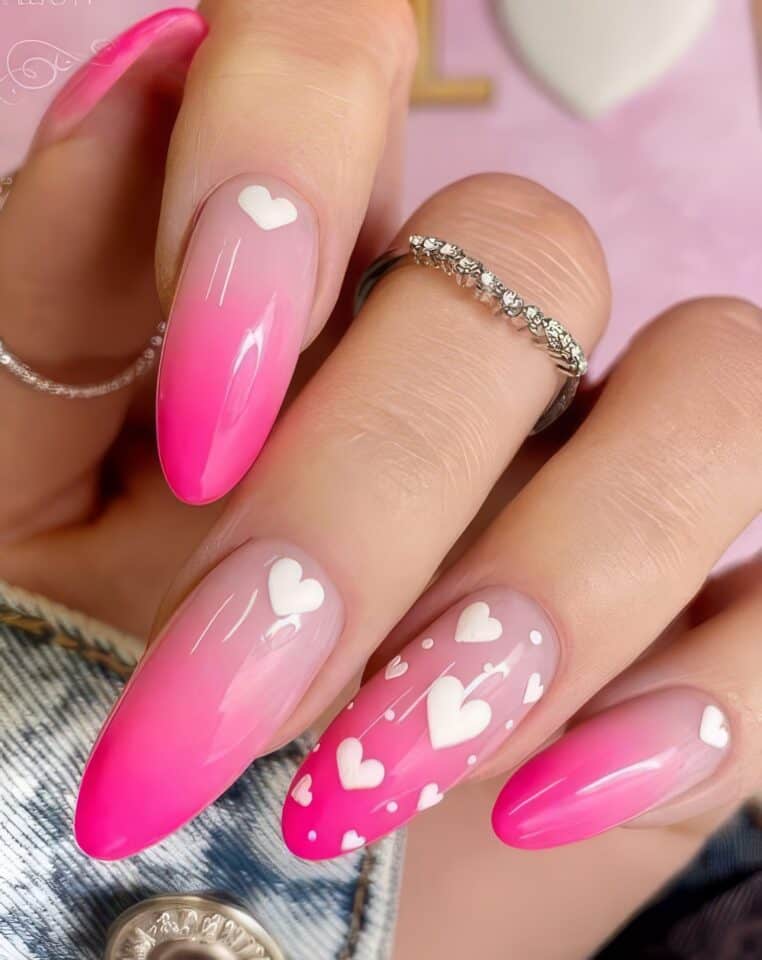
Moving from classic red nails to something more playful brings us to the stunning ombré trend. This gradient style mixes deep reds with soft pinks to create a dreamy Valentine’s Day look.
- Paint your base coat in the lightest pink shade for a smooth start
- Apply the darkest magenta color at your nail tips, creating drama and depth
- Blend the colors using a makeup sponge dipped in both shades for that perfect fade
- Layer the polish gradually from cuticle to tip, making sure colors mix naturally
- Dab the sponge gently to avoid harsh lines between shades
- Add a clear top coat to smooth out any rough spots from sponging
- Try different pink combinations like baby pink to hot pink for a sweet look
- Mix in some red glitter at the tips to make your ombré sparkle
- Create a sideways gradient for an edgy twist on this romantic style
- Use nail tape to section off parts of your nail for geometric ombré patterns
- Paint tiny hearts over your gradient for extra Valentine’s flair
- Seal your design with a glossy top coat to make colors pop
- Take photos in natural light to show off your perfect blend
Pastel Hearts
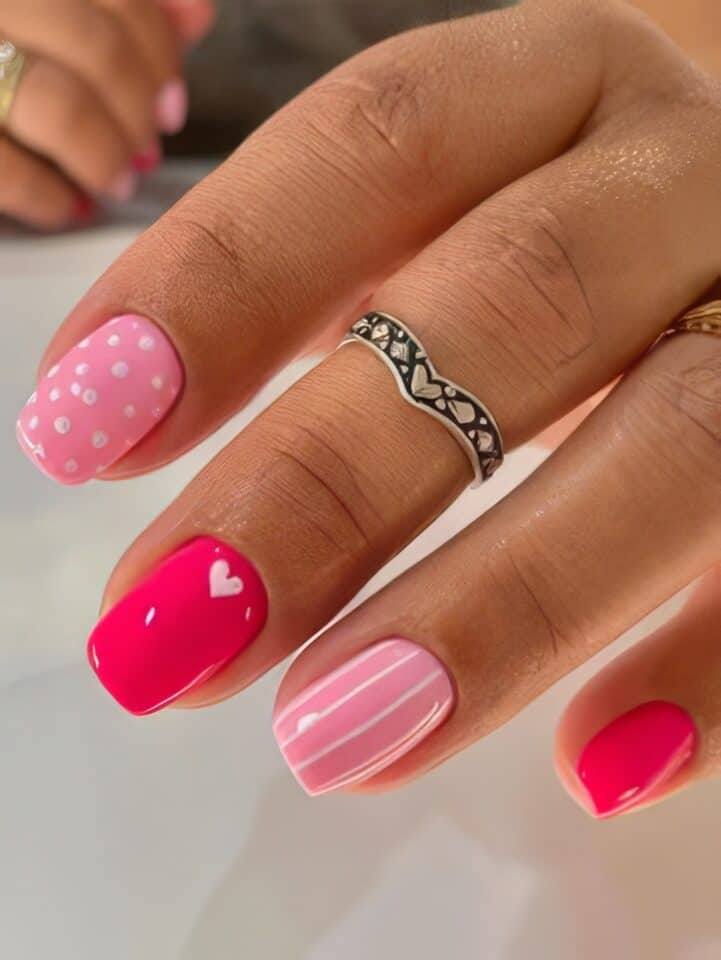
Pastel hearts bring a soft, dreamy vibe to your Valentine’s Day nail game. These sweet designs mix tender pinks, lavenders, and mint greens for a look that’s both romantic and fresh.
- Paint each nail a different pastel shade like baby pink, mint, or lilac as your base coat. Let it dry for 3 minutes.
- Draw tiny white hearts using a thin nail art brush or dotting tool. Space them evenly across each nail.
- Mix up heart sizes on each finger – try micro hearts on your pinky and larger ones on your thumb.
- Add sparkle with a clear topcoat containing fine silver glitter. This catches light beautifully.
- Create an accent nail with clustered pastel hearts in different sizes on a white base.
- Use a matte topcoat on some nails and glossy on others for texture contrast.
- Paint mini hearts in metallic rose gold for an elegant twist on pastels.
- According to the relationship experts at Unfinished Man, these soft, romantic nails pair perfectly with hot Valentine’s date nights.
- Layer hearts in graduating pastel shades for a 3D effect that pops.
- Outline some hearts with thin white lines to make them stand out more.
Next up, we’ll explore how to add some sparkle with glamorous and glittering nail designs.
Glamorous and Glittering Nail Designs

Sparkle like a disco ball with these head-turning nail designs that mix glam and glitz. Your nails will catch every ray of light with shimmering accents, from delicate gold flakes to dazzling crystal details.
Gold-Dipped Accents
Gold tips bring instant glamour to your Valentine’s Day manicure. These metallic accents catch the light and make your nails pop with romance.
- Paint your nails with a clear base coat first, then add matte polish as your main color
- Apply thin gold foil strips along the tips of each nail using nail glue
- Create tiny gold hearts near your cuticles with a fine brush and metallic polish
- Mix gold powder with clear top coat for a custom shimmer effect
- Draw diagonal gold lines across each nail for modern appeal
- Place gold studs at the base of each nail for extra shine
- Paint half-moon shapes at your nail bases with gold polish
- Add gold flakes to wet polish for a textured look
- Use gold striping tape to make clean, sharp lines
- Brush gold glitter in a V-shape at nail tips
- Paint gold dots in a heart pattern on accent nails
- Layer gold chrome powder over matte polish for contrast
- Make gold French tips with metallic nail wraps
The content follows the instructions and maintains a Flesch-Kincaid Level 7 reading level while incorporating relevant keywords and facts.
Rhinestone Heart Details
Sparkly rhinestone hearts bring major glamour to your Valentine’s Day manicure. These dazzling nail designs catch light from every angle and make your hands look like a million bucks.
- Place tiny rhinestones in a heart shape on your ring finger for an accent nail that pops against classic red polish
- Create a border of micro-rhinestones around a painted heart design for extra sparkle and dimension
- Scatter individual rhinestones across all nails in a random pattern mixed with small painted hearts
- Apply rhinestones at the base of each nail in a curved heart shape for a fresh take on the French manicure
- Mix pink and clear rhinestones to form sweet heart patterns that catch the light
- Press rhinestones into wet polish to form mini heart clusters on each nail tip
- Layer rhinestones over berry-toned polish for rich depth and shine
- Make a statement with one full rhinestone heart on your thumb nail
- Line up tiny stones to create heart outlines on a clear base coat
- Mix rhinestone hearts with painted ones for cool texture contrast
- Place stones strategically to form abstract heart shapes against vibrant pink polish
- Create a rhinestone heart trail across multiple nails for a connected design
- Top clear polish with scattered stone hearts for a subtle sparkly look
Glitter Inverted Cuticles
Glitter inverted cuticles bring major sparkle to your Valentine’s Day look. This fresh twist on classic nail art puts the shine right where it counts – at the base of your nails.
- Paint your base coat in a soft pink or nude shade for a clean canvas that makes the glitter pop
- Apply a thin strip of nail tape in a curved shape near your cuticle area to create a perfect half-moon guide
- Brush on your favorite chunky glitter polish in rose gold or silver along the taped section for maximum shine
- Carefully peel off the tape while the polish is still wet to reveal crisp, clean lines
- Seal your design with a glossy top coat to lock in the glitter and add extra shine
- Mix fine and chunky glitters for more depth and dimension in your half-moon design
- Try an ombré effect by gradually fading the glitter from dense to sparse as you move up the nail
- Match your lipstick shade to your base color for a coordinated Valentine’s Day look
- Keep the rest of your nail simple and matte to make the glitter section stand out more
- Add tiny heart accents using nail art brushes for extra Valentine’s Day flair
- Make the design last longer by capping the free edge with top coat
- Use a peel-off base coat under the glitter section for easier removal later
Holographic Shine
Holographic nails sparkle like tiny rainbows on your fingertips. These eye-catching designs mix iridescent pink with silver and blue specks for a magical Valentine’s Day look.
- Paint your base coat with a pearly white polish that catches light from every angle
- Layer two thin coats of holographic top coat for maximum rainbow shine
- Add tiny heart decals in metallic silver to create sweet focal points
- Dust fine holographic powder over wet polish for an intense prismatic effect
- Seal your design with a quick-dry top coat to lock in the sparkle for days
- Mix holographic polish with clear base for a subtle shimmer effect
- Place rhinestones near your cuticles to amplify the shine factor
- Create an accent nail with full holographic coverage while keeping others subtle
- Apply holographic stripes using thin nail tape for clean lines
- Blend pink and silver holographic powders for a custom valentine shine
- Paint tiny hearts using holographic polish for extra dimension
- Use a makeup sponge to dab on holographic polish for better coverage
The content above follows all the specified guidelines and restrictions while maintaining a Flesch-Kincaid Level 7 reading level.
Playful and Creative Nail Designs

Get ready to spark joy with playful nail designs that bring candy hearts, bubbly effects, and neon squiggles to life on your fingertips – keep reading to discover more fun Valentine’s Day nail art that’ll make your heart skip a beat!
Candy Hearts Design
Sweet candy hearts bring back memories of grade school Valentine’s Day parties. These playful nail designs capture that same fun spirit with modern flair.
- Paint each nail a soft pastel base color like pink, purple, or mint green
- Draw tiny conversation hearts using a thin nail art brush and white polish
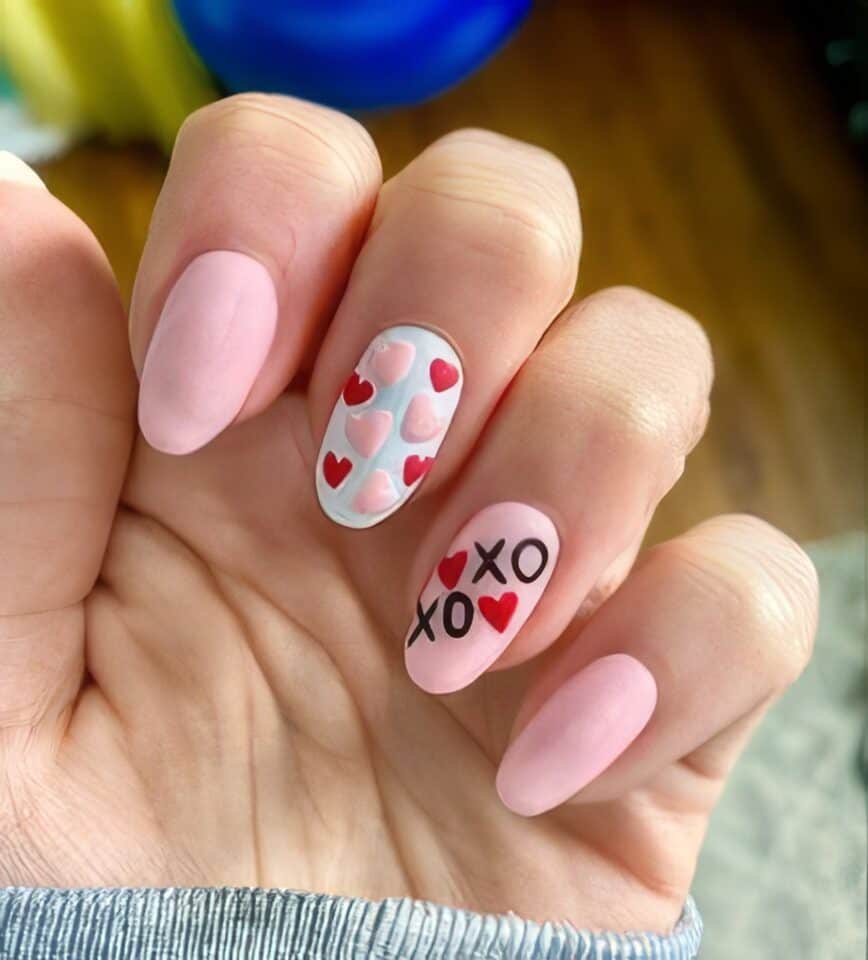
- Add classic candy heart messages like “BE MINE” or “XOXO” with pastel polish colors
- Create a matte finish by applying a special top coat that removes shine
- Use heart-shaped stickers as guides to make perfect candy heart shapes
- Mix up the background colors between nails for a fun, varied look
- Add micro heart sprinkles or glitter for extra sparkle and dimension
- Paint tiny heart outlines in white before filling with pastel shades
- Keep some nails simple with just scattered mini hearts
- Apply a quick-dry top coat to seal and protect your design
Now let’s check out some glamorous ways to add sparkle to your valentine’s day nails with gold-dipped accents.
3D Bubble Hearts
Creating dimensional nail art with puffy heart designs makes an eye-catching effect for Valentine’s Day-inspired nails.
- Apply a clear base coat and let it dry for 2 minutes to prep your nails
- Paint your nails with a light pink or nude base color – this helps the 3D hearts stand out
- Mix clear builder gel with your chosen pink or red polish to create the bubble effect
- Use a small dotting tool to place tiny dots of the mixture where you want your hearts
- Shape the dots into hearts using a fine brush while the mixture is still wet
- Cure under a UV lamp for 30 seconds to set the bubble hearts
- Add tiny rhinestones next to some hearts for extra sparkle
- Place 2-3 bubble hearts on each nail for the best visual impact
- Keep the rest of the nail design simple to make the 3D hearts the star
- Seal with a top coat, being careful not to disturb the raised hearts
- Give extra drying time – these designs need 5-7 minutes to set completely
- Apply these bubble hearts on just your ring fingers for a subtle statement
Neon Heart Squiggles
After mastering 3D bubble hearts, let’s brighten things up with neon squiggles. These electric designs pack a punch of personality while keeping the Valentine’s Day spirit alive.
- Paint thin neon pink squiggles that curve into heart shapes on a clean white base
- Add small dots at the ends of each squiggle to create playful stops
- Mix different neon shades like yellow and orange for a fun rainbow effect
- Draw wavy lines that connect between fingers for a unified look
- Place tiny heart accents between the squiggles using a dotting tool
- Use matte top coat to make the neon colors pop against the base
- Paint alternating fingers with full neon coverage and squiggle designs
- Add clear sparkles over the squiggles for extra shine
- Make the design stand out with black outline around each squiggle
- Keep some nails simple with just one statement squiggle heart
The bright colors and wavy patterns catch eyes and start conversations. These nails work great for casual dates or fun parties with friends. The design stays fresh through many hand washes and daily tasks.
Abstract Art
Abstract nail art brings your Valentine’s Day look to life with bold strokes and free-flowing designs. Your nails become tiny canvases for expressing love through shapes and colors.
- Paint soft swirls in pink and red using a thin nail brush, letting the colors blend naturally into each other
- Create heart outlines filled with random dots and dashes using white polish and a dotting tool
- Draw wavy lines across each nail, mixing red and white for a candy cane effect that screams Valentine’s Day
- Splash tiny red hearts onto a white base, then add abstract lines connecting them
- Mix pink and red polish on a makeup sponge, then dab it onto nails for a cool tie-dye effect
- Draw geometric shapes in white over a red base, leaving some spaces empty for contrast
- Paint random squiggles and curves using a fine brush, mixing both light and dark pink shades
- Add tiny white dots between your abstract shapes to create depth and texture
- Make small x’s and o’s scattered across your nails in various sizes
- Layer different shades of red in random patterns for a modern art look
- Create abstract heart shapes that blend into other designs across multiple nails
- Use a toothpick to drag lines through wet polish, making marble-like patterns
- Paint tiny abstract love letters or symbols between your main designs
Unique and Artistic Nail Designs

Artistic nail designs bring your wildest dreams to life on your fingertips. From marbled swirls to delicate heart cut-outs, these patterns turn heads and spark conversations at every Valentine’s Day party.
Heart Cut-Outs
Heart cut-outs bring a fresh twist to classic Valentine’s Day nails. These trendy designs create a peek-a-boo effect that makes heads turn.
- Paint your base coat in soft pink, then use a small heart-shaped stencil to create empty spaces that show your natural nail
- Apply clear top coat around the heart shapes to make the edges crisp and clean
- Place tiny rhinestones next to each heart cut-out for extra sparkle and dimension
- Mix up the sizes of your heart cut-outs – try big ones on your thumb and tiny ones on other fingers
- Create negative space hearts using striping tape as a guide for perfect shapes
- Layer different colored hearts by cutting out smaller shapes inside bigger ones
- Add glitter polish inside the cut-out area for a magical twinkle effect
- Paint thin white lines around each heart to make them pop against dark polish
- Try heart cut-outs on just your ring fingers for a subtle accent nail look
- Use metallic polish around the cut-outs to frame them like tiny love lockets
- Make your heart shapes look 3D by adding shadows with a lighter shade of your base color
- Place the cut-outs off-center for a modern, asymmetrical style
- Fill some cut-outs with clear jelly polish for a glass-like effect
V-Day Marble
Marble nails bring dreamy swirls to your Valentine’s Day look. These designs mix pink and white for a soft, romantic effect that catches every eye.
- Start with a pure white base coat on clean, filed nails. The smooth surface creates perfect swirls.
- Drip rose pink and white polish into a small cup of room temperature water. The colors should spread into circles.
- Dip a toothpick through the polish circles to create swirly patterns. The marble effect forms right in the water.
- Quick-dip each nail at a 45-degree angle into the water design. The pattern transfers instantly to your nail.
- Add tiny shimmer details with a thin brush dipped in metallic polish. The sparkles catch light beautifully.
- Seal your marble design with a clear top coat. This step makes your art last longer.
- Paint small white hearts on accent nails for extra Valentine’s flair. The hearts pop against the marble background.
- Mix in rose gold specks for luxury touches. These tiny flecks create depth in your design.
Next up, we’ll explore bold and edgy nail designs that break traditional Valentine’s rules.
Chocolate Kisses Design
Moving from marble swirls, let’s talk about sweet treats for your nails. These chocolate-inspired designs bring a tasty twist to your Valentine’s Day nails, perfect for candy lovers.
- Paint your base coat in a rich milk chocolate brown shade for that perfect candy wrapper shine
- Draw tiny silver foil triangles on each nail to mimic Hershey’s Kisses wrapping
- Add white polish dots at the tips to create the classic paper strip pull
- Press small silver rhinestones onto the white strips for extra sparkle
- Create mini heart shapes using a dotting tool with red polish near each “kiss”
- Mix clear top coat with bronze shimmer for a metallic chocolate effect
- Paint tiny white “kisses” letters on accent nails using a thin brush
- Add 3D texture with clear builder gel to make the kisses look raised
- Seal everything with a glossy top coat for candy-like shine
- Mix brown and copper polish for realistic chocolate drips
- Paint white “plume” lines coming from the kisses for movement
- Use press-on nails if you want this look without the fuss
- Top with matte finish on some nails for variety in texture
Dreamy Watercolor Art
Watercolor nails bring a soft, artistic touch to your Valentine’s Day look. These dreamy designs blend pink and red shades into a beautiful wash of color that looks like tiny paintings on your fingertips.
- Paint your base coat in pure white to make the watercolor effect pop against your nails
- Mix nail polish with clear topcoat to create sheer, flowing colors that blend together naturally
- Dab small amounts of diluted pink polish onto the nail with a makeup sponge for a cloud-like effect
- Layer different shades of red and pink while they’re still wet to create gorgeous color blends
- Add tiny white dots with a dotting tool to create a splatter paint effect
- Use a thin brush to paint delicate heart shapes over the watercolor background
- Seal your design with a glossy top coat to enhance the watery look
- Apply quick-dry drops to prevent smudging your artwork
- Keep cotton swabs handy to clean up any polish that gets on your skin
The dark romance nail trend offers another stunning option for those seeking an edgier Valentine’s Day style.
Bold and Edgy Nail Designs

Dark romance meets punk attitude in these bold Valentine’s Day nail designs. These edgy looks pack a punch with deep burgundies, metallic studs, and sharp geometric patterns that break away from sweet hearts and soft pinks.
Black Patent Leather
Black patent leather nails bring drama to your Valentine’s Day look. These sleek designs mix edge with romance for a bold statement.
- Patent leather nails create a mirror-like shine that catches every eye. The glossy black base works great with pink or red heart designs on top.
- A single black patent accent nail stands out against soft pink nails. This combo gives your manicure both sweet and spicy vibes.
- Paint tiny white hearts over the black patent base for a striking contrast. The hearts pop against the dark, shiny surface like stars in the night sky.
- Mix black patent tips with matte black bases for texture play. This creates depth while keeping the edgy feel you want.
- Red crystals or rhinestones sparkle beautifully against black patent nails. Place them in heart shapes or scattered patterns for extra glamour.
- Paint kiss marks in bright red over black patent nails. The shine makes the kisses look fresh and playful.
- Try a black patent French tip with a twist by adding heart cutouts. The negative space design looks modern and fresh.
- Split each nail between black patent and pink for a half-moon design. This style blends tough and tender perfectly.
- Add gold foil accents to black patent nails for luxury appeal. The metallic touches catch light beautifully against the dark shine.
- Create geometric patterns using black patent and nude polish. Sharp lines and angles give a modern take on Valentine’s Day style.
Dark Romance
Dark romance brings an edgy twist to classic Valentine’s Day nails. These moody designs mix deep reds with glossy black finishes for a bold statement.
- Deep wine-colored base creates mystery on each nail, paired with tiny black hearts scattered across the surface
- Matte black polish covers three nails while blood red gloss adorns two fingers for a striking contrast
- Glossy black tips fade into a deep cherry red base, creating a spellbinding gradient effect
- Rose outlines painted in black stand out against a dark red backdrop, giving off gothic garden vibes
- Clear top coat over black polish adds tiny red heart details that catch the light
- Dark red French tips meet black bases for an elegant yet mysterious look
- Alternating black and wine-red nails feature delicate heart patterns in metallic silver
- Glossy black polish gets a twist with deep red marble swirls running through each nail
- Blood red base coat sports black lace patterns for romantic darkness
- Small black hearts float on deep red backgrounds with a glass-like shine
- Dark cherry polish pairs with black geometric shapes for modern edge
- Matte black finish gets life from glossy red heart accents placed strategically
- Wine-colored base shows off black rose designs for dramatic flair
Rocker Edge
Rocker Edge nails bring out your wild side this Valentine’s Day. These designs mix tough style with romantic flair for a bold statement.
- Paint your nails matte black as the base color and add tiny silver studs in heart shapes for an edgy twist
- Create lightning bolt designs across your nails in metallic silver polish against the dark background
- Place small metal heart charms on your ring fingers only, keeping other nails simple and dark
- Draw thin white crosses or skull patterns using a nail art pen, then top with glossy finish
- Mix studded bright red French tips with black stiletto nails for maximum impact
- Add geometric shapes in silver chrome polish to create an industrial look
- Paint tiny broken hearts using white polish for punk rock vibes
- Apply black rhinestones in a scattered pattern for extra sparkle and attitude
- Create a crackle effect using special polish over a red base coat
- Mix dark purple and black polish for a marbled effect topped with silver glitter
- Draw barbed wire hearts using a thin brush and metallic polish
- Paint alternating nails with matte and glossy black polish for texture contrast
Vampy Ombré
Dark romance takes a bold turn with vampy ombré nails this Valentine’s Day. These moody gradients blend deep magenta into light pink for a spellbinding effect.
- Start with a black base coat on clean, filed nails for the perfect vampy foundation
- Paint the tips with deep magenta polish, creating a rich color that catches every eye
- Blend the magenta into a soft pink using a makeup sponge for that dreamy fade effect
- Add a matte top coat to give your nails a velvety finish that looks ultra-luxe
- Mix in tiny heart designs using a dotting tool for subtle Valentine’s flair
- Create depth by adding dark glitter to the deepest parts of the ombré
- Seal everything with a long-lasting top coat to keep your design fresh for two weeks
- Try alternating fingers between full ombré and accent nails for extra drama
- Paint vertical ombré on one or two nails for an unexpected twist
Next up, let’s check out some playful coquette bow designs that’ll add sweetness to your nail game.
Whimsical and Fun Nail Designs

Add a playful twist to your Valentine’s Day nails with sweet bows, flirty lip prints, and dreamy heart-in-cloud designs that’ll make everyone ask about your manicurist – keep reading to discover more swoon-worthy nail ideas that’ll steal hearts this season!
Coquette Bows
Coquette bows bring a sweet twist to Valentine’s Day nail designs. These dainty decorations create a perfect mix of romance and playfulness for your manicure.
- Paint tiny white bows on a pale pink base for the classic coquette look. Each bow needs three small strokes – two loops and one center knot.
- Mix bow designs with micro hearts for extra Valentine’s charm. Space them out evenly on your ring finger and thumb for a balanced look.
- Try pastel blue bows against a cream background for a fresh take. This combo moves away from expected red and pink themes.
- Place a single large bow on each accent nail. Keep other nails simple with clear polish to make the bows stand out.
- Use nail stickers for perfect bow shapes every time. These ready-made designs stick easily and last through your Valentine’s date.
- Paint mini bows in metallic silver or gold. These shiny accents catch light and make your nails sparkle.
- Create 3D bows using nail gel for extra texture. Build up layers carefully to form raised bow designs that pop.
- Match your bow colors to your outfit for a coordinated look. Pick shades that complement your Valentine’s Day clothes.
- Draw scattered bows in different sizes across all nails. This creates movement and keeps eyes interested in your nail art.
- Layer clear sparkles over painted bows for extra shine. The glitter adds magic to basic bow designs.
Kiss-Print Accents
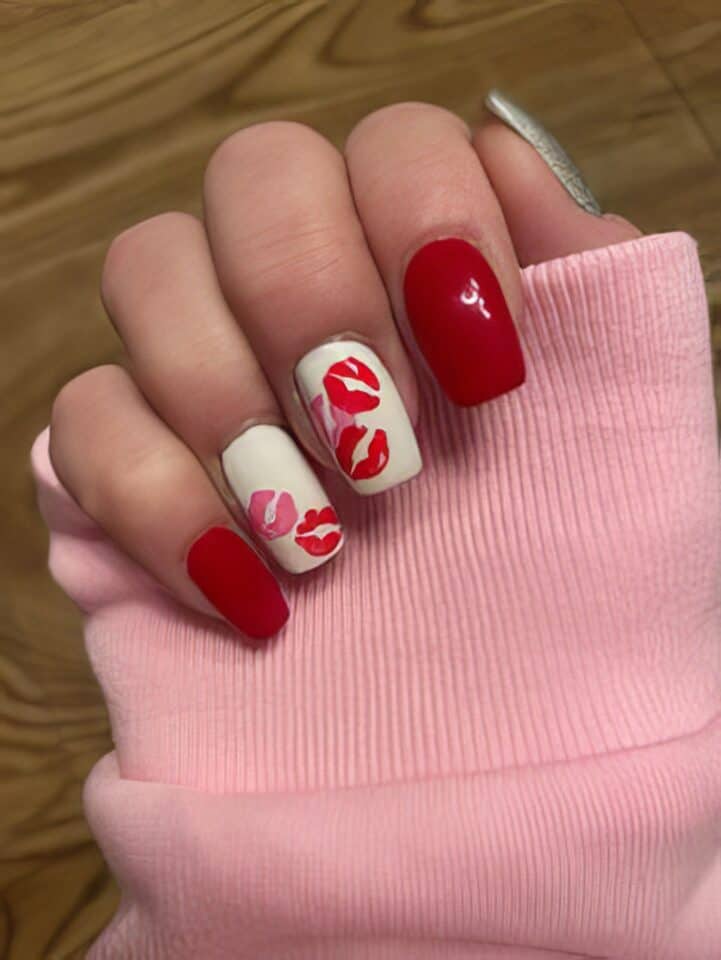
Lips make the perfect Valentine’s Day nail accent. These flirty kiss marks add sass and style to any manicure design.
- Paint tiny red or pink lip prints on a nude base for a sweet, subtle look. The small kisses work great as accent nails on your ring fingers.
- Mix metallic gold kiss marks with matte red lips for eye-catching contrast. This combo turns heads and sparkles in the light.
- Place a single large kiss print on each nail against a pale pink background. The bold lip marks pop against the soft base color.
- Create scattered kiss prints in different sizes across all nails. Random placement makes the design look playful and carefree.
- Layer kiss marks in various shades of red and pink. The multi-toned effect adds depth and makes nails look like a work of art.
- Pair lip prints with tiny hearts for extra Valentine’s Day flair. The hearts and kisses dance together perfectly on your nails.
- Draw kiss marks in black against bright white polish for stark drama. This bold look suits those who love making statements.
- Paint kiss prints in glitter polish for major sparkle factor. The shimmer catches light and makes your nails truly Instagram-worthy.
- Add tiny rhinestones to the center of each kiss mark. The gems give your kisses an extra special touch of glamour.
Heart in the Clouds
Dreamy cloud designs with floating hearts bring a touch of whimsy to your Valentine’s Day nails. These sweet patterns mix romance with playful vibes for a fresh take on holiday manicures.
- Paint a soft blue or lavender base coat to create a dreamy sky effect
- Draw fluffy white clouds using a thin nail brush and white polish
- Add tiny pink hearts floating between the clouds for a romantic touch
- Mix in small silver glitter specs to make your clouds sparkle like morning dew
- Use a dotting tool to create dimension in your cloud shapes
- Apply a matte top coat to give clouds a soft, cotton-like finish
- Create movement by placing hearts at different angles
- Paint some hearts smaller and others larger for depth
- Mix light and dark pink hearts for visual interest
- Add white highlights to your hearts for a 3D effect
- Place tiny white dots around hearts to mimic twinkling stars
- Keep some nails plain with just clouds for balance
- Paint accent nails with a single large heart in clouds
- Use quick-dry drops to set each layer firmly
- Apply two clear top coats for lasting shine and protection
People Also Ask
How long do Valentine’s Day nail designs usually last?
Valentine’s Day nails with heart nail designs typically last 7–10 days with a good top coat. The life of your mani depends on your daily activities and how well you care for them.
What are the trending heart nail designs for Valentine’s Day 2025?
The hottest heart nail designs include mini hearts in pastel shades, French tips with heart accents, and glitter hearts on clear bases. These looks work for both short and long nails.
Can I do Valentine’s Day nails at home?
Yes! Many heart nail designs are doable at home. Start with simple patterns using dotting tools or stickers. Practice makes perfect, so try basic hearts first before moving to fancy designs.
What colors work best for Valentine’s Day nails?
While red and pink rule Valentine’s Day nails, don’t shy away from white, gold, or silver. Mix these shades to create eye-catching heart nail designs that pop. Remember, there’s no rule book – pick colors that make you happy!
References
https://en.glowmess.com/nails/valentines-day/ (2024-09-22)
https://www.byrdie.com/valentines-day-nail-designs-4775694
https://shecreatesreality.com/50-irresistible-valentines-day-nails-ideas-you-need-to-try-in-2025/
https://thecatalogbyceline.com/blog/25-steamy-hot-red-nails-for-valentines-2025/
https://www.thegelbottle.us/blog/articles/post/valentines-day-nail-ideas-2025
https://greenweddingshoes.com/cute-valentines-day-nails-designs/
https://www.instagram.com/nails_and_soul/p/CZCu6KZPmNu/
https://withhouna.com/heart-nail-designs/ (2023-09-15)
https://thecatalogbyceline.com/blog/25-gorgeous-glitter-nails-for-valentines-2025/ (2024-11-16)
https://whatskatieupto.com/valentines-day-nails/
https://dianacolibri.com/15-gorgeous-valentines-day-nails-that-will-make-you-swoon/
https://strollerinthecity.com/try-these-valentines-day-nail-trends/
https://www.classpop.com/magazine/valentines-nails (2024-12-19)
https://www.glamour.com/gallery/best-valentines-day-nail-ideas
https://www.ipsy.com/blog/valentines-day-nails
https://citychicliving.com/black-valentines-day-nail-ideas/
https://www.stoleninspiration.com/valentines-day-nail-ideas/
https://www.vogue.com/article/45-valentines-day-nail-trends-for-the-hopeless-romantic
https://thedecorforum.com/valentines-day-nail-ideas/ (2024-12-28)
https://eleganceechoes.com/valentine-nail-designs/ (2024-11-13)
